

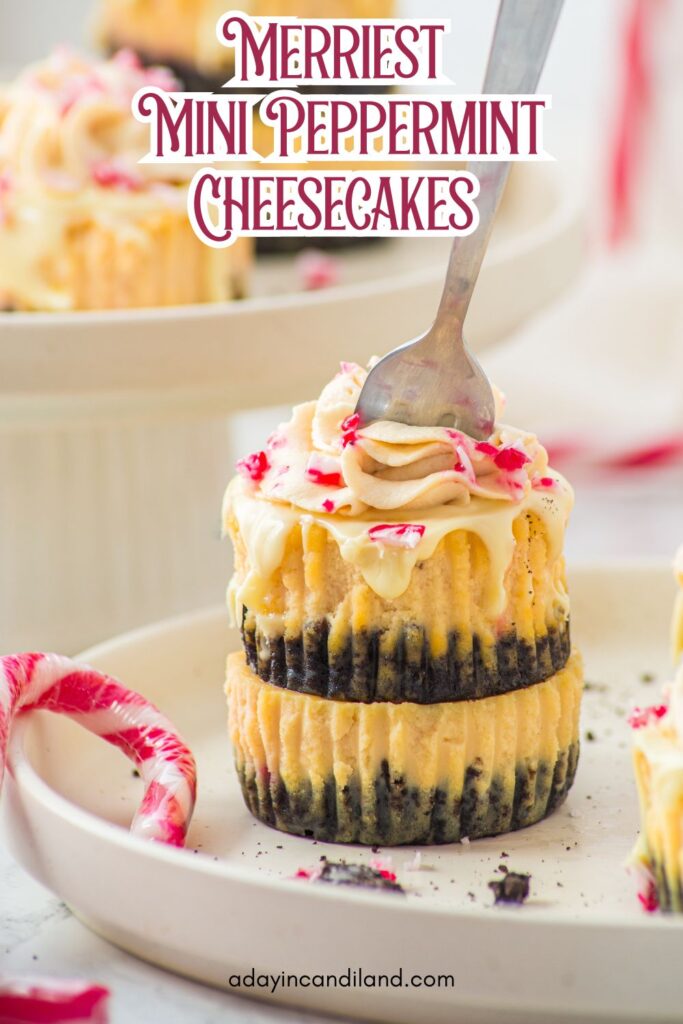
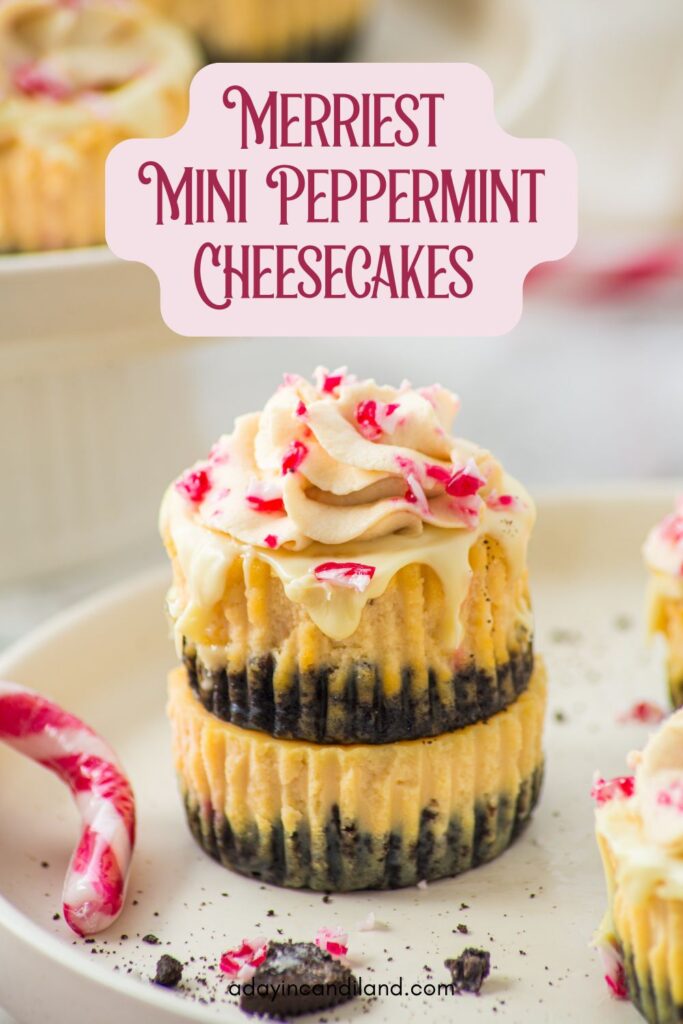
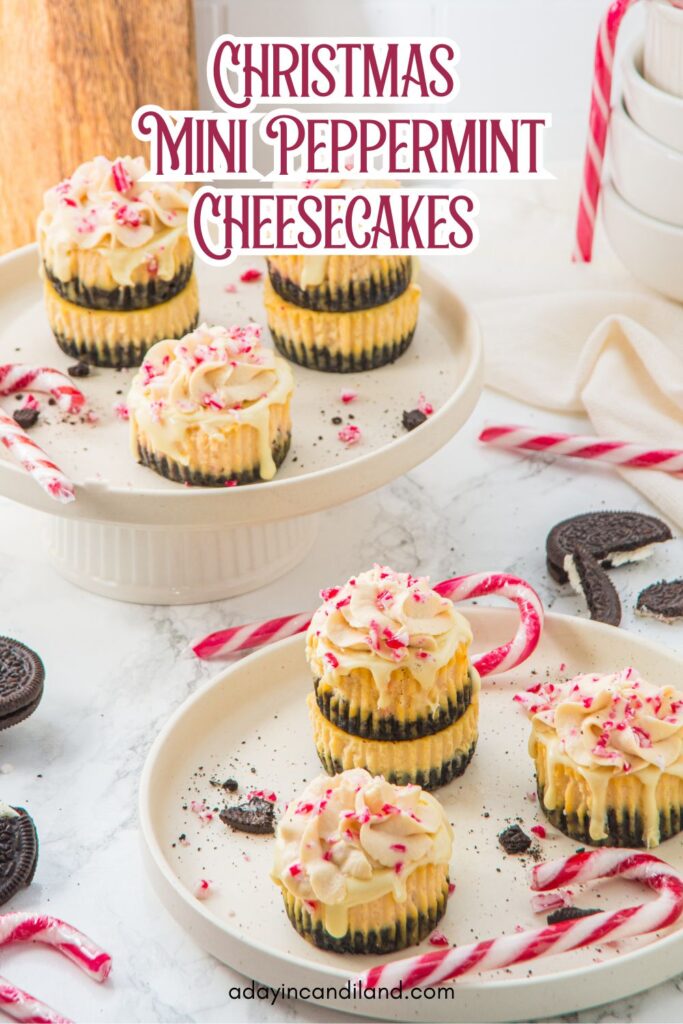
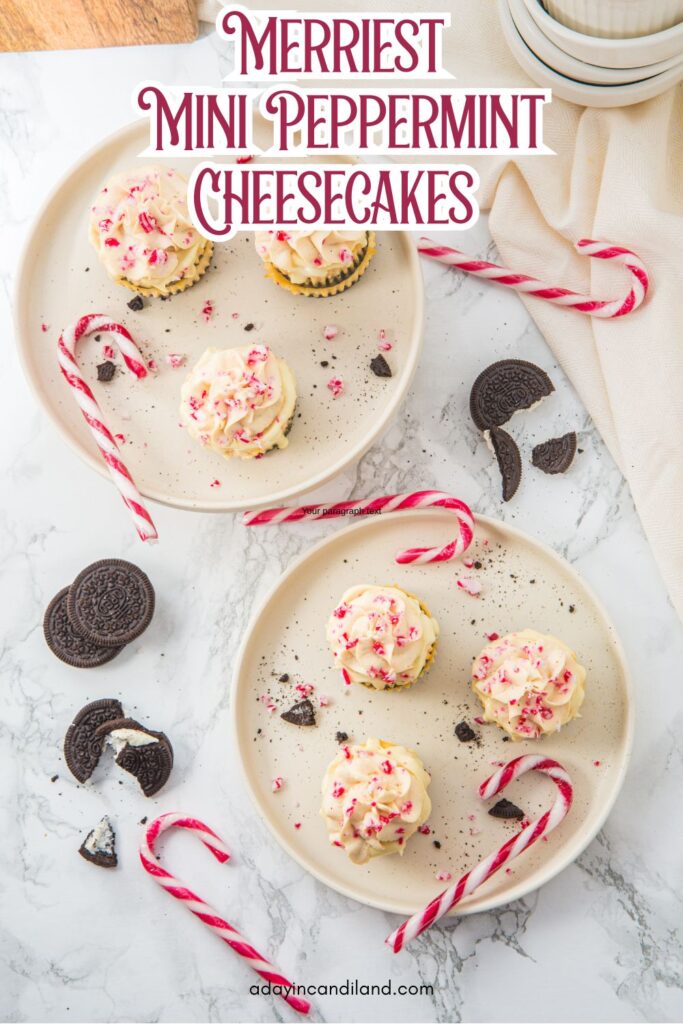
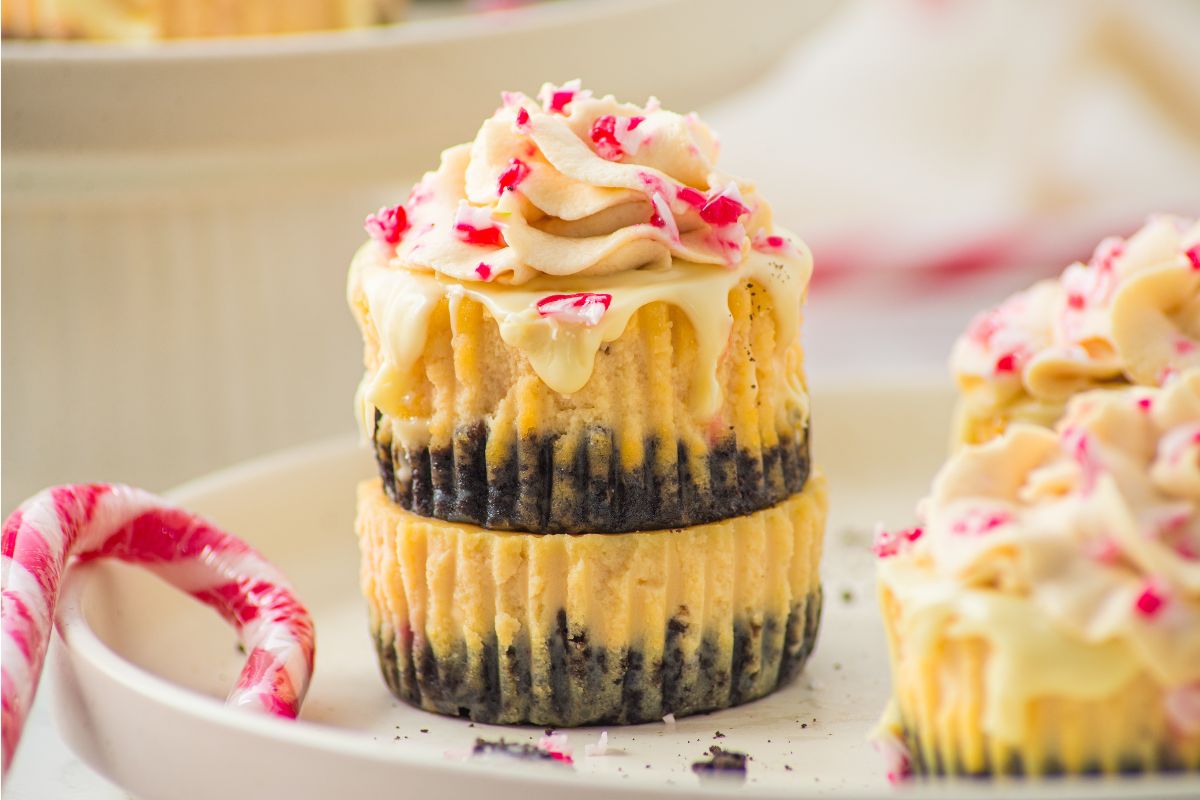
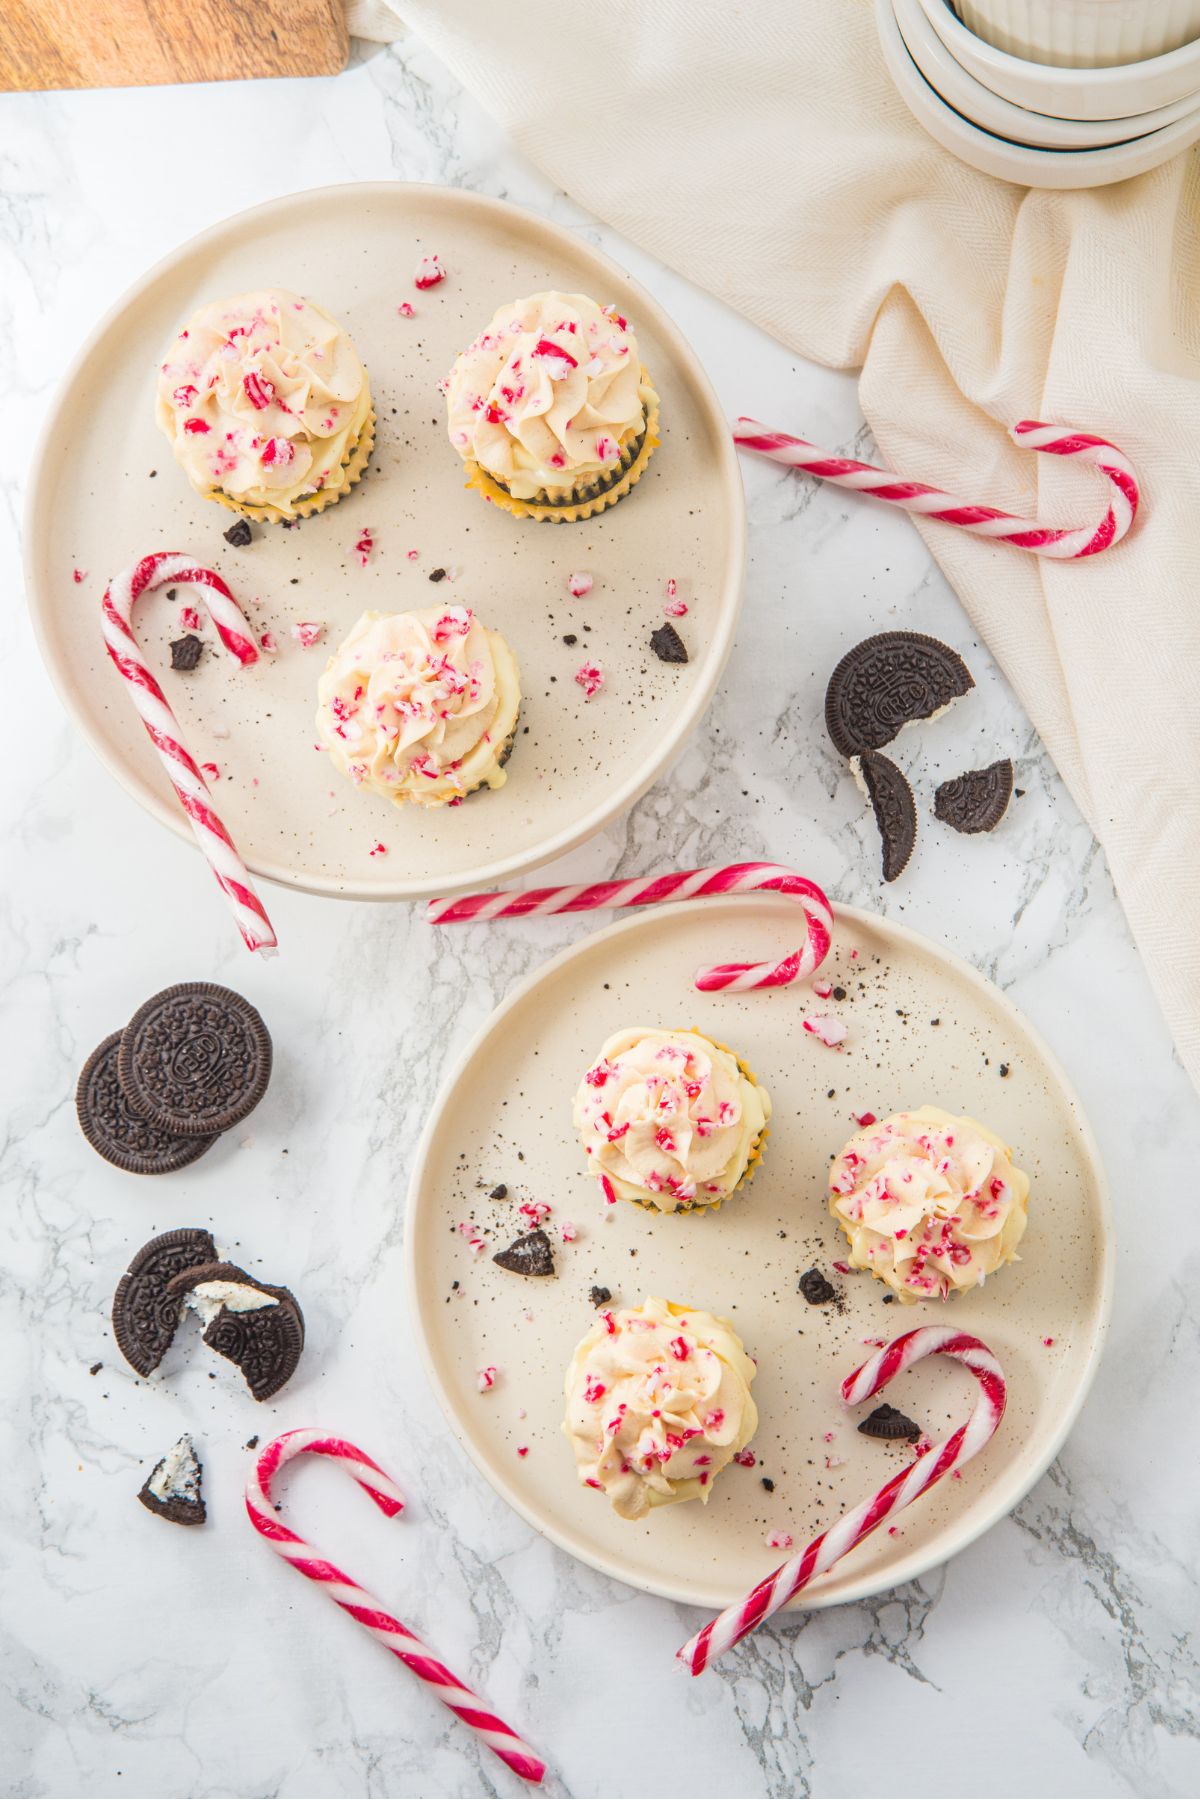
These Mini Peppermint Cheesecakes have an Oreo cookie crust and a creamy filling with the chocolate and peppermint flavors that make Christmas baking so fun. These individually portioned mini cheesecakes need no water bath, and you can bake and chill them ahead—one less thing to prepare on the day of your gathering!
Before serving, add whipped cream, a white chocolate drizzle, and crushed peppermint candies. They’re a sweet addition to Christmas parties and holiday dessert tables, with no slicing required.
Jump to:
- Quick Answer
- What Makes These Mini Peppermint Cheesecakes Special
- Ingredient Notes:
- Peppermint Cheesecake Step-by-Step Directions
- Pro Tips
- Substitutions and Variations
- Storage and Freezing
- What to Serve With Mini Peppermint Cheesecakes
- Peppermint Cheesecake FAQs
- More Christmas Desserts
- Enjoy These Holiday Desserts
- Mini Peppermint Cheesecake Recipe
- Mini Peppermint Cheesecakes with Oreo Crust
Quick Answer
Mini peppermint cheesecakes are individual baked cheesecakes made in a standard muffin pan lined with cupcake liners. This recipe makes 12 cheesecakes and bakes in about 25 minutes, followed by cooling and at least 3 hours of refrigeration. Prepare them ahead and add the toppings just before serving.
Chocolate and peppermint are such a fun combination for Christmas baking. These little cheesecakes fit right in at a holiday gathering, but they are also a sweet addition to an afternoon tea with friends.
The refrigerator does much of the work after baking, so plan ahead for the chilling time. If you enjoy individual desserts, you might also like these Mini Pumpkin Cheesecakes.
What Makes These Mini Peppermint Cheesecakes Special
Simple holiday toppings. Whipped cream, a white chocolate drizzle, and crushed candy canes dress them up without complicated decorating.
Chocolate and peppermint in every serving. The Oreo crust balances the peppermint filling, while white chocolate adds a sweet finishing touch.
Individual portions. A standard muffin pan gives you 12 cheesecakes that are easy to serve.
Make-ahead preparation. Bake and chill them before your gathering, then decorate when you are ready.
Ingredient Notes:
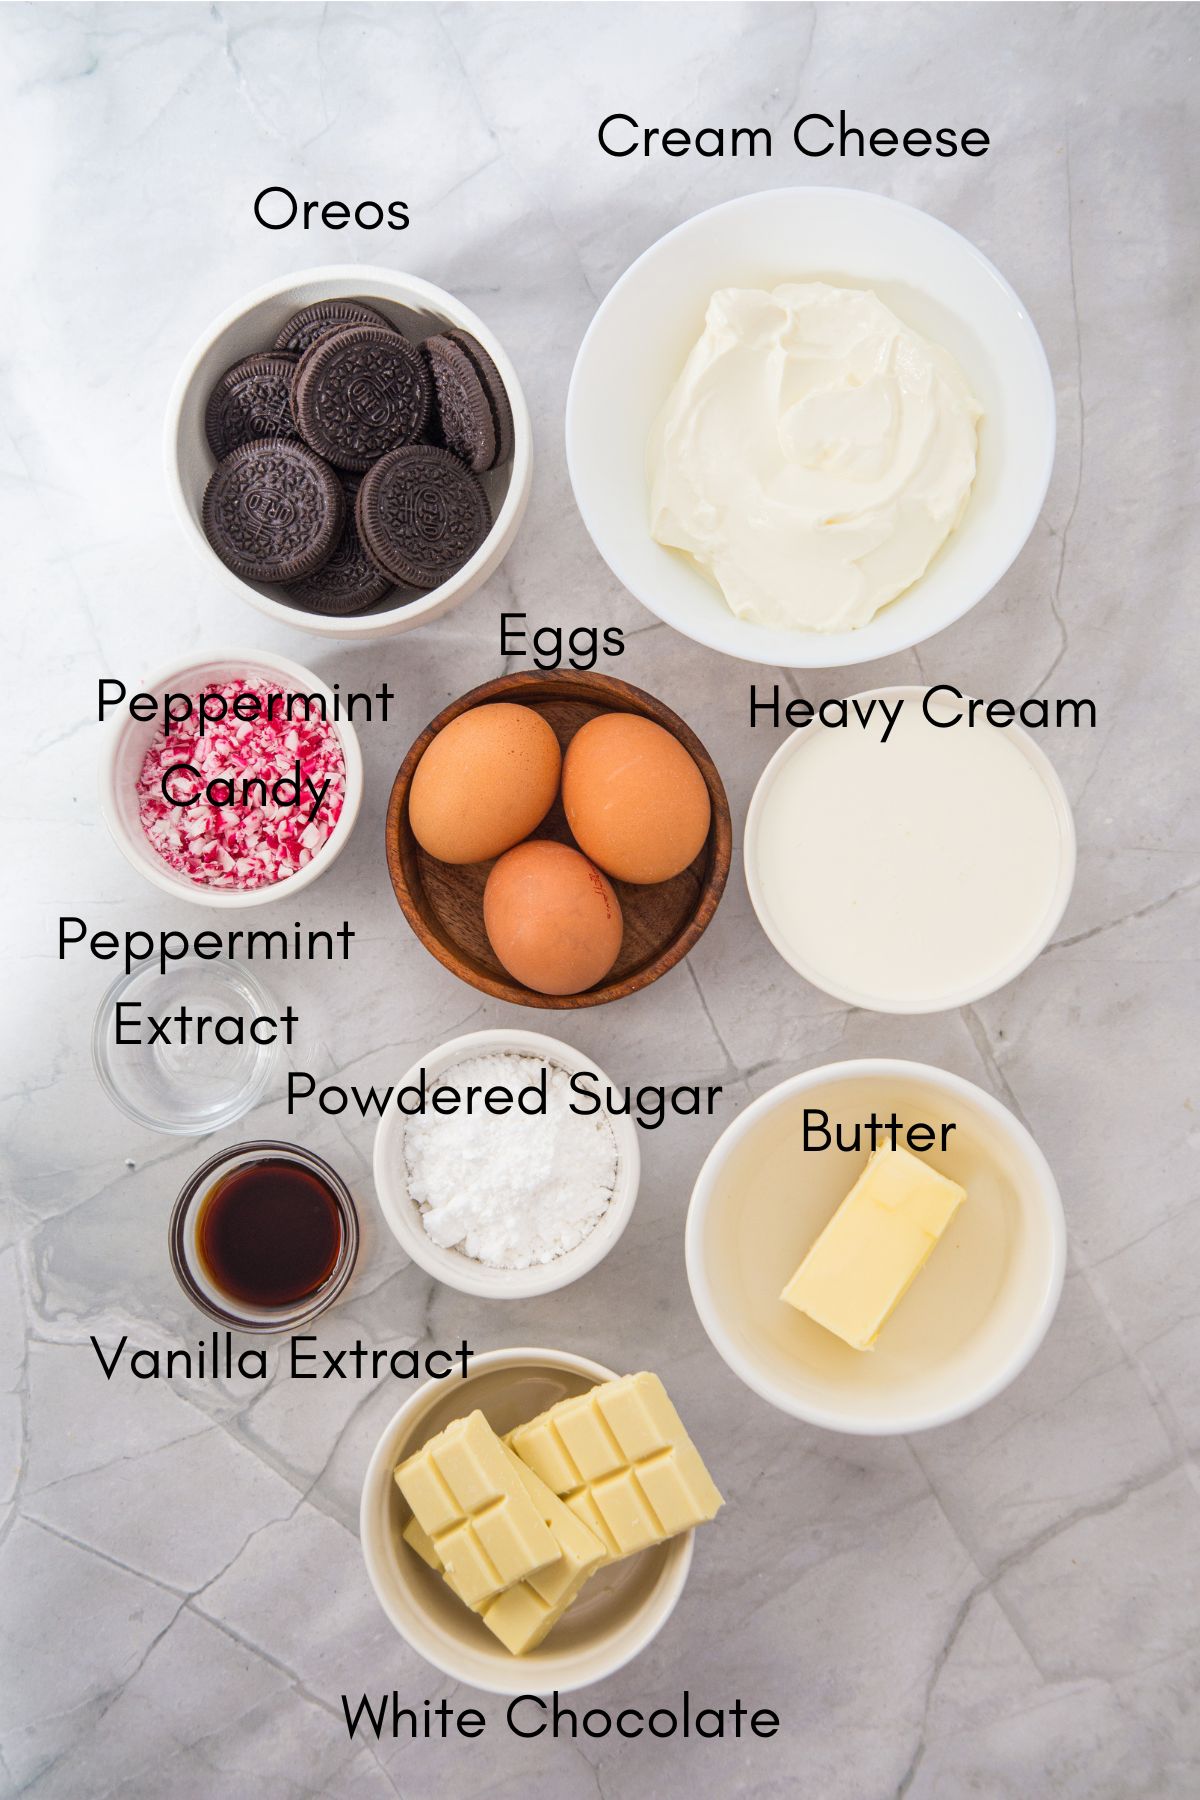
See the recipe card below for the complete ingredient amounts.
- Oreo cookies: Crush the whole cookies, including the cream filling, into fine crumbs. Regular Oreos give the crust its chocolate flavor.
- Butter: Melt the butter before stirring it into the cookie crumbs. Mix until the crumbs are evenly moistened so the crust holds together.
- Cream cheese: Use full-fat brick-style cream cheese, softened enough to mix smoothly. Cream cheese spread from a tub can have a different consistency.
- Powdered sugar: This sweetens the filling. If it has visible lumps, sift it before mixing.
- Heavy cream: Use liquid heavy cream in the filling, not cream that has already been whipped.
- Eggs: The eggs help the filling set as it bakes. Mix them in just until incorporated rather than beating the batter for several minutes.
- Peppermint candies: Finely crush peppermint candy canes or hard peppermint candies. Keep the measured amount for the filling separate from the extra candy used for decorating.
- Vanilla extract: Vanilla rounds out the chocolate and peppermint flavors.
- Peppermint extract: Use peppermint extract for the classic candy cane flavor. Extract strength can vary, so measure carefully.
- Whipped cream: Add it after the cheesecakes have chilled, shortly before serving.
- White chocolate: Use white chocolate chips or a white chocolate baking bar. If using a bar, chop it into small pieces before melting.
Peppermint Cheesecake Step-by-Step Directions
Step 1: Prepare the Pan and Oreo Crust
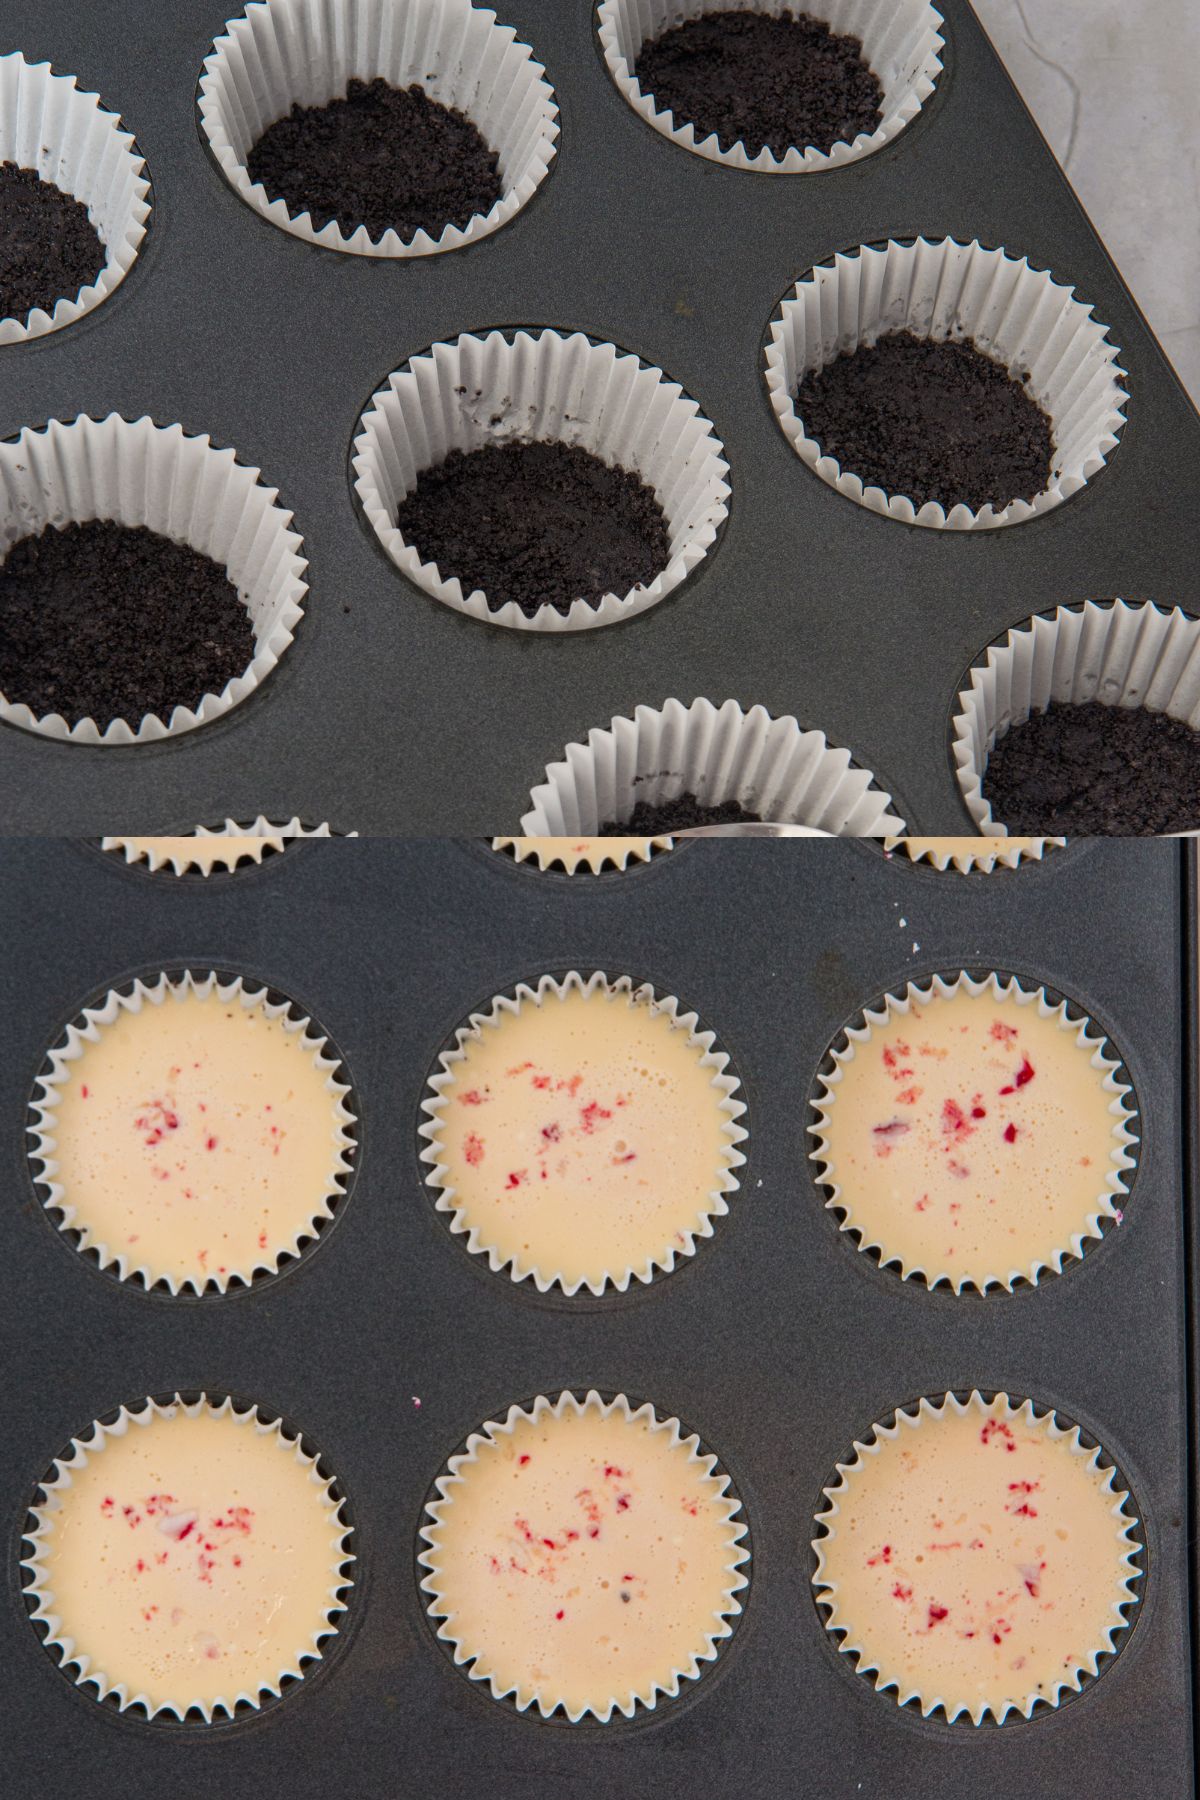
Preheat the oven to 350°F. Line a standard 12-cup muffin pan with paper cupcake liners.
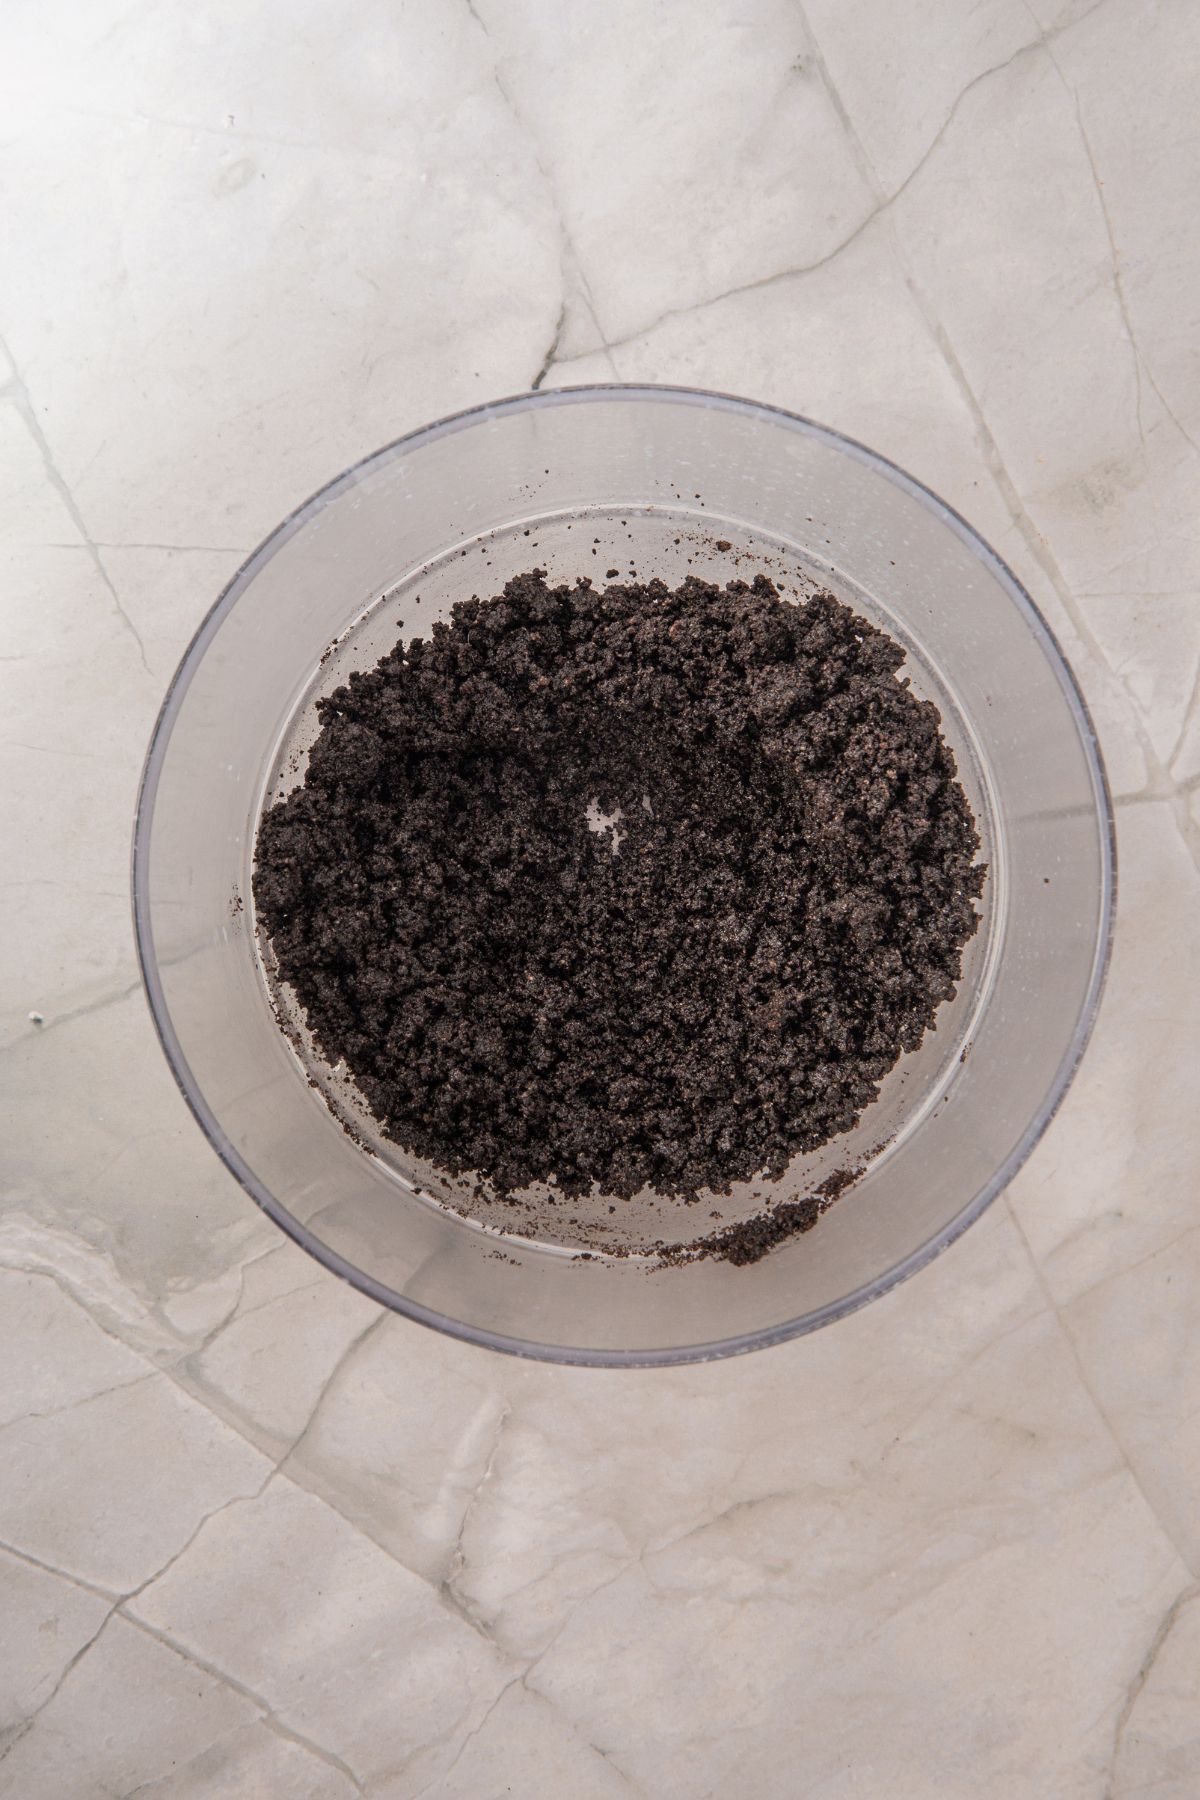
Pulse the Oreo cookies in a food processor until finely crushed. Stir the crumbs with the melted butter until evenly combined.
Divide the mixture among the liners and press firmly into the bottom of each one. The bottom of a small measuring cup or a spoon makes this easier.
Step 2: Mix the Peppermint Cheesecake Filling
Beat the softened cream cheese and powdered sugar until smooth, scraping down the bowl as needed.
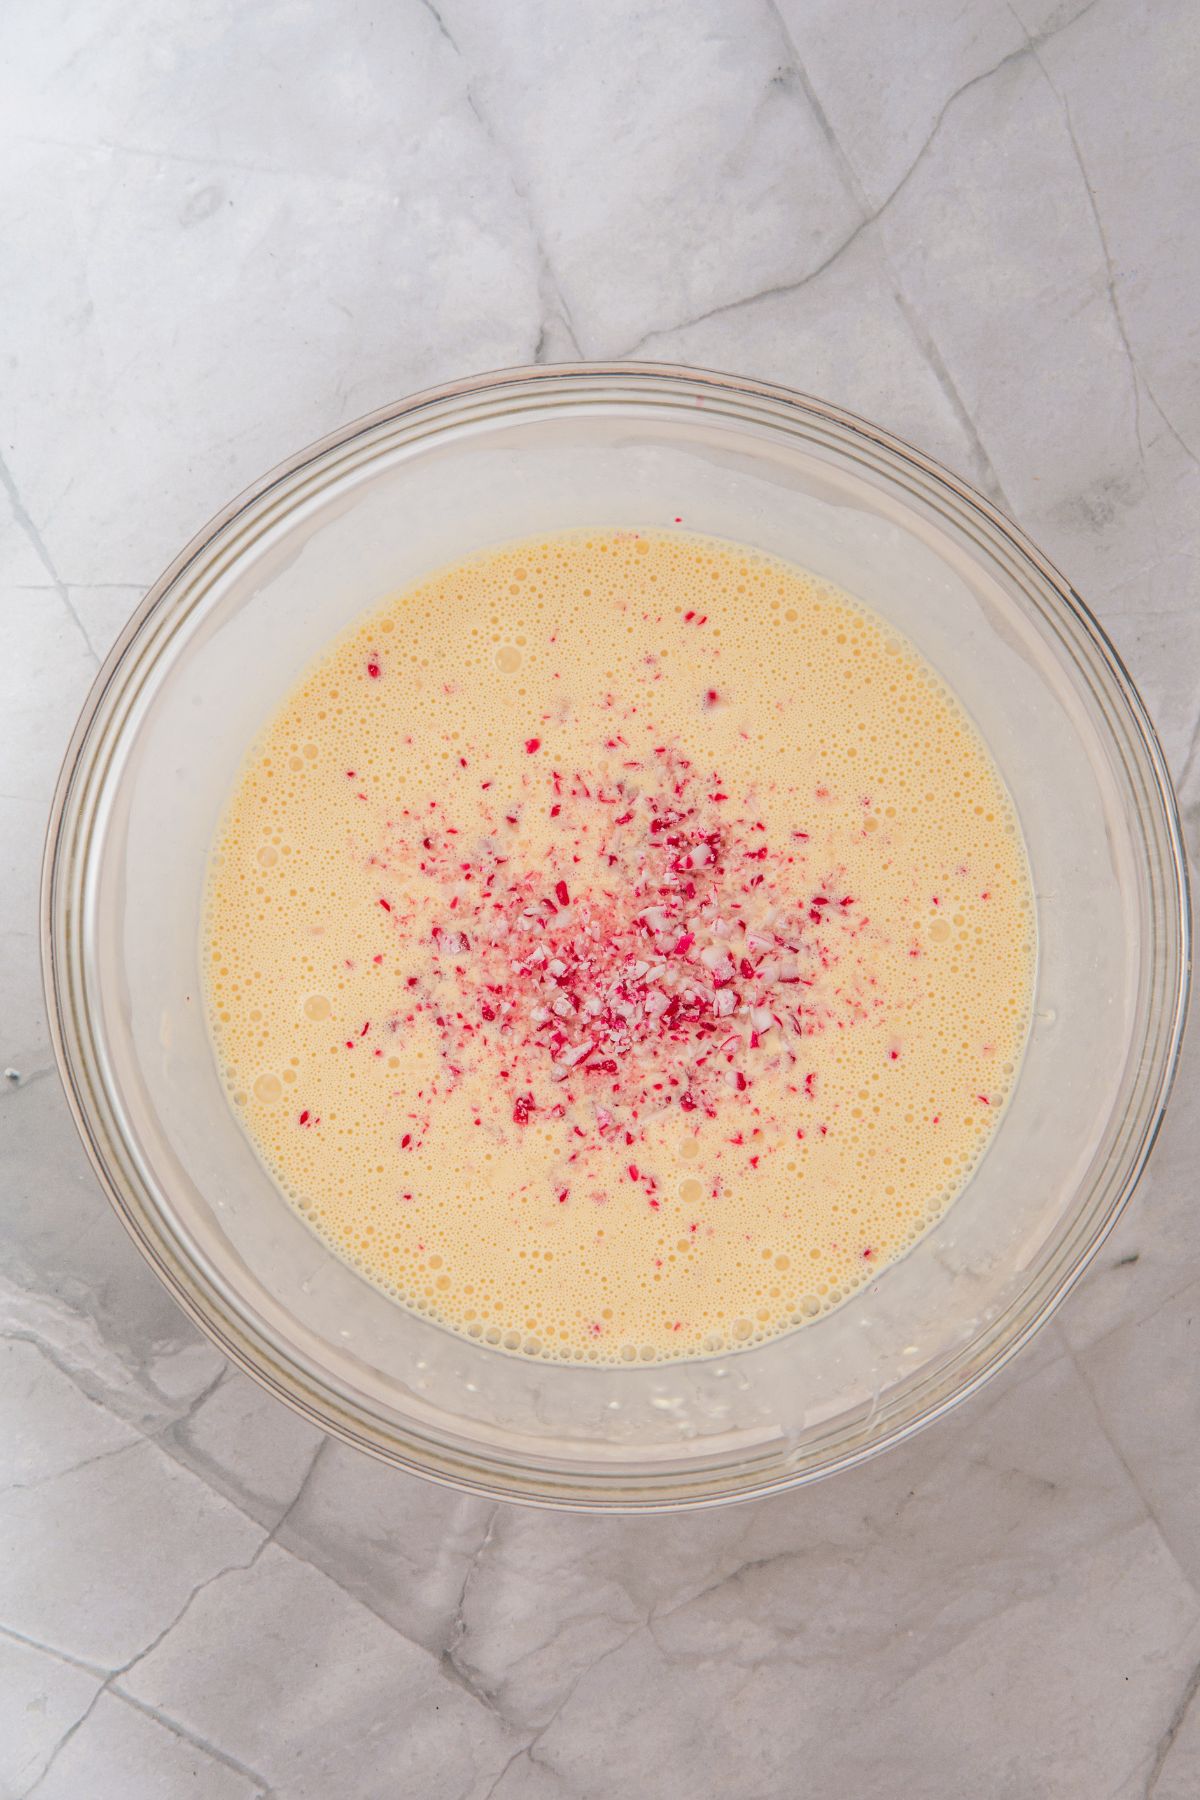
Mix in the heavy cream, vanilla extract, and peppermint extract. Add three eggs one at a time, mixing on low speed just until incorporated.
Gently fold in the finely crushed peppermint candies.
Step 3: Fill and Bake
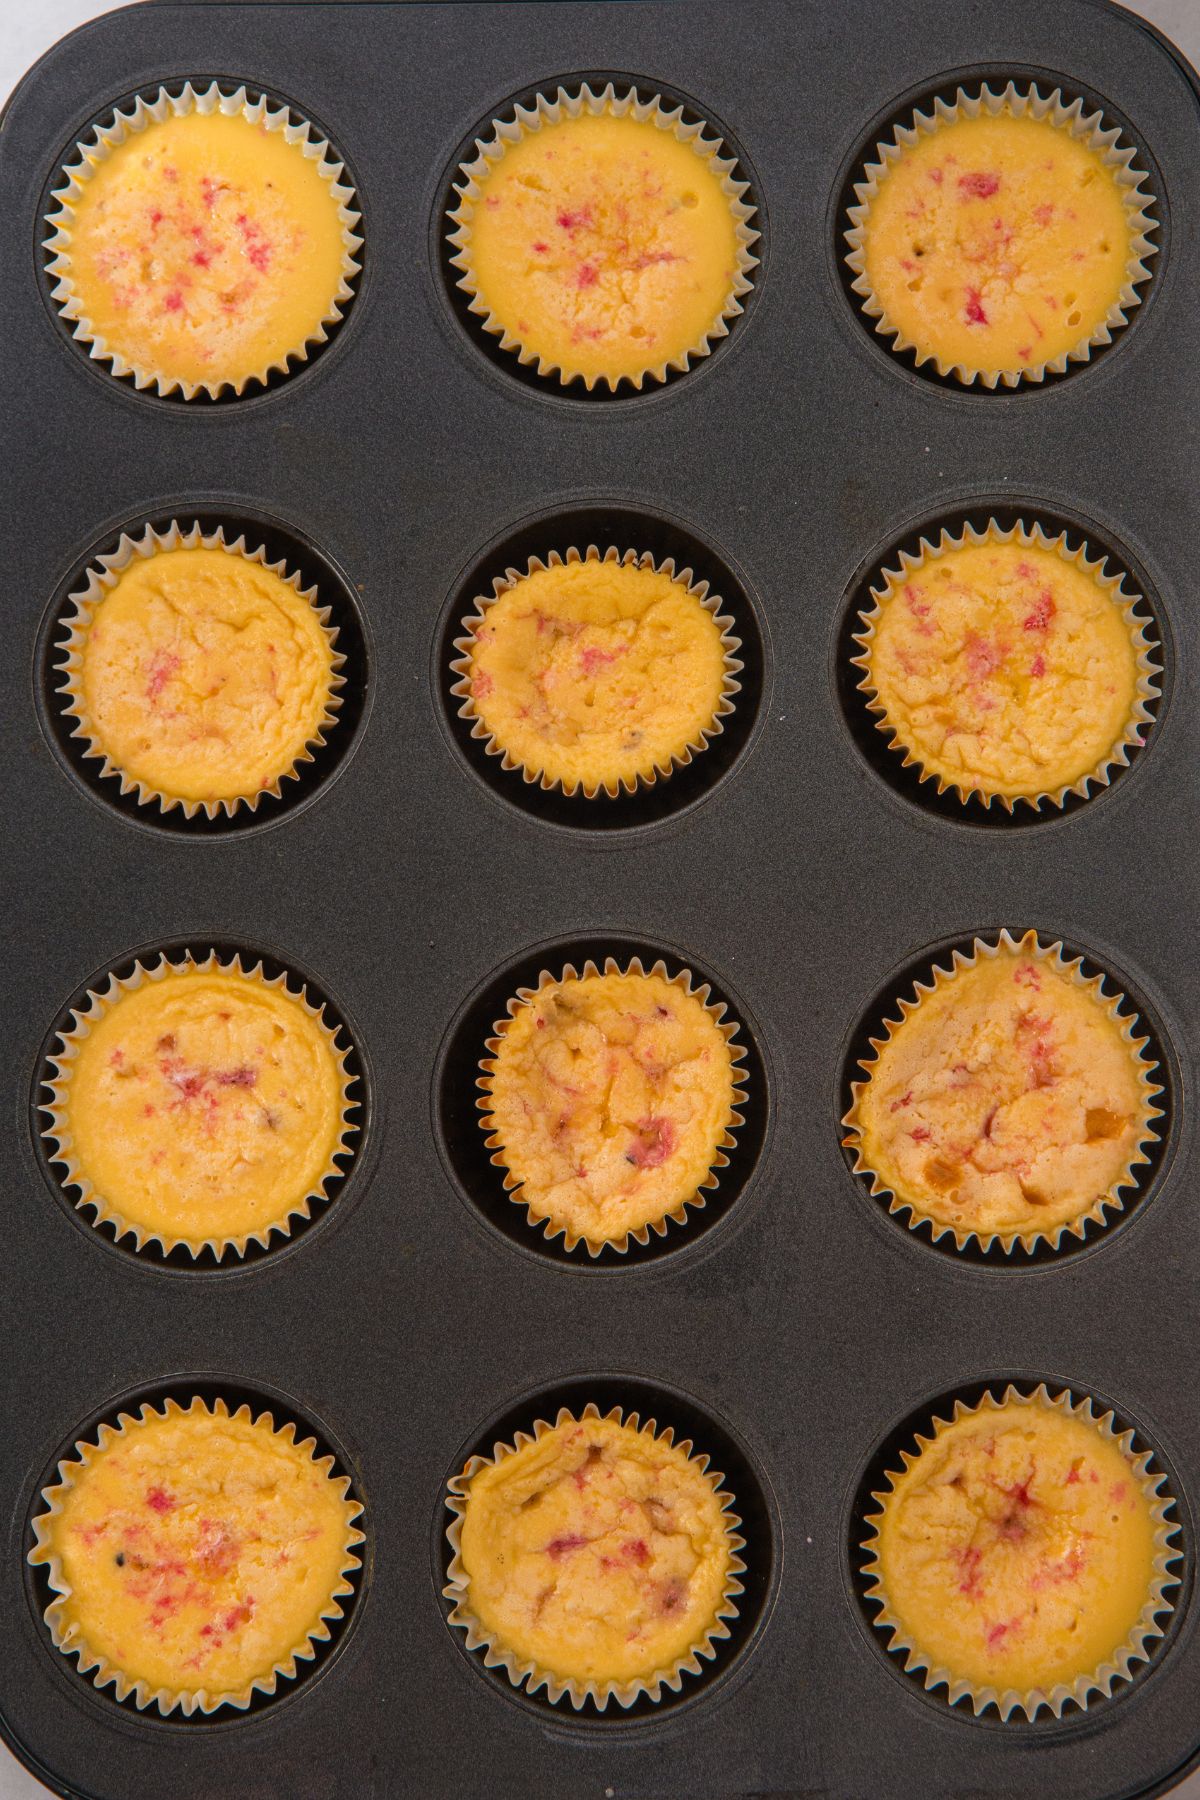
Divide the filling evenly over the Oreo crusts.
Bake for about 25 minutes, until the edges are set and the centers have a slight wobble when you gently move the pan. The centers should not look liquid. They will firm up as the cheesecakes cool and chill.
Step 4: Cool and Refrigerate
Let the cheesecakes cool in the pan for about 30 minutes.
Refrigerate for at least 3 hours, or until thoroughly chilled and firm. Leave the liners on while chilling to help the cheesecakes keep their shape.
Step 5: Melt the White Chocolate
Place the white chocolate in a dry, microwave-safe bowl.
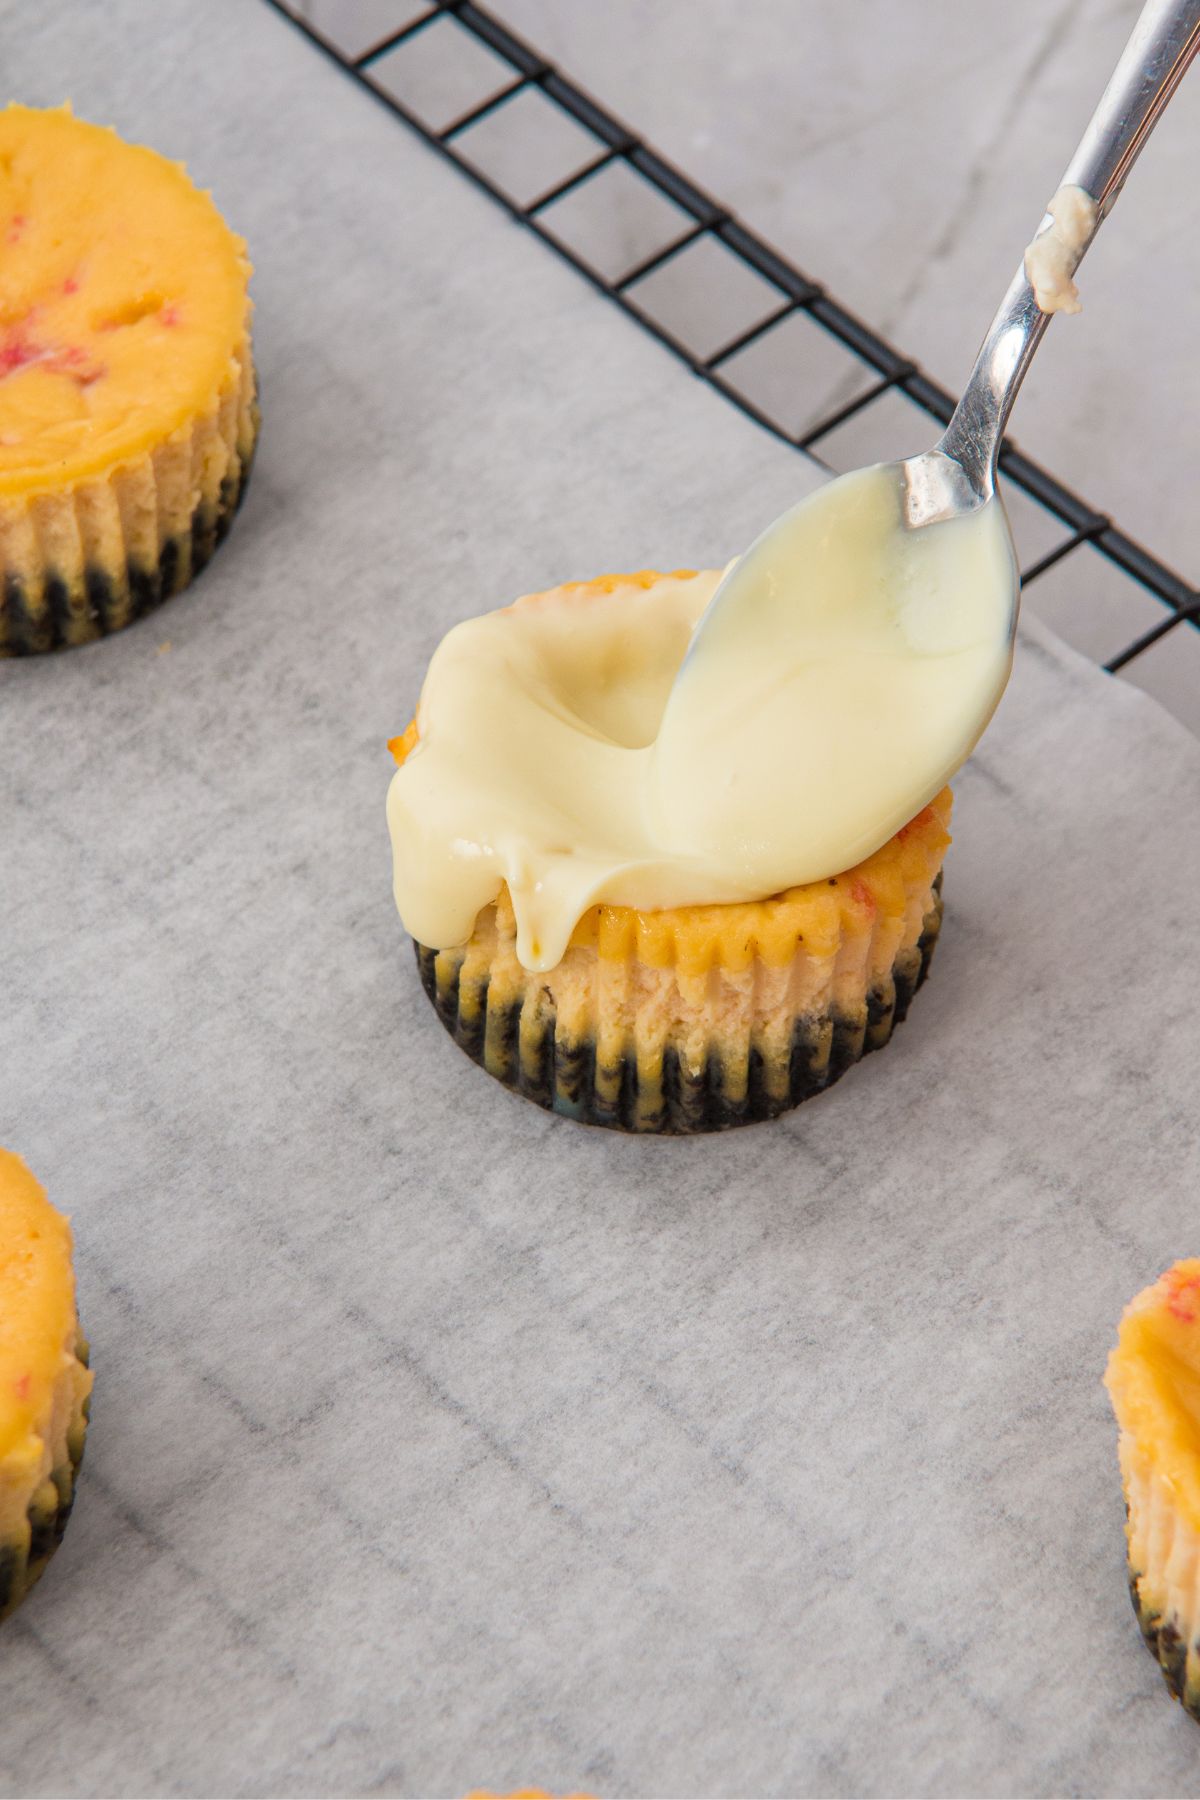
Microwave in 20-second intervals, stirring after each one, until smooth. When only a few small pieces remain, try stirring them into the warm chocolate before heating it again.
Step 6: Decorate and Serve
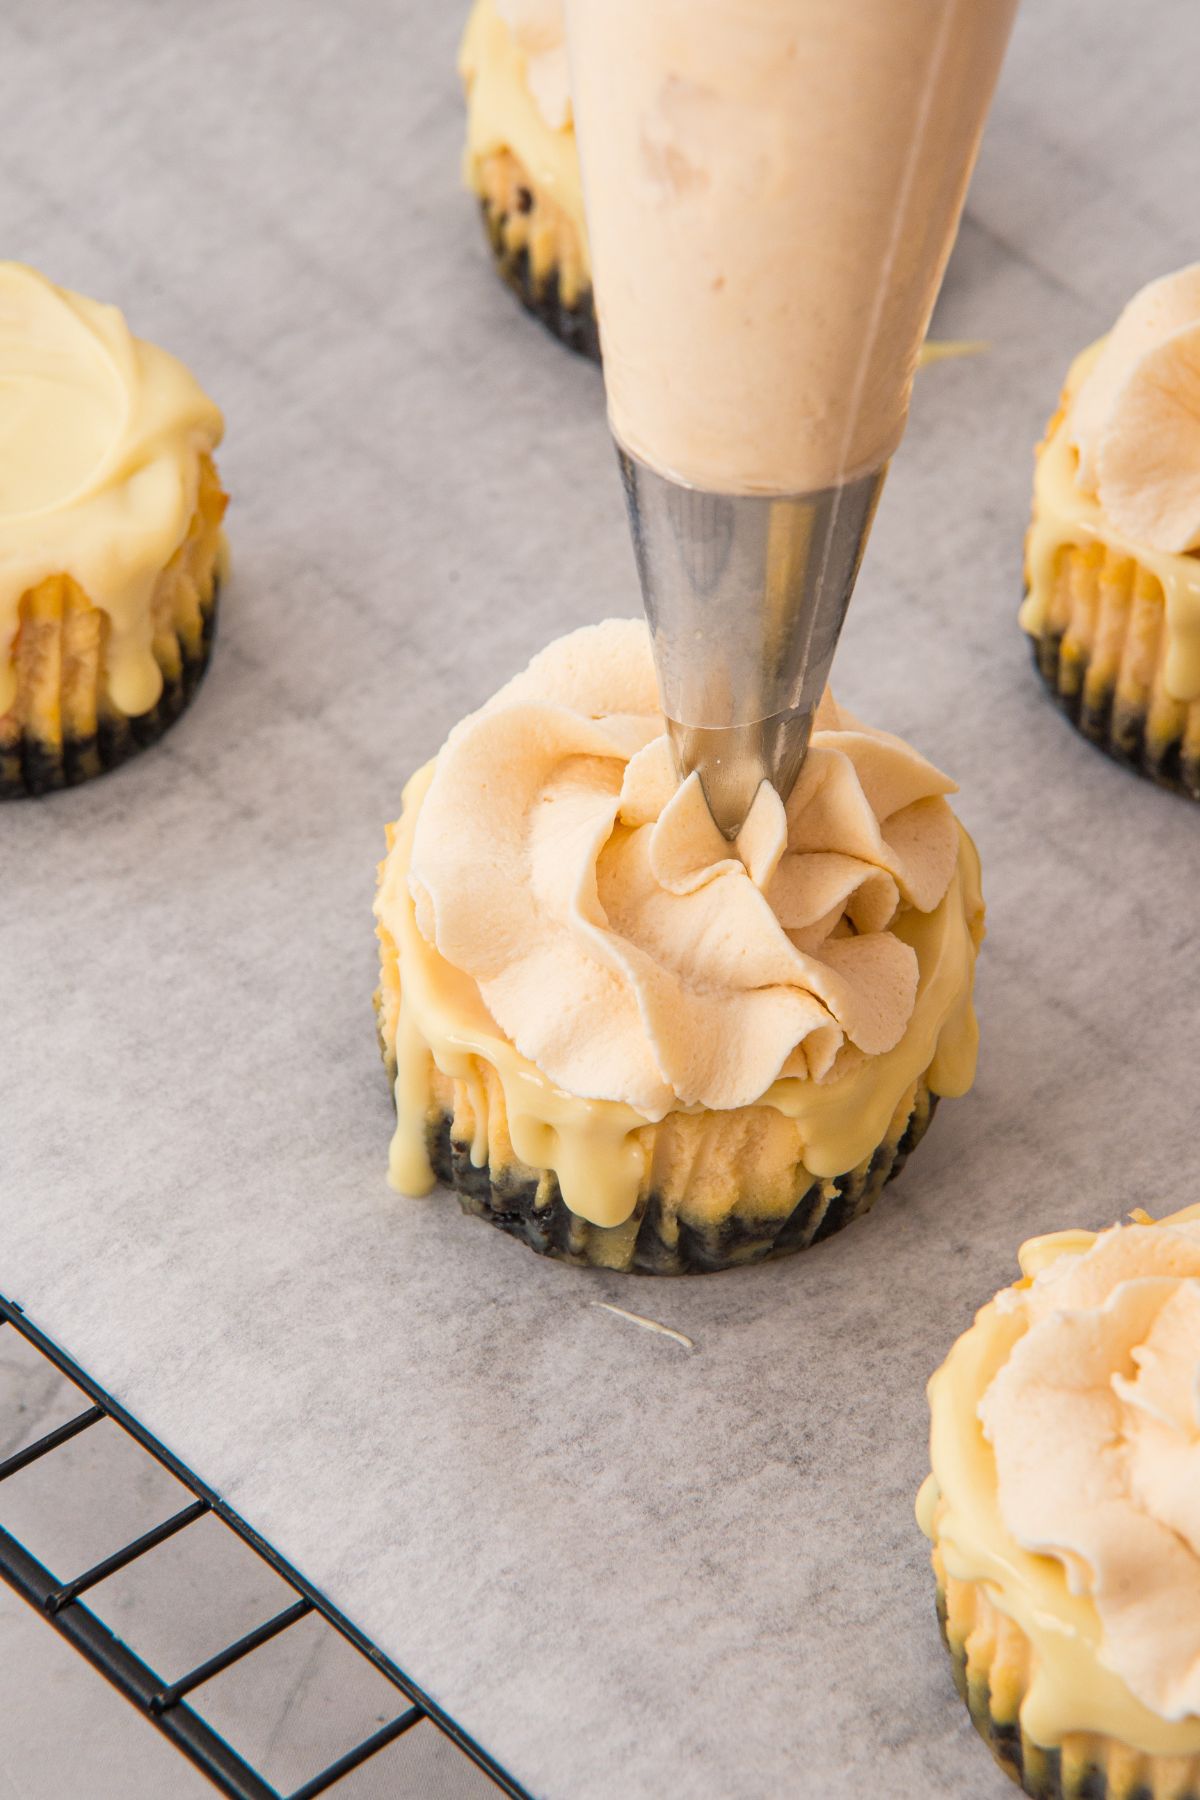
Just before serving, top each chilled cheesecake with whipped cream, a drizzle of melted white chocolate, and a sprinkle of crushed peppermint candies.
Let the melted chocolate cool slightly before drizzling it over the whipped cream. It should still be fluid, but not hot.
Pro Tips
Soften the cream cheese first. Cold cream cheese is harder to blend and can leave lumps in the filling.
Scrape the bowl. Check the sides and bottom so pockets of unmixed cream cheese do not remain.
Use a light hand after adding the eggs. Mix just until combined to avoid incorporating excess air.
Crush the candy finely. Smaller pieces distribute more evenly throughout the filling.
Press the crust firmly. A compact layer is easier to handle once the cheesecakes are chilled.
Watch the filling, not just the timer. Oven temperatures vary, so use the set edges and slight center wobble as your guide.
Give them the full chilling time. Warm cheesecakes will be softer and harder to remove neatly from their liners.
Decorate shortly before serving. Crushed peppermint can become sticky and release color as it sits on moist toppings.
A small crack does not mean you need to start over. A spoonful of whipped cream covers it nicely!
Substitutions and Variations
Candy Canes or Peppermint Candies
Use peppermint candy canes or hard peppermint candies, finely crushed. Place them in a sealed food-storage bag and crush with a rolling pin, or pulse carefully in a food processor.
Change the Decorations
Try mini chocolate chips, chocolate curls, or a small piece of candy cane on top. Keep larger candy pieces for decorating rather than folding them into the filling.
Leave Off the White Chocolate
The white chocolate drizzle is a finishing touch. You can serve the cheesecakes with whipped cream and crushed peppermint alone if you prefer.
Using Gluten-Free Cookies
If you need a gluten-free version, choose labeled gluten-free chocolate sandwich cookies and check every other ingredient, including the candy and toppings. A different cookie may change the texture of the crust.
For consistent results, keep the filling ingredients and amounts as written. Liquid sweeteners and sugar substitutes are not direct replacements for the powdered sugar in this recipe.
Storage and Freezing
Refrigerating
Store the cheesecakes in a covered container in the refrigerator. For best quality, enjoy them within 3 to 4 days.
Keep undecorated cheesecakes separate from the toppings whenever possible. Whipped cream and crushed peppermint look their best when added shortly before serving.
Making Ahead
Bake and chill the cheesecakes 1 to 2 days before serving. Keep them covered in the refrigerator, then add the whipped cream, white chocolate, and peppermint garnish before your gathering.
Freezing
Freeze the cheesecakes without toppings. Place the chilled cheesecakes on a tray and freeze until firm, then wrap individually and transfer to a freezer-safe container.
Freeze for up to 2 months for best quality.
Thawing
Thaw overnight in the refrigerator. Once thawed, add the toppings and serve chilled.
What to Serve With Mini Peppermint Cheesecakes
Serve these peppermint cheesecakes with hot tea, coffee, or hot chocolate for a holiday dessert.
For a Christmas dessert platter, add Red Velvet Crinkle Cookies and Christmas Snowball Cookies. The different colors and textures make a pretty assortment without needing elaborate decorations.
If you are planning a smaller gathering, my Tea for Two Party Ideas can help you put together a simple afternoon tea.
Bring out a small batch of cheesecakes at a time and keep the remaining ones refrigerated until needed.
Peppermint Cheesecake FAQs
Can I make Mini Peppermint Cheesecakes ahead of time?
Yes! These mini peppermint cheesecakes are perfect for making ahead. Prepare them up to 2 days in advance and store them covered in the refrigerator until ready to serve.
Do mini cheesecakes need a water bath?
No water bath is required for this mini cheesecake recipe. Their small size allows them to bake evenly without cracking.
Can I freeze peppermint mini cheesecakes?
Absolutely. Freeze the cheesecakes without toppings until firm, then wrap tightly. They can be frozen for up to 2 months. Thaw overnight in the refrigerator before decorating.
What’s the best crust for peppermint cheesecakes?
An Oreo cookie crust pairs beautifully with peppermint, but chocolate graham crackers or gluten-free chocolate cookies also work well.
More Christmas Desserts
Looking for a few more treats for your holiday baking list?
Until next time, keep life sweet—one bite at a time.
Enjoy These Holiday Desserts
If you loved this recipe and made it, please give it a ⭐⭐⭐⭐⭐ review! Leave a comment about your experience on the recipe comment section. That will help get more eyes on it. You can also pin it to Pinterest or share it on Facebook.
Mini Peppermint Cheesecake Recipe
Mini Peppermint Cheesecakes with Oreo Crust
Equipment
- Standard 12-cup muffin pan
- Paper cupcake liners
- Food processor, or a food-storage bag and rolling pin
- Mixing bowl and electric mixer
- Rubber spatula
- Microwave-safe bowl
Ingredients
Crust
- 16 oreo cookies crushed
- 1/4 cup melted butter
Filling
- 8 ounces cream cheese
- 1/2 cup heavy cream
- 3 eggs Large
- 1/4 cup candies peppermint crushed or candy canes
- 3/4 cup powdered sugar
- 1 teaspoon vanilla extract
- 1/2 teaspoon peppermint extract
Topping
- Whipped cream
- 1/2 cup White chocolate chips or bars, melted
- Crushed candies peppermint for garnish
Instructions
- Preheat the oven to 350°F (175°C). Line a 12-cup muffin tin with paper liners and set aside.
Oreo Crust
- Place 16 Oreo cookies in a food processor and pulse until finely crushed. Transfer the crumbs to a bowl and stir in ¼ cup melted butter until evenly combined. Spoon about 1½ tablespoons of the mixture into each muffin cup and press firmly into the bottom to form the crust.
Filling
- In a large mixing bowl, combine 8 oz cream cheese, ½ cup heavy cream, ¾ cup powdered sugar, 3 eggs, 1 teaspoon vanilla extract, and ½ teaspoon peppermint extract. Mix until smooth and fully blended, scraping down the sides of the bowl as needed. Gently fold in ¼ cup crushed peppermint candies.
- Divide the cheesecake filling evenly over the prepared crusts, filling each liner nearly full. Bake for 25 minutes, or until the centers are set and just slightly jiggly.
- Remove the pan from the oven and let the mini cheesecakes cool in the pan for about 30 minutes. Transfer to the refrigerator and chill for at least 3 hours, or until completely set.
- Place ½ cup white chocolate chips in a microwave-safe bowl. Microwave in 20-second intervals, stirring well after each interval, until smooth and fully melted. Take care not to overheat, as white chocolate can scorch easily.
- Just before serving, top each mini cheesecake with whipped cream, drizzle with the melted white chocolate, and finish with a sprinkle of crushed peppermint candies.
Notes
- Use a standard-size muffin pan.
- Crush the whole Oreos, including the cream filling.
- Mix just until combined after adding the eggs.
- Add toppings shortly before serving.
- Refrigerate covered and enjoy within 3 to 4 days for best quality.
- Freeze without toppings for up to 2 months. Thaw overnight in the refrigerator before decorating.
