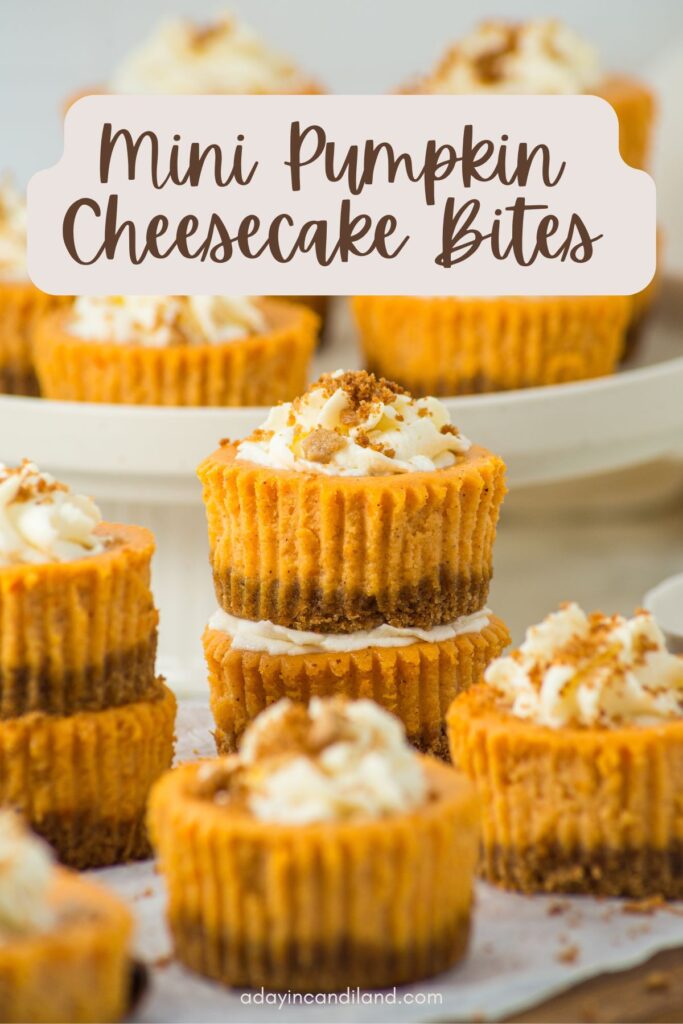
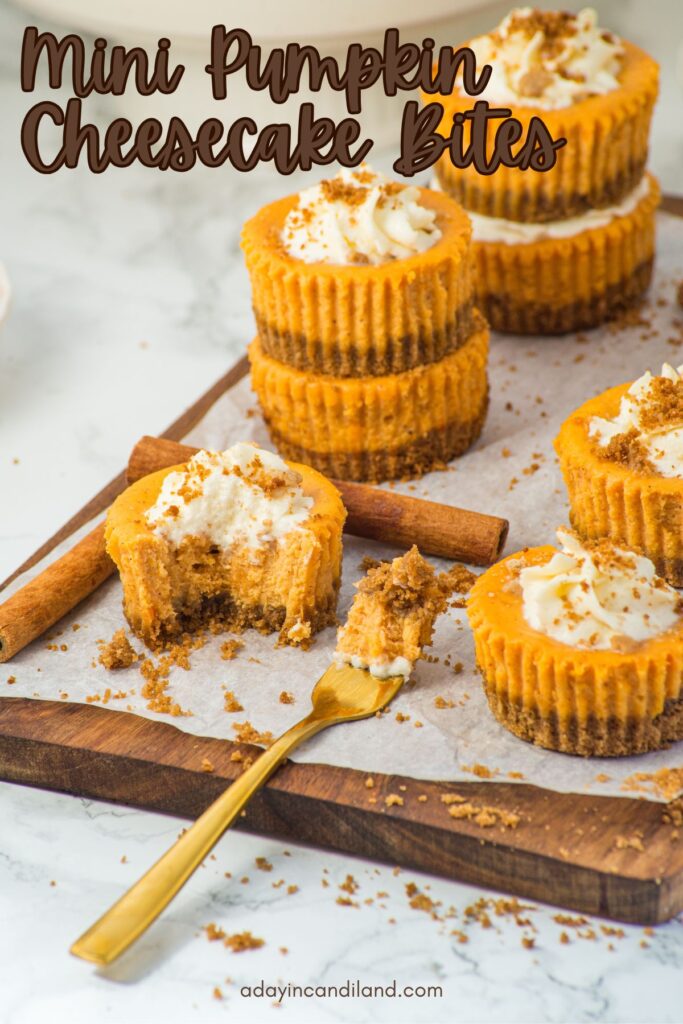
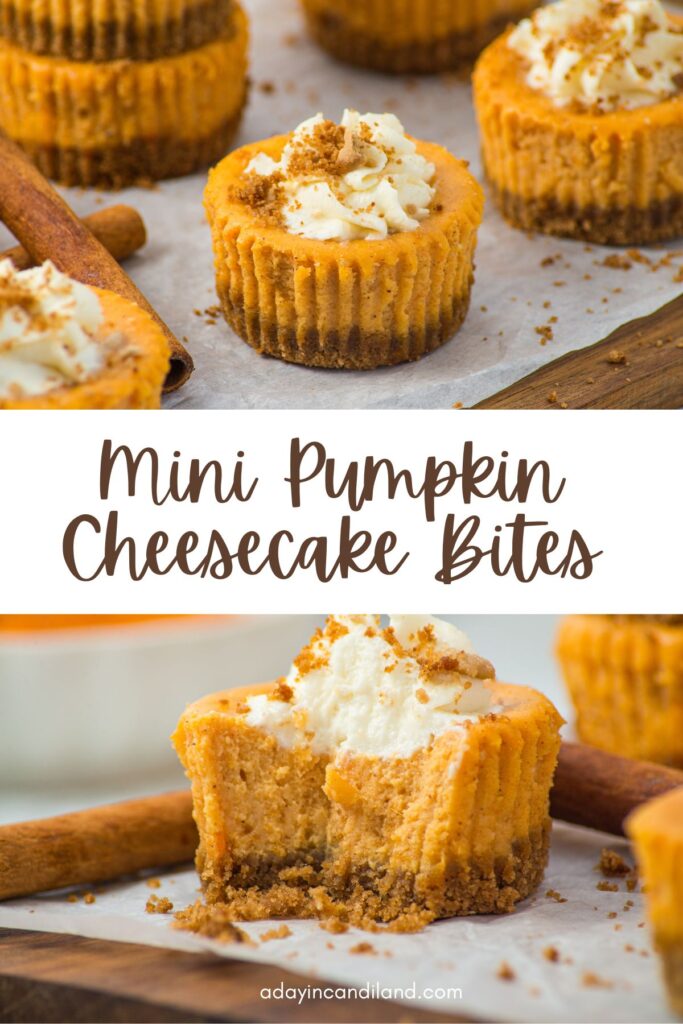
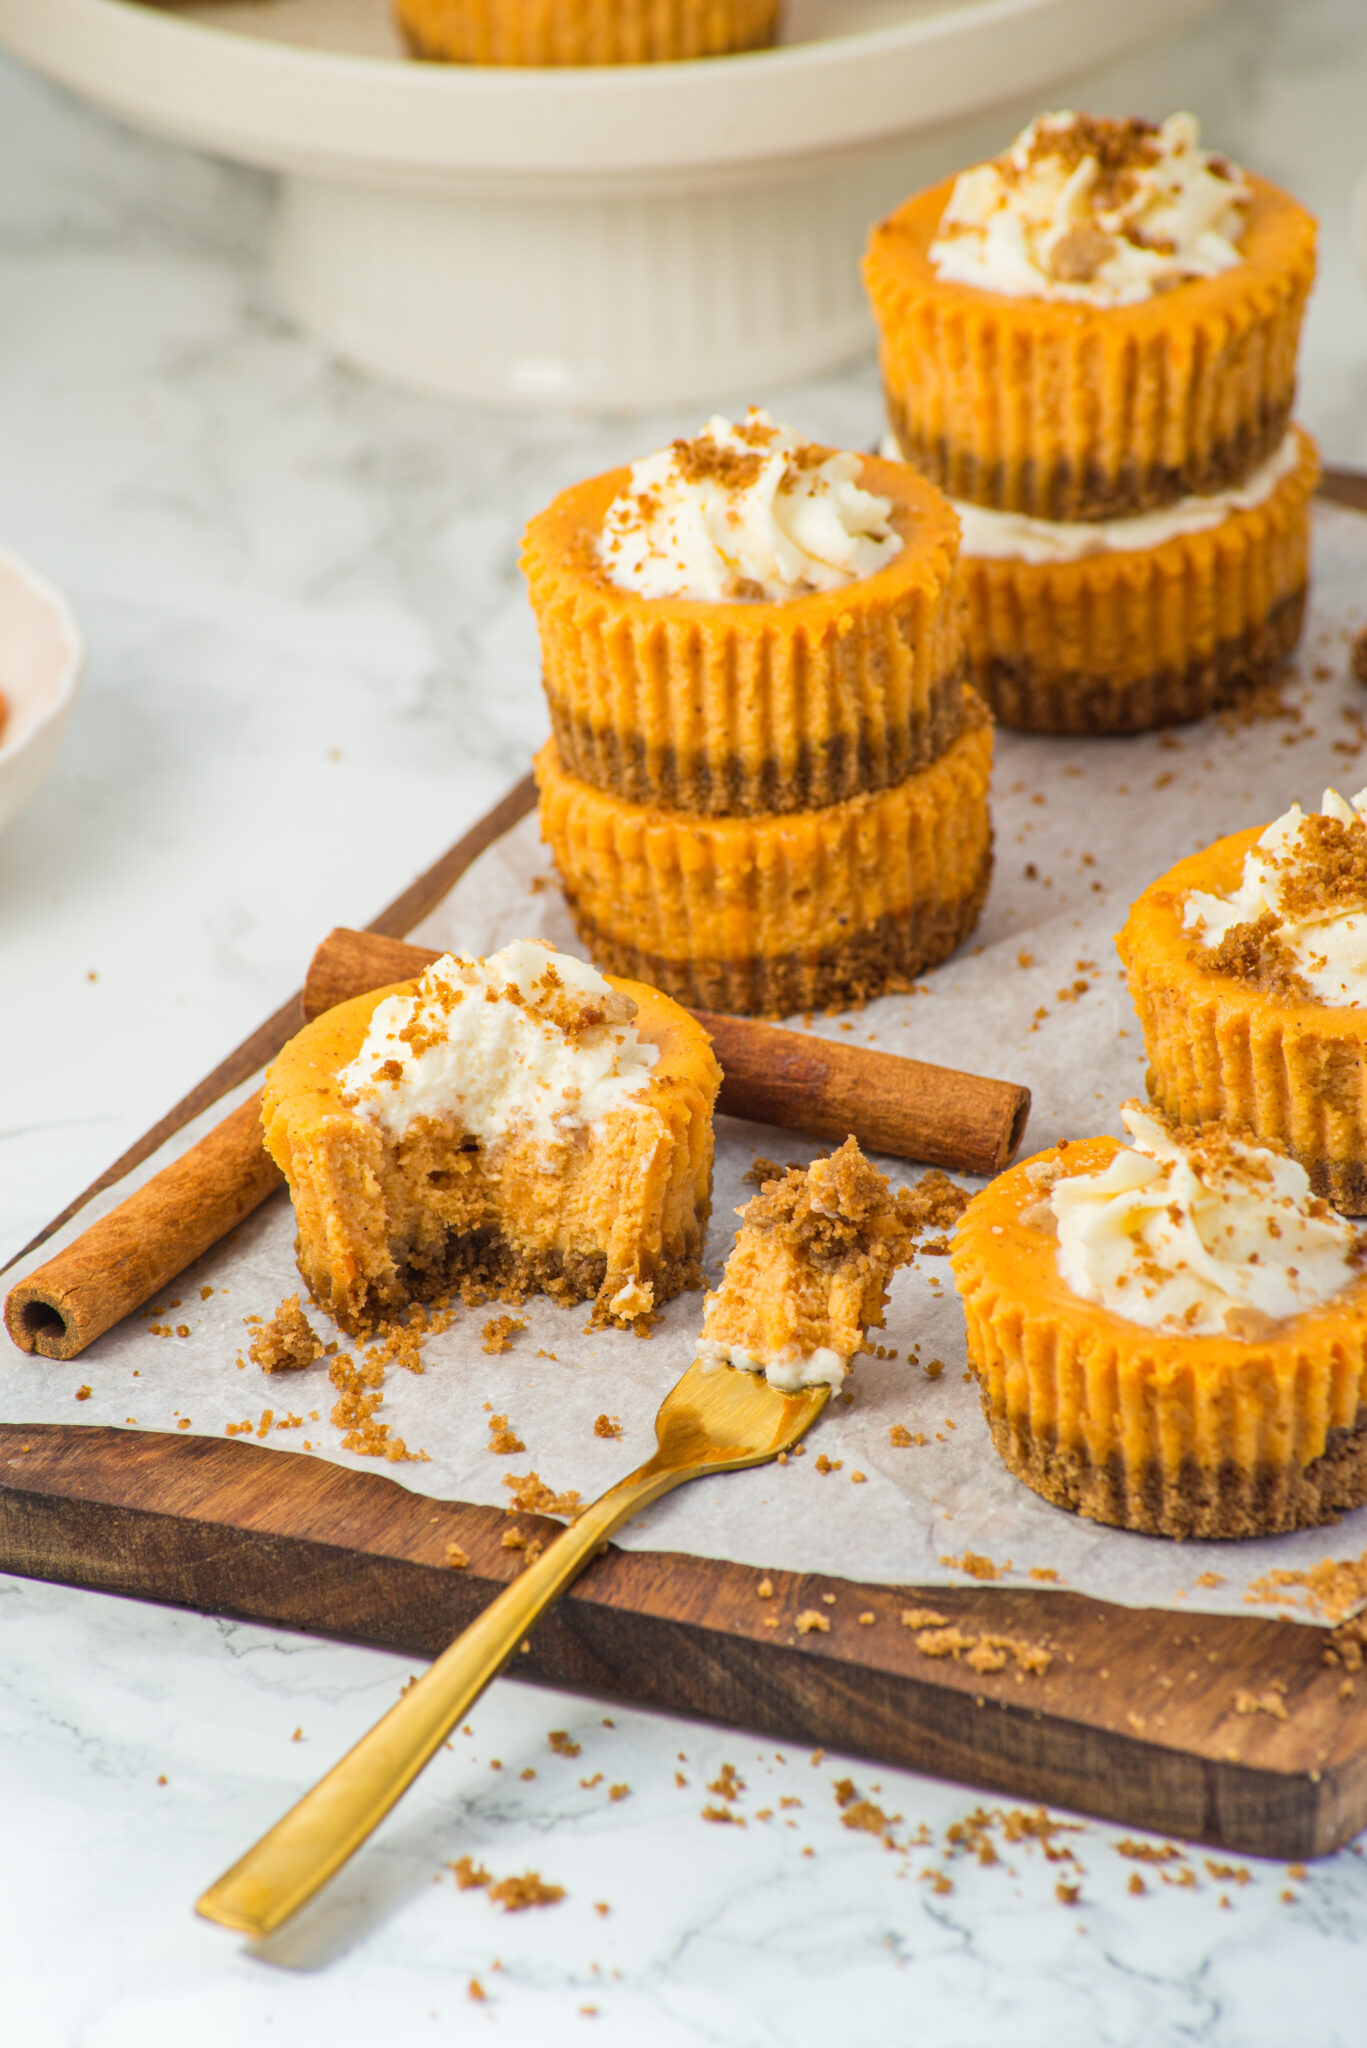
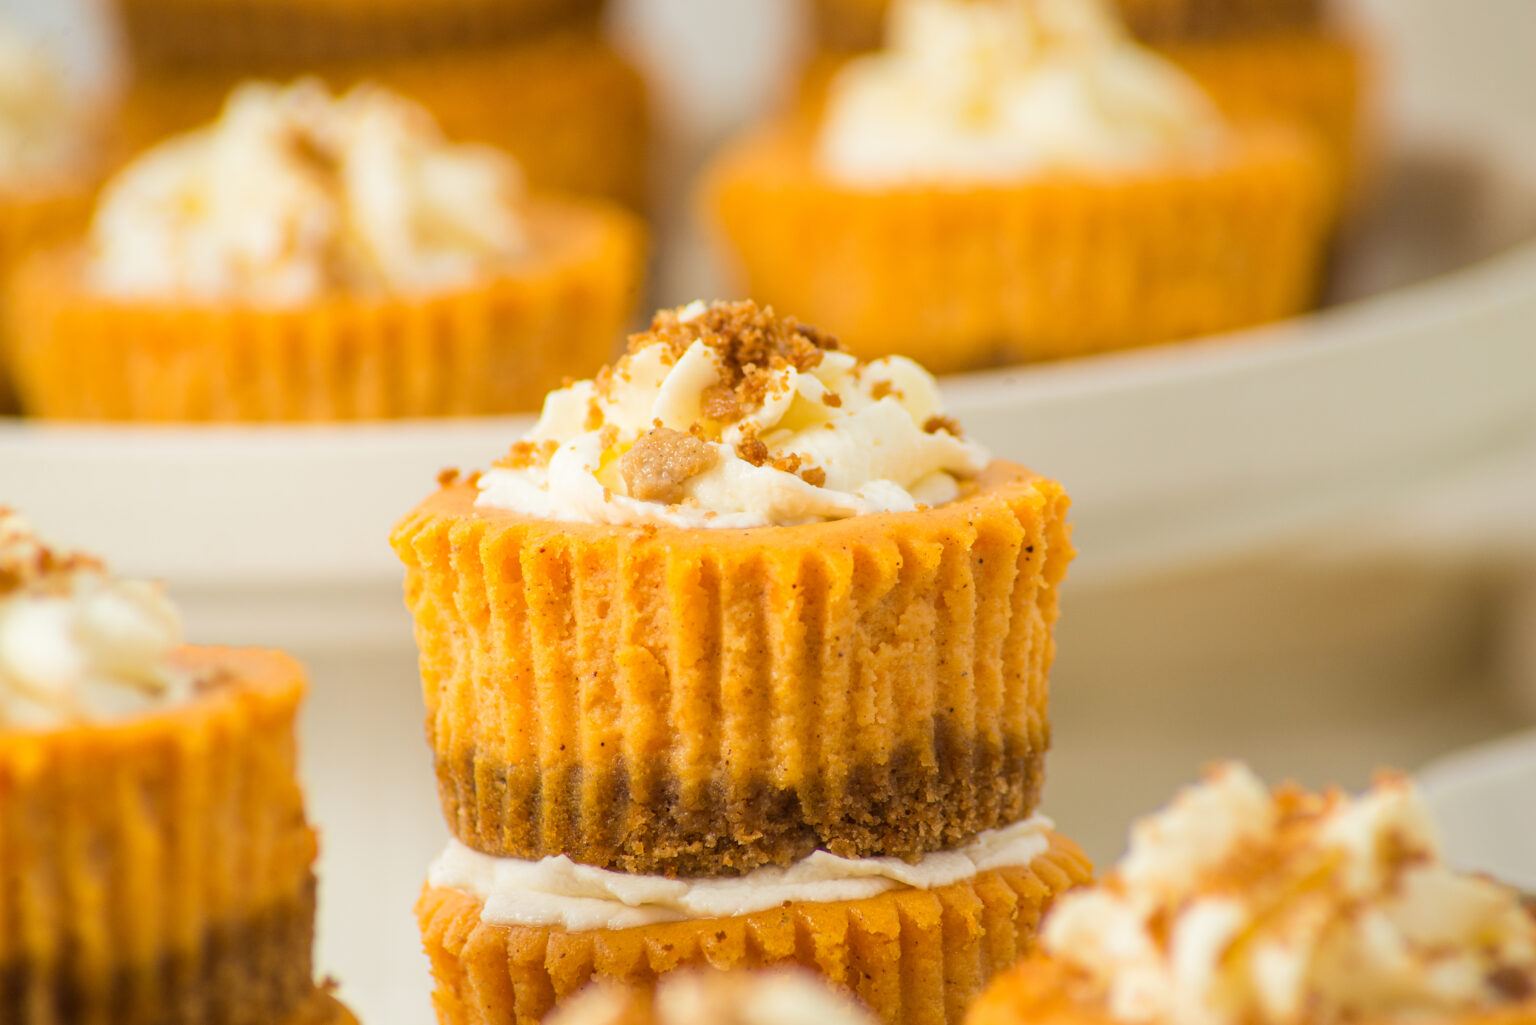
Mini Pumpkin Cheesecakes are just the right amount of pumpkin goodness and have all the flavors of fall in this two-bite dessert.
It’s that time of year again. The leaves are turning, the sun is setting sooner, and it’s time to get out your sweaters and boots. One of the best things about fall, in my opinion, is pumpkin spice everything.
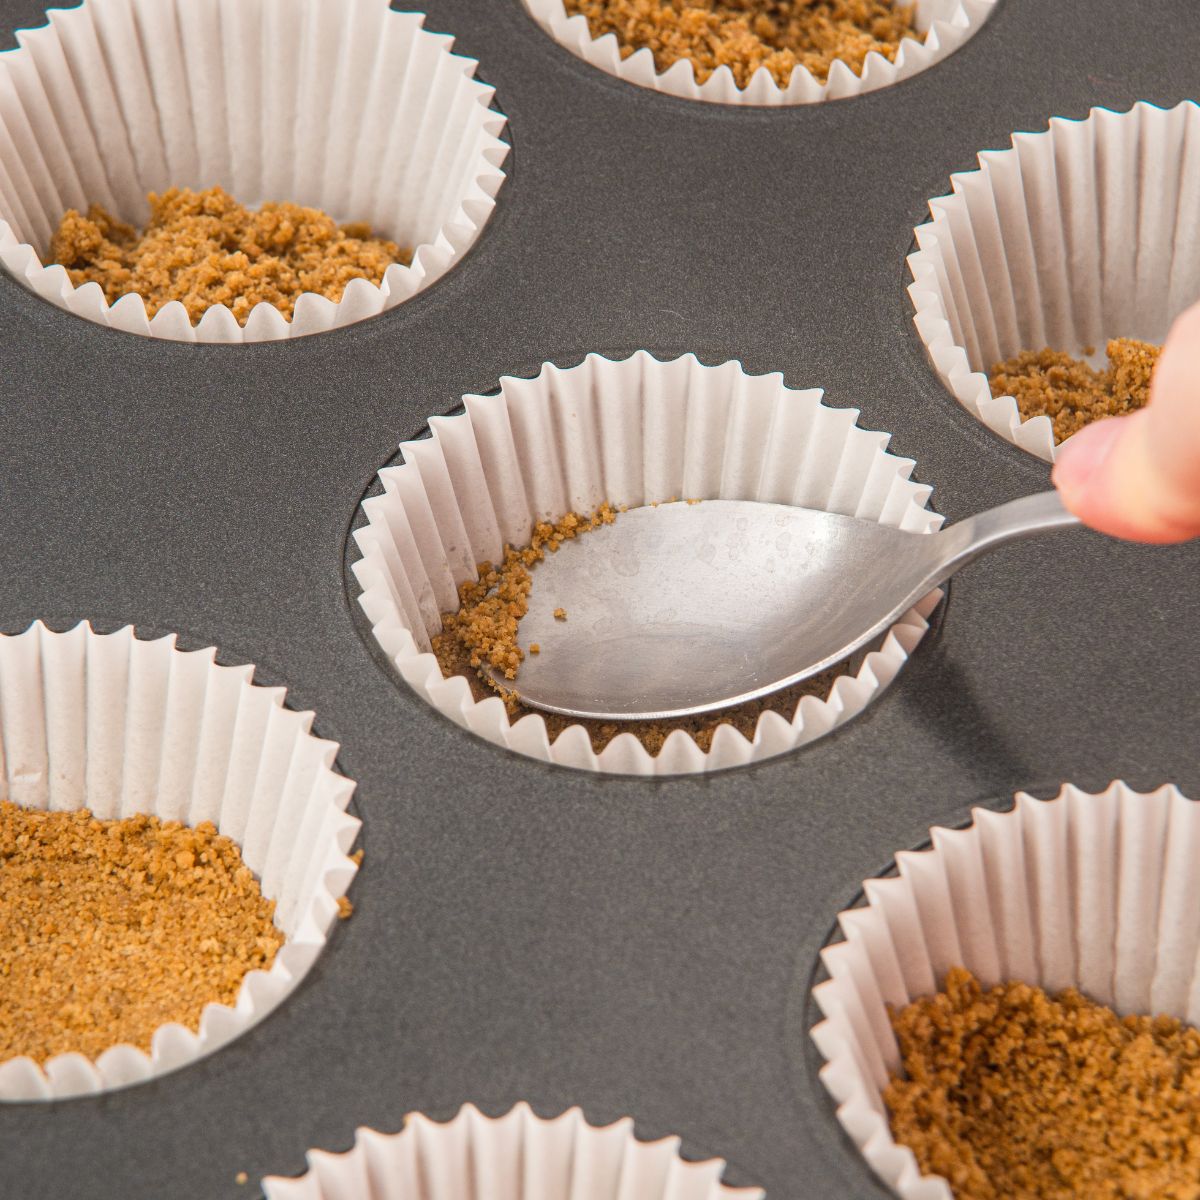
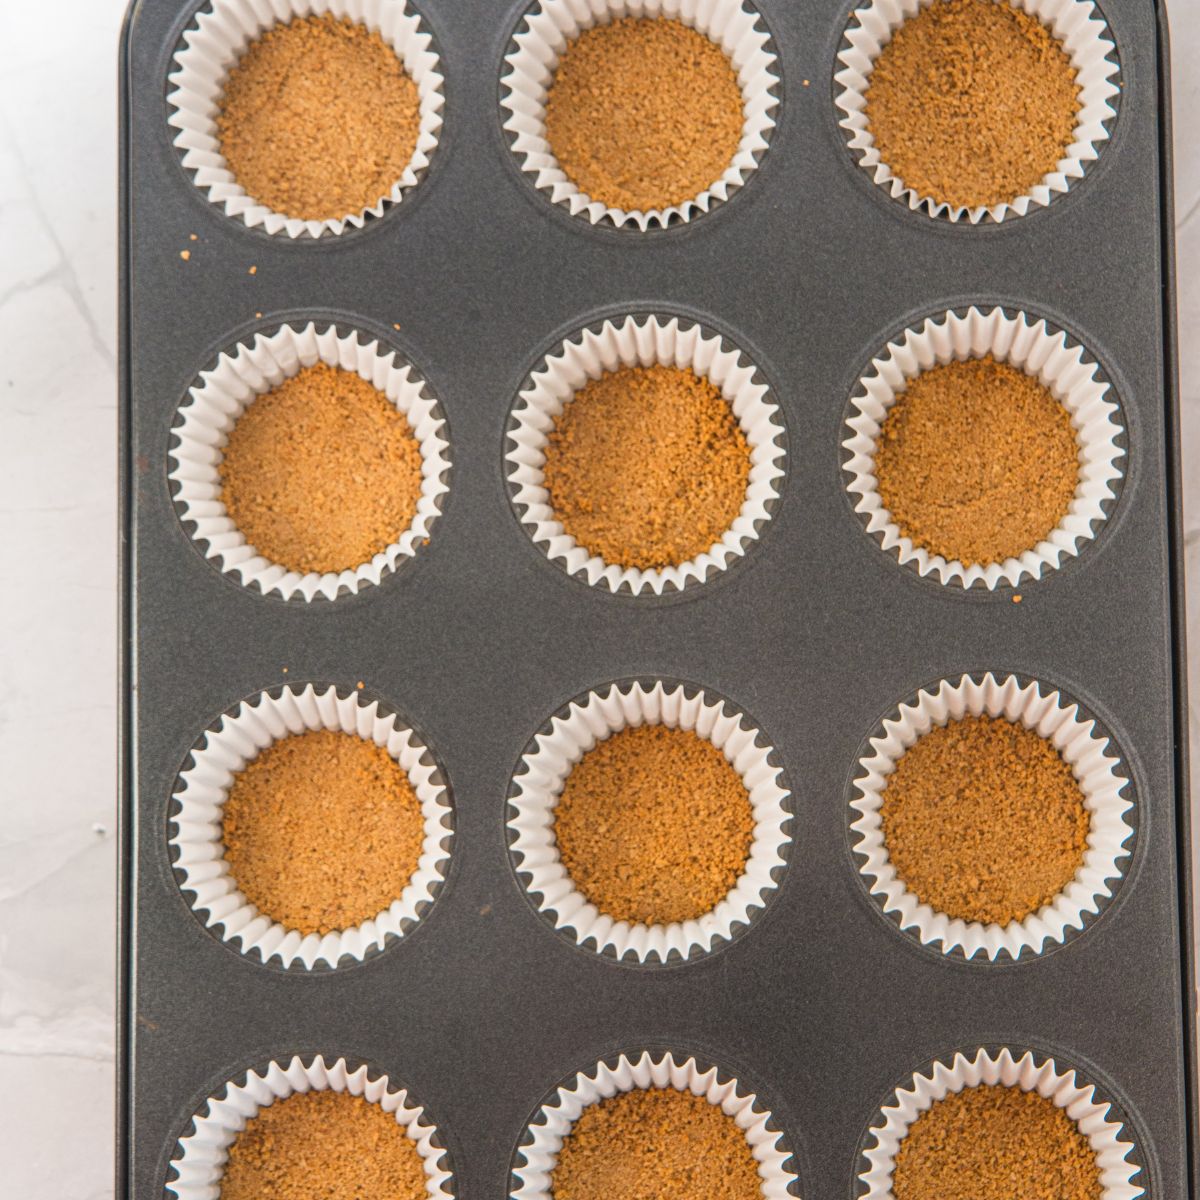
It starts with an easy spice crust in the bottom of the pan or liner and bakes for 8 minutes. Then fill with the pumpkin cream cheese mixture and bake for 25 minutes. When done, cool in the refrigerator for a few hours.
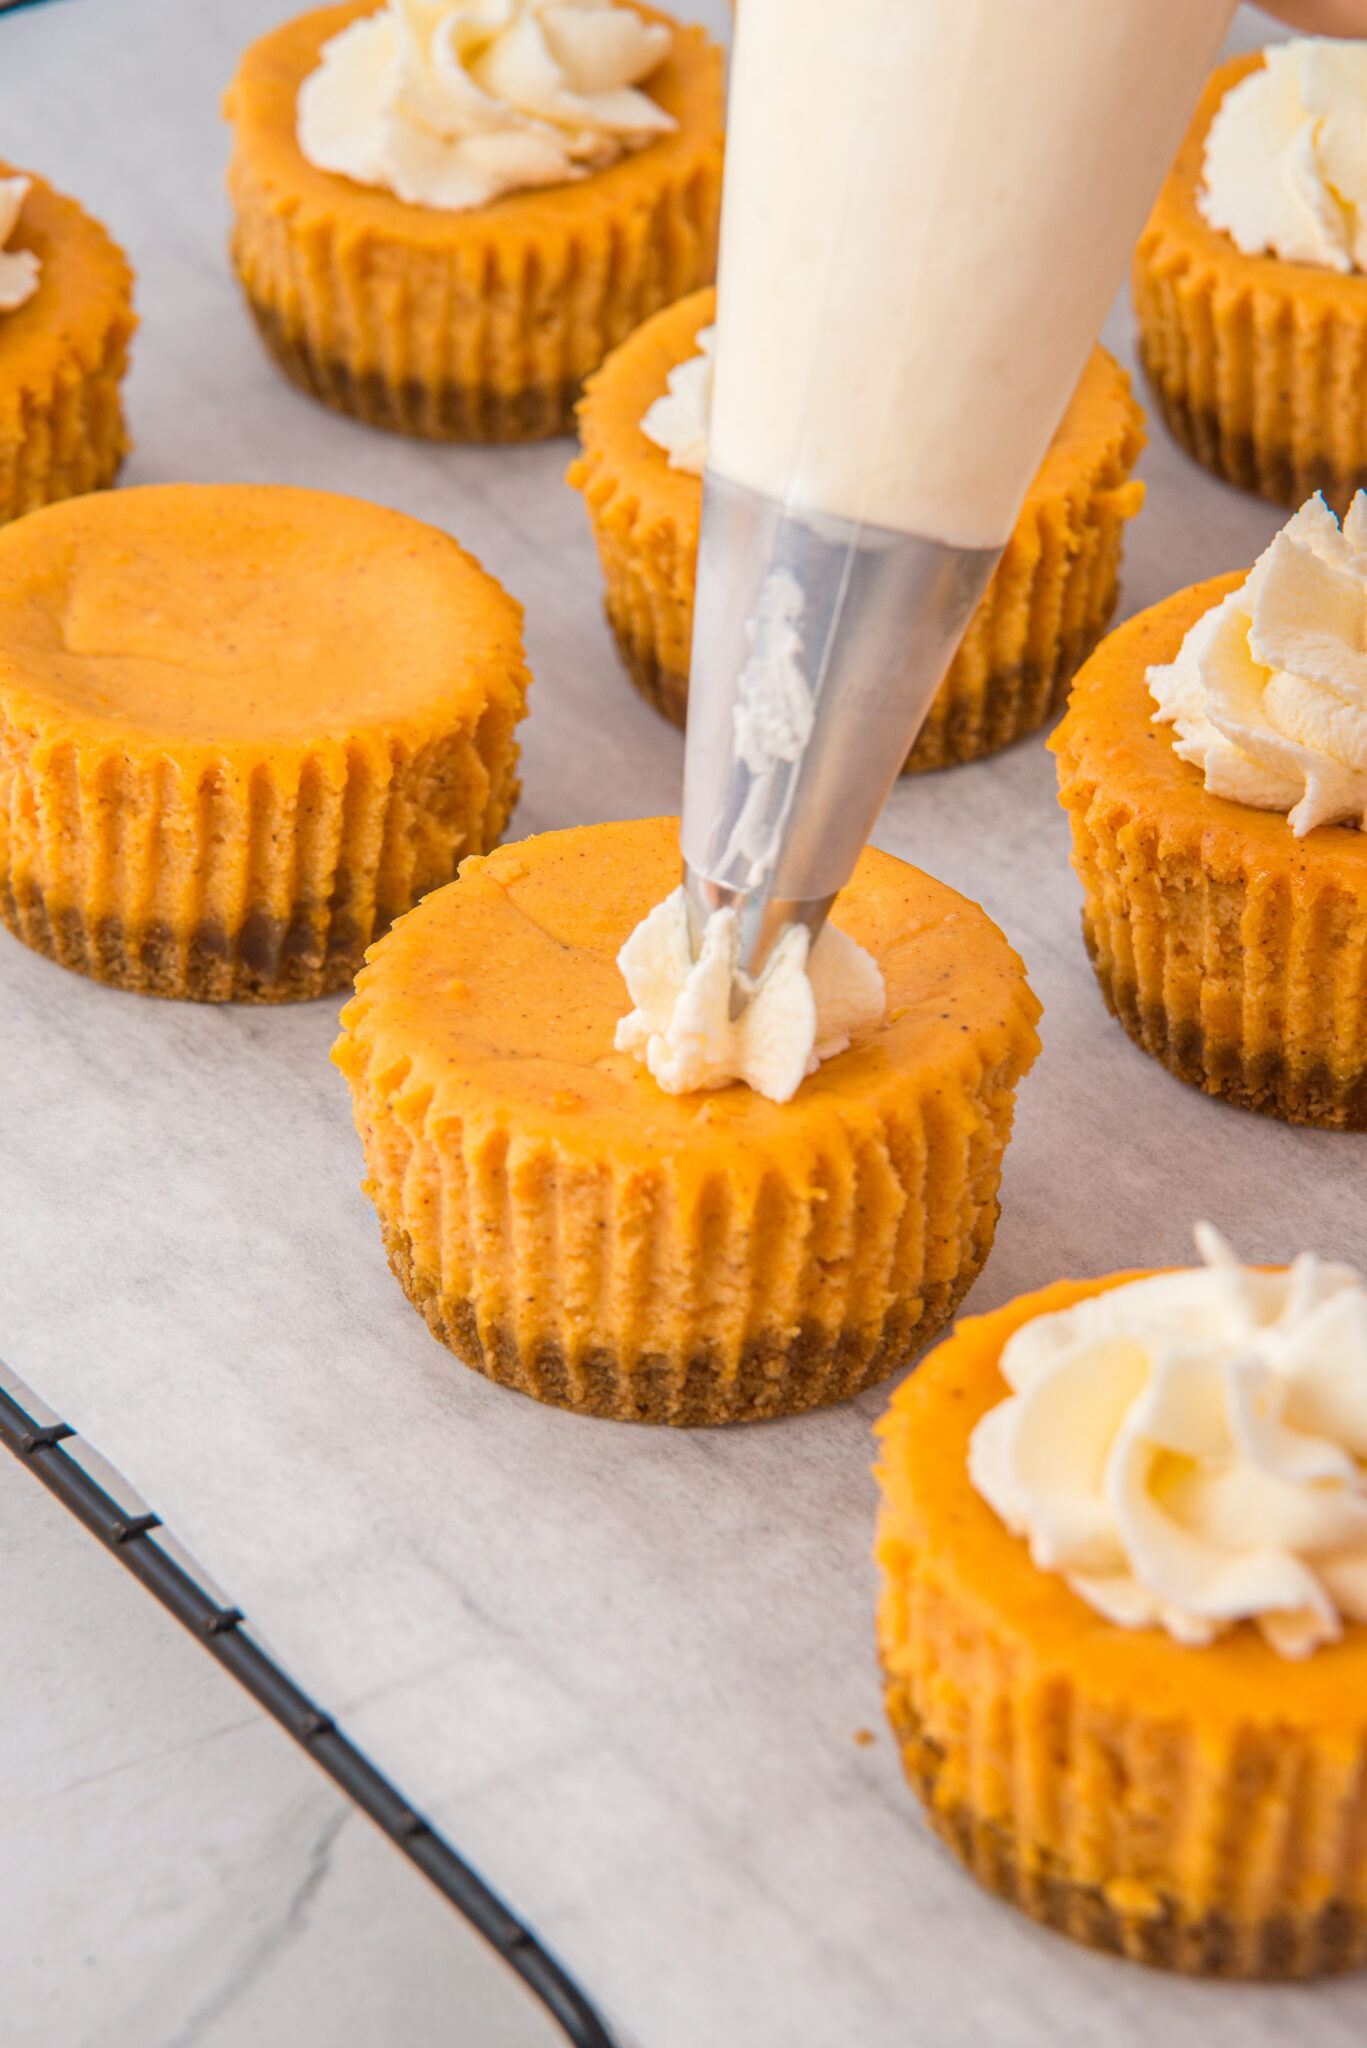
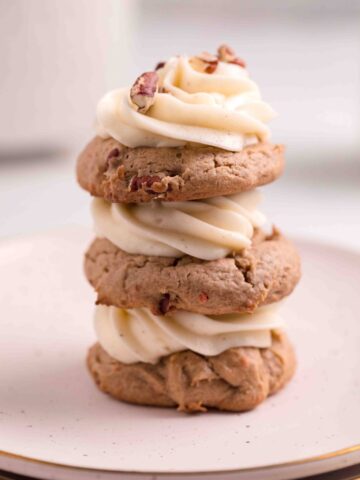
This will be the time to start making the homemade whipped cream topping. When finished, add a dollop of whipped cream with a little sprinkle of cinnamon on top and optional crushed cookies.
Jump to:
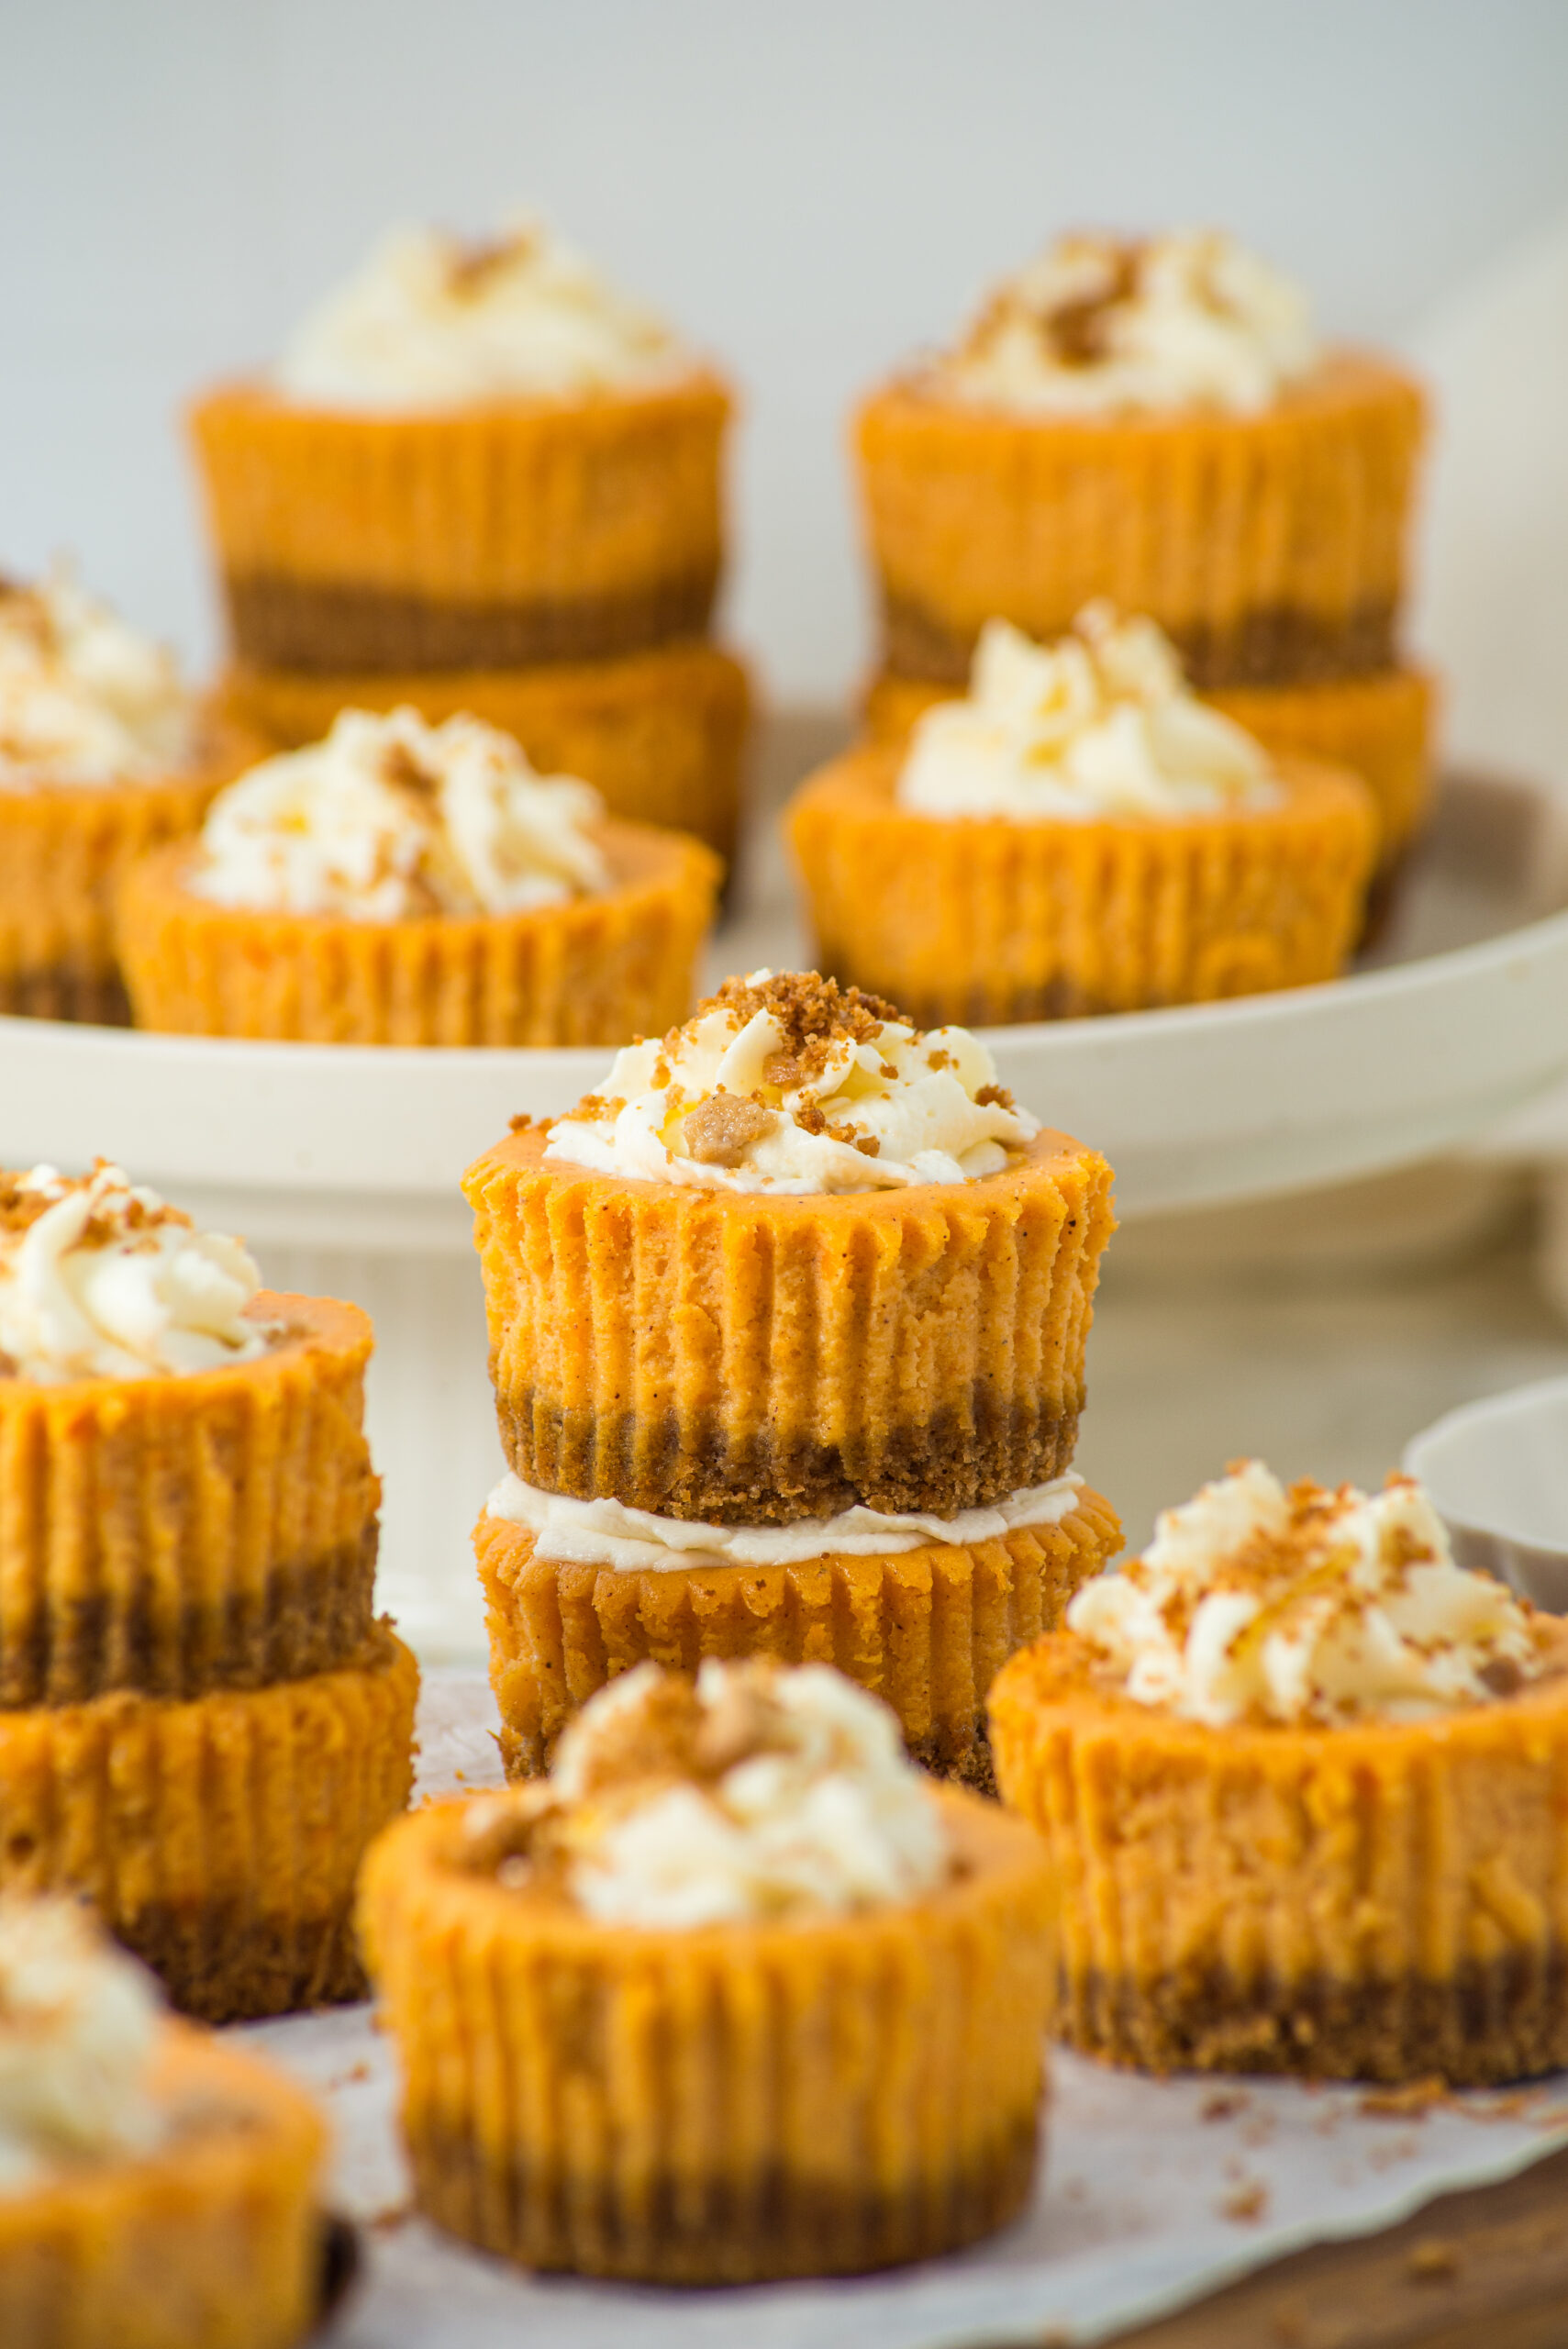
Ways you can display your Mini Cheesecakes
I love finding cute and decorative pedestals or cake plates to display my desserts on. I found these trays at Home Goods.
Variations of Mini Pumpkin Cheesecakes
- Make your cheesecakes with Gingersnap Crust
- Make them with Vanilla Wafer Crust
- Make them with an Almond Crust (gluten-free)
- Drizzle Caramel Sauce on Top
- Make them in a larger cupcake pan and use cupcake liners.
- Create them with an Oreo Cookie Crust
Pumpkin Cheesecake Ingredients
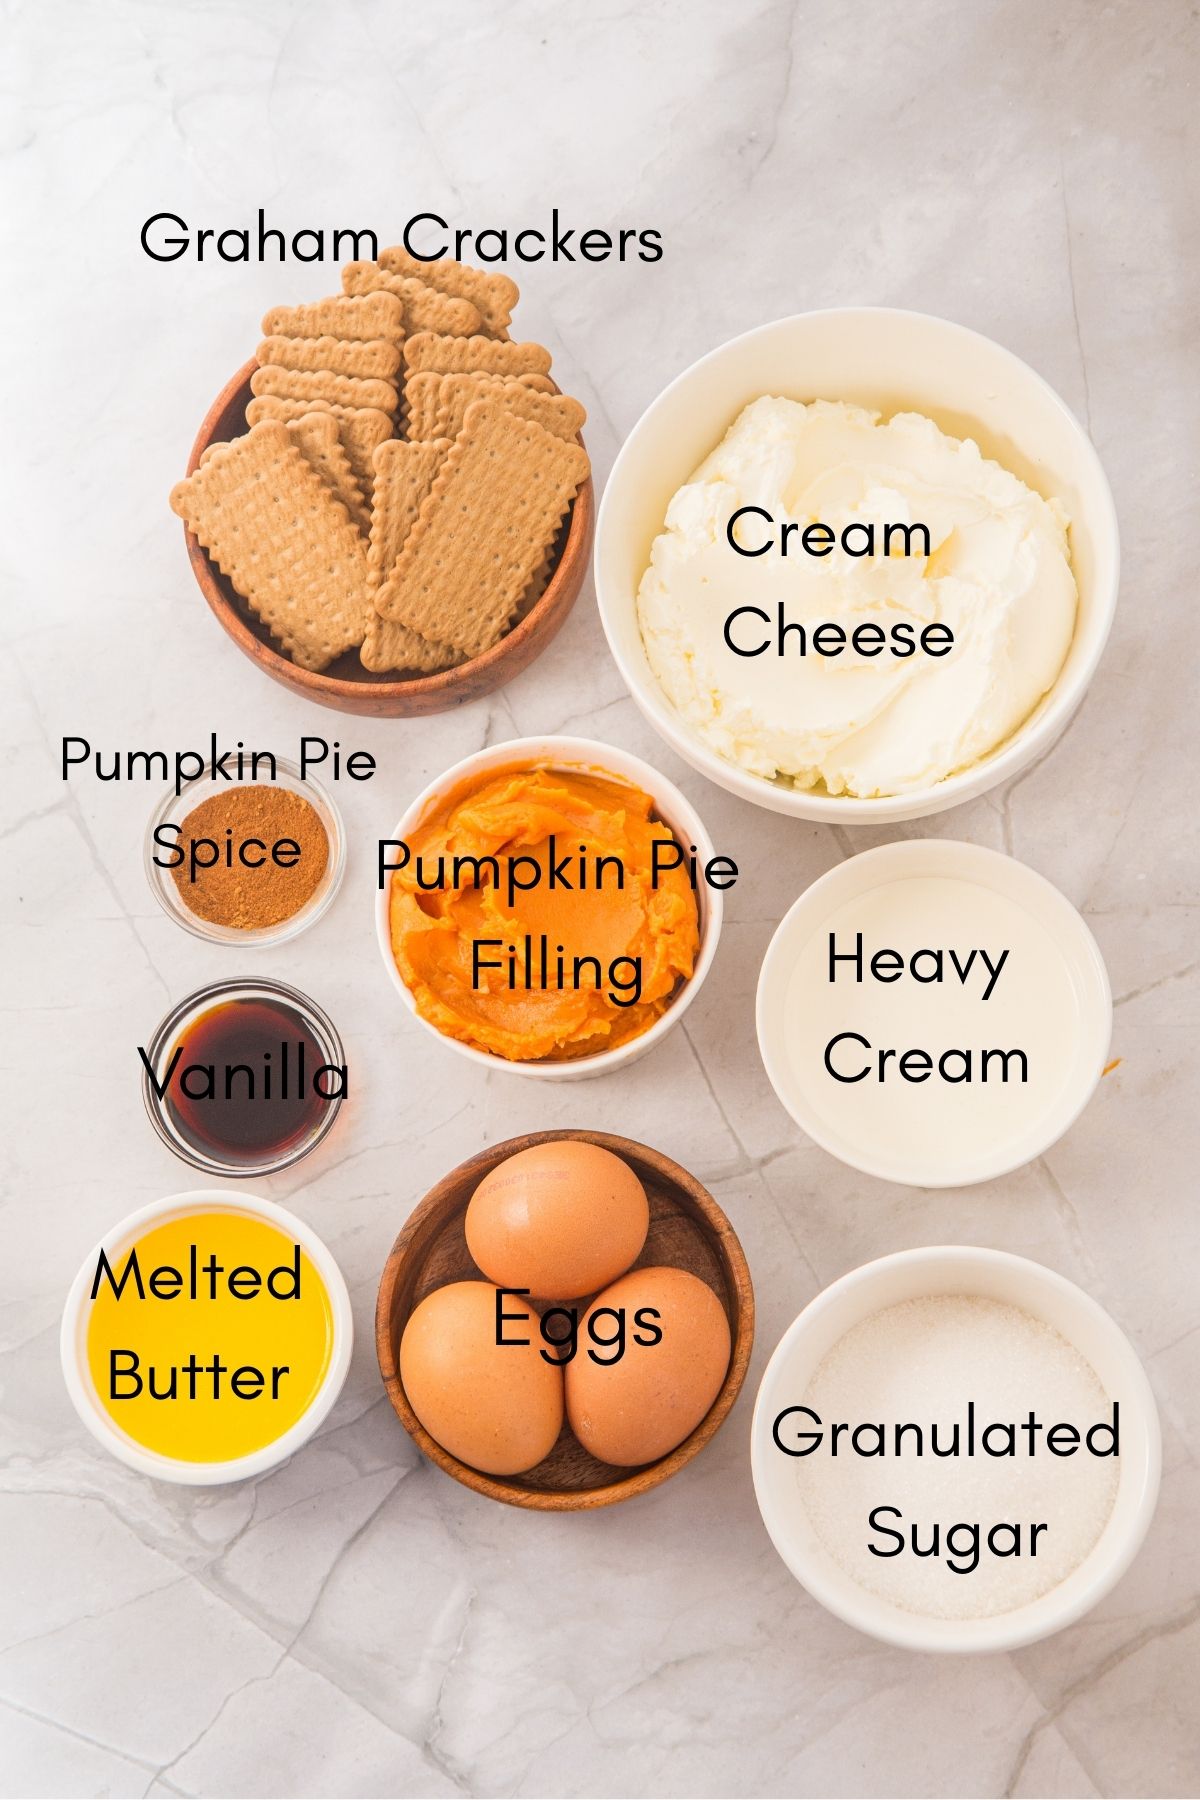
Ingredients you will likely have in your pantry including, Pumpkin Pie Filling, Vanilla, Graham Crackers, Heavy Cream, and Butter. For a full ingredient list see below in the recipe card.
Pumpkin Pie Mini Cheesecake Instructions:
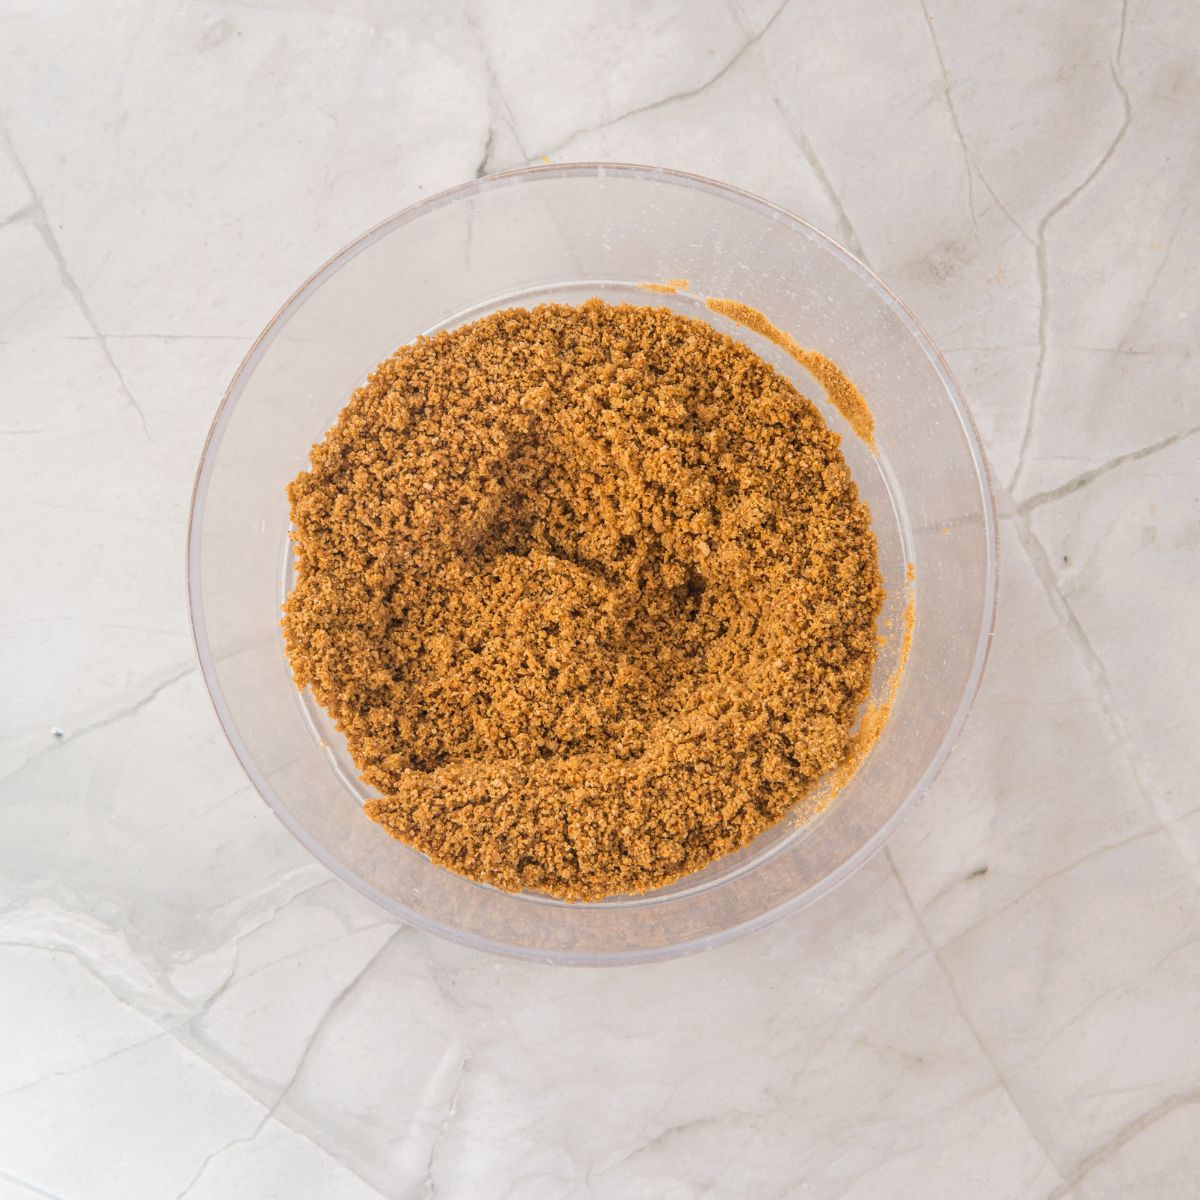
Step 1: In a food processor, blend the cookies until they have a sandy texture. Transfer the mixture to a bowl and mix with the melted butter until well combined.
Step 2: Place about a tablespoon of the mixture into each muffin tin liner. Press firmly with the back of a spoon to form the crust. Bake in a preheated oven at 350°F for about 8 minutes. Remove and set aside.
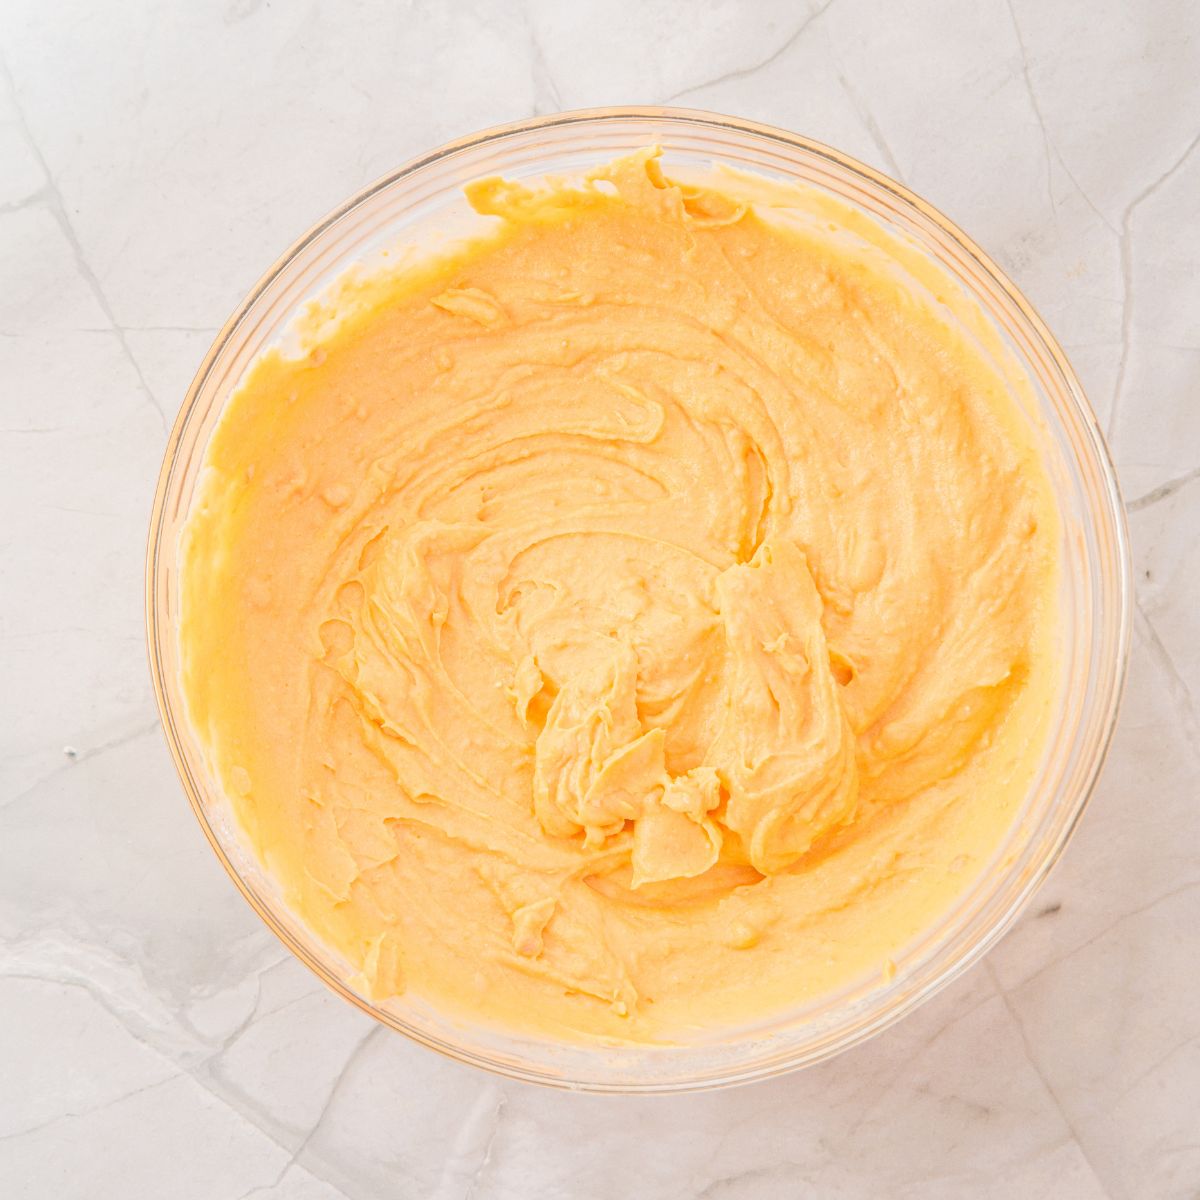
Step 3: In a large bowl, beat the cream cheese with the sugar, pumpkin puree, and whipping cream until smooth.
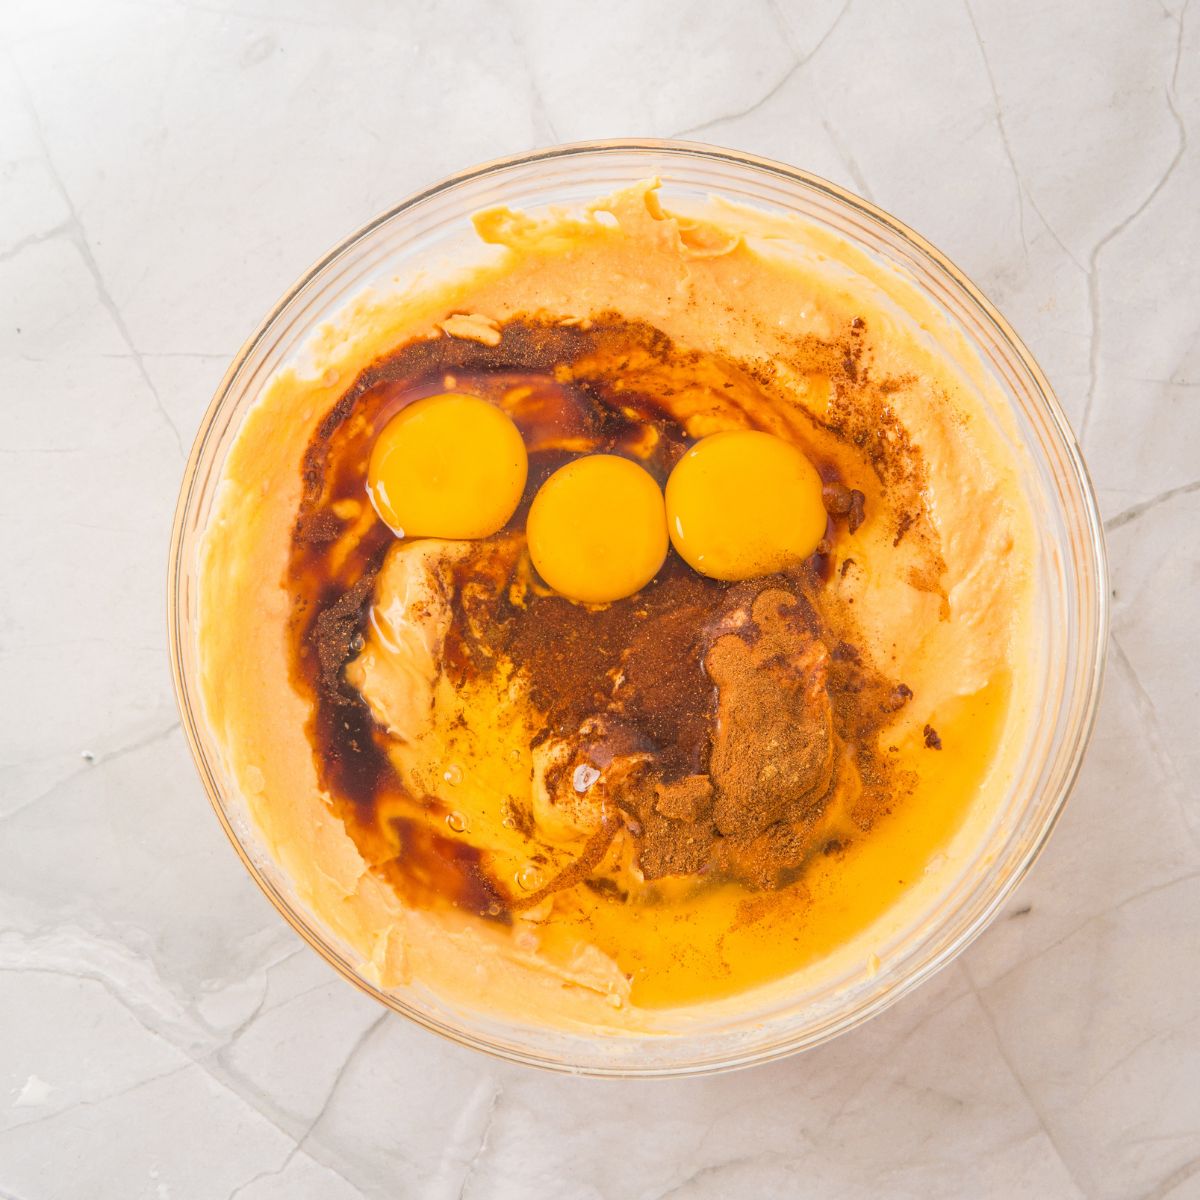
Step 4: Add the pumpkin spice, vanilla, and eggs, and mix again.
Step 5: Let the crust cool for 5 minutes.
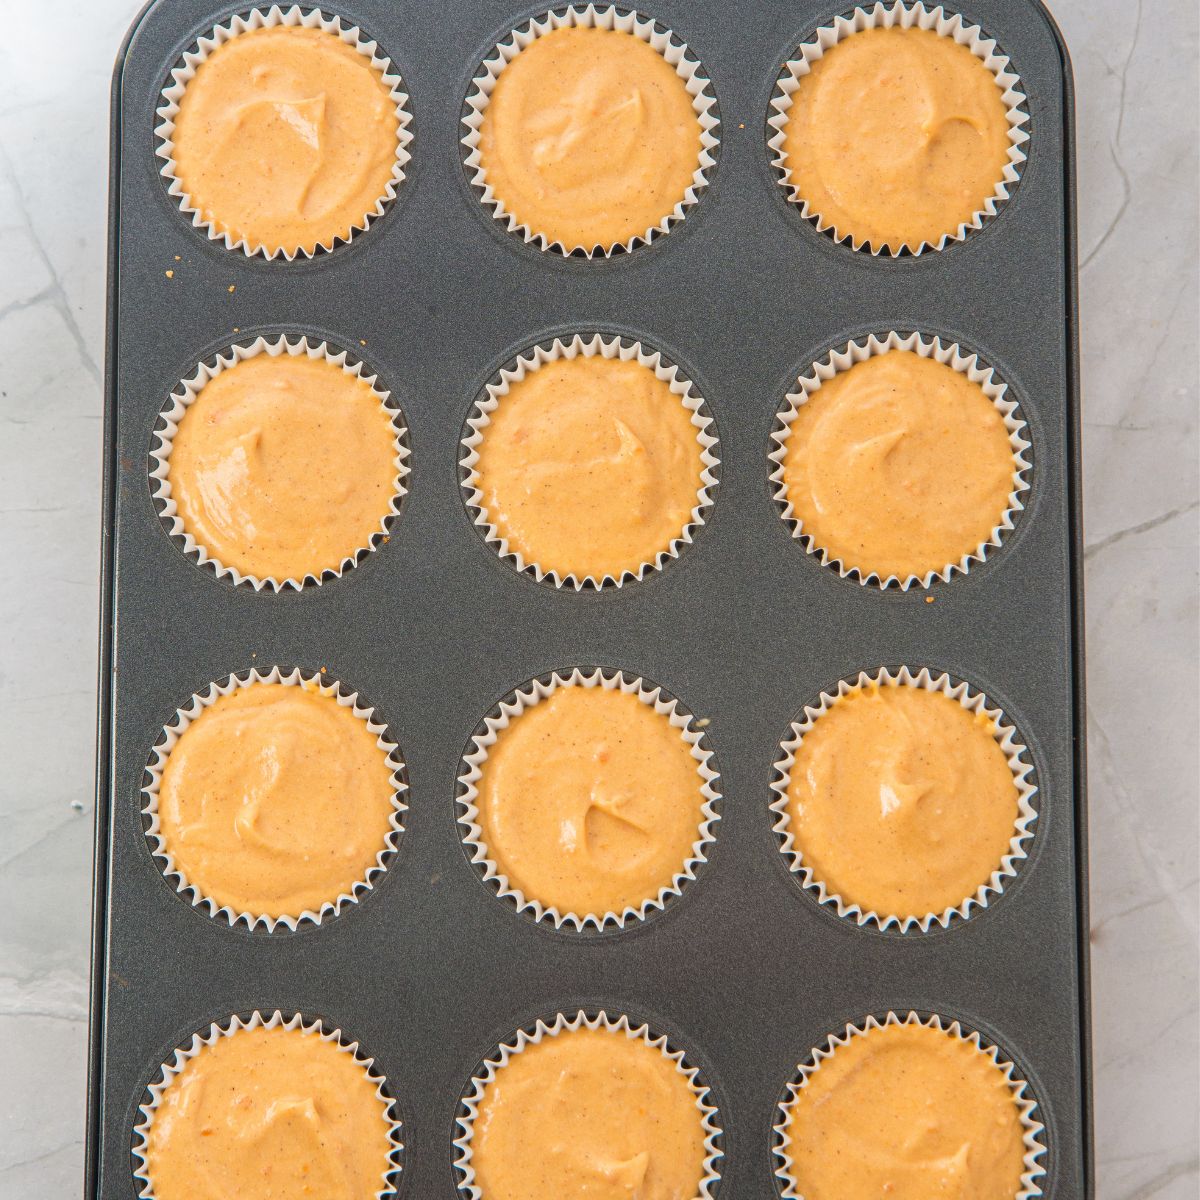
Step 6: Pour the filling onto the prepared crusts in each muffin tin, filling it almost to the top. Pour the filling onto the prepared crusts in each muffin tin, filling it almost to the top. Bake at 350°F (180°C) for about 25 minutes or until the center is set. Remove from the oven and let cool to room temperature. Refrigerate the mini cheesecakes for at least 3 hours until firm. Before serving, top with whipped cream and sprinkle with crushed cookies or cinnamon.
More Delicious Pumpkin Desserts
- Pumpkin Scones a soft scone with a maple drizzle on top
- Pumpkin Pancakes oatmeal pumpkin pancake that are delicious and filling
- Pumpkin Cream Cheese Bars pumpkin bars topped with a layer of cream cheese icing
- Pumpkin Swirl Brownies chocolate brownies swirled with pumpkin, so yummy.
If you loved this recipe and made it, please give it a ⭐⭐⭐⭐⭐ review! Leave a comment about your experience on the recipe comment section. That will help get more eyes on it. You can also pin it to Pinterest or share it on Facebook.
Mini Pumpkin Cheesecake Recipe
Mini Pumpkin Cheesecakes with Homemade Whipped Cream
Ingredients
Crust
- 2 cups crushed graham crackers
- 1/3 cup melted butter
Filling
- 2 cups cream cheese about 16 oz / 450 g
- 1 1/2 cups pumpkin purée
- 1/2 cup heavy cream
- 3 eggs large
- 3/4 granulated sugar
- 1 1/2 teaspoons pumpkin spice
- 1 teaspoon vanilla extract
- 1/2 teaspoon salt
Topping
- Whipped Cream Optional Whipping Cream
- Crushed Cookies
Instructions
Crust
- In a food processor, blend the cookies until they have a sandy texture.Transfer the mixture to a bowl and mix with the melted butter until well combined.
- Place about a tablespoon of the mixture into each muffin tin liner. Press firmly with the back of a spoon to form the crust. Bake in a preheated oven at 350°F for about 8 minutes. Remove and set aside.
Filling
- In a large bowl, beat the cream cheese with the sugar, pumpkin puree, and whipping cream until smooth. Add the pumpkin spice, vanilla, and eggs, and mix again.
- Pour the filling onto the prepared crusts in each muffin tin, filling it almost to the top. Bake at 350°F (180°C) for about 25 minutes or until the center is set. Remove from the oven and let cool to room temperature.
Cool and Decorating
- Refrigerate the mini cheesecakes for at least 3 hours until firm. Before serving, top with whipped cream and sprinkle with crushed cookies or cinnamon.
Notes
- Pumpkin Puree:
Homemade: If you decide to make your own pumpkin puree, be sure to
remove as much moisture as possible. You can blend it to achieve a smooth,
lump-free texture. - Canned: If using canned pumpkin puree, make sure it is pure pumpkin puree
and not pumpkin pie filling, which contains additional ingredients like spices
and sugar. Canned pumpkin puree generally has less moisture than
homemade, making it ideal for this recipe.
● Spices: You can adjust the spices to your taste. If you prefer a stronger flavor,
add an extra pinch of cinnamon, nutmeg, or ginger to the mixture.
● Substitute the cookie base: You can use gingerbread cookies, oatmeal
cookies, or any style will work.
● Gluten-free version: Use gluten-free cookies for the base and make sure the
pumpkin puree and spices do not contain traces of gluten.
● Sugar alternative: You can use brown sugar for a more caramelized flavor, or
natural sweeteners like honey, agave syrup, or stevia (adjusting the amount to
taste).
● Homemade pumpkin spice: If you don’t have pumpkin spice try this recipe.
● Refrigeration: Once cooled, store the mini cheesecakes in an airtight
container in the refrigerator. They will keep for 4 to 5 days.
● Decoration:It’s best to add the Whipped cream and toppings just before
serving so they don’t lose their texture or soften.
Kristy Still says
I love pumpkin cheesecake, even better when they are mini version! I can’t wait to serve these for Thanksgiving!
Lydia says
I love cheesecake and mini desserts are always so fun! I loved the graham cracker crust and the pumpkin layer had just the right amount of spice. Yum!
HimalayanSalt says
These look super delicious. Thanks for the recipe.