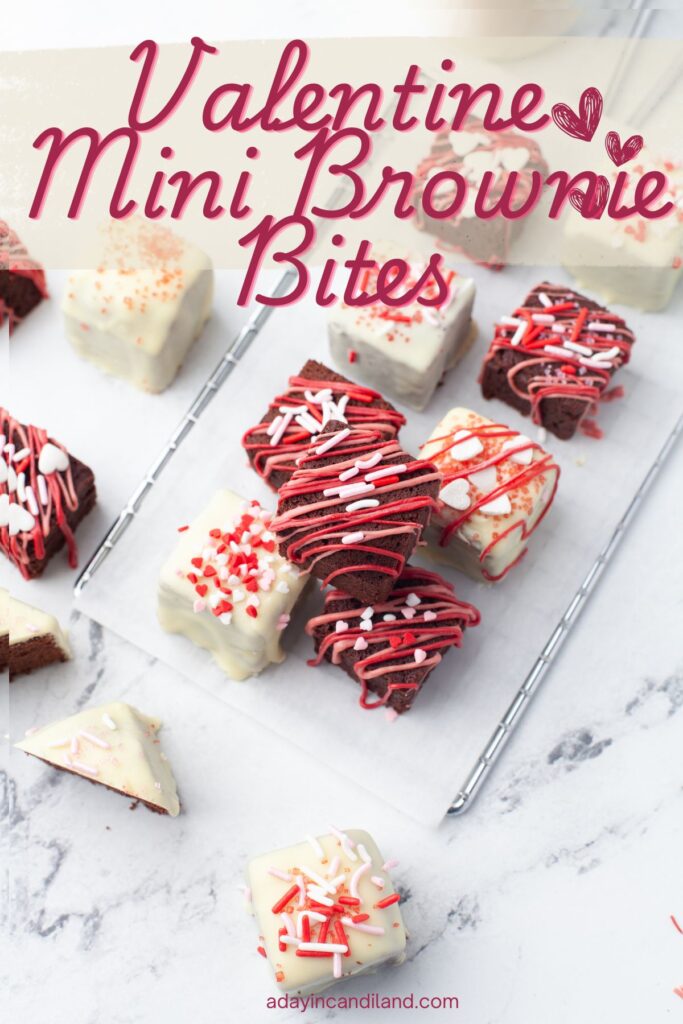
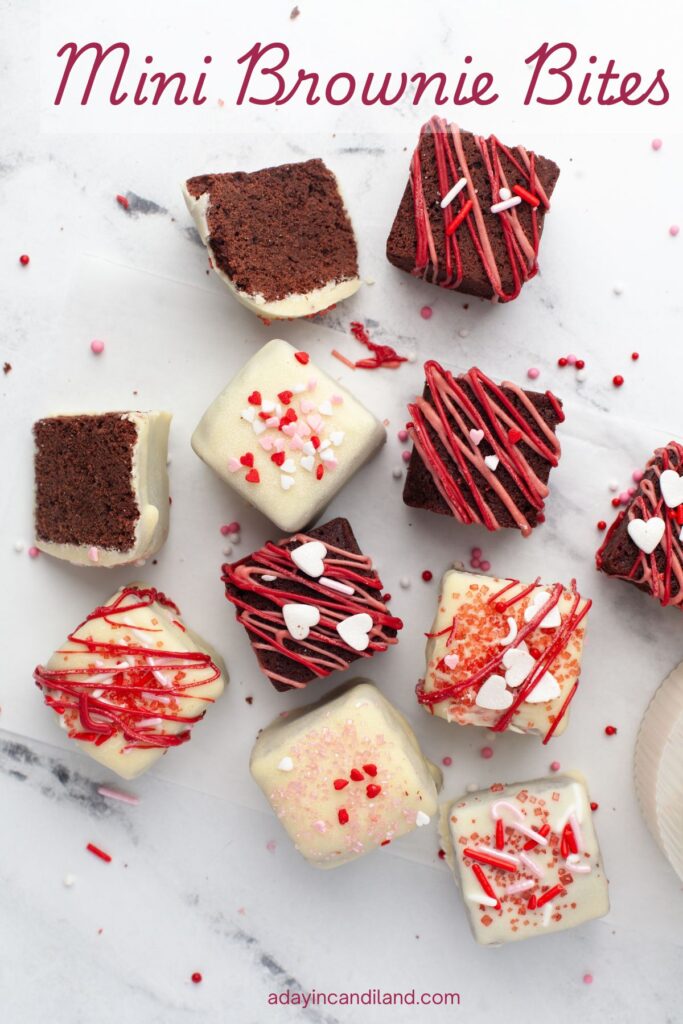

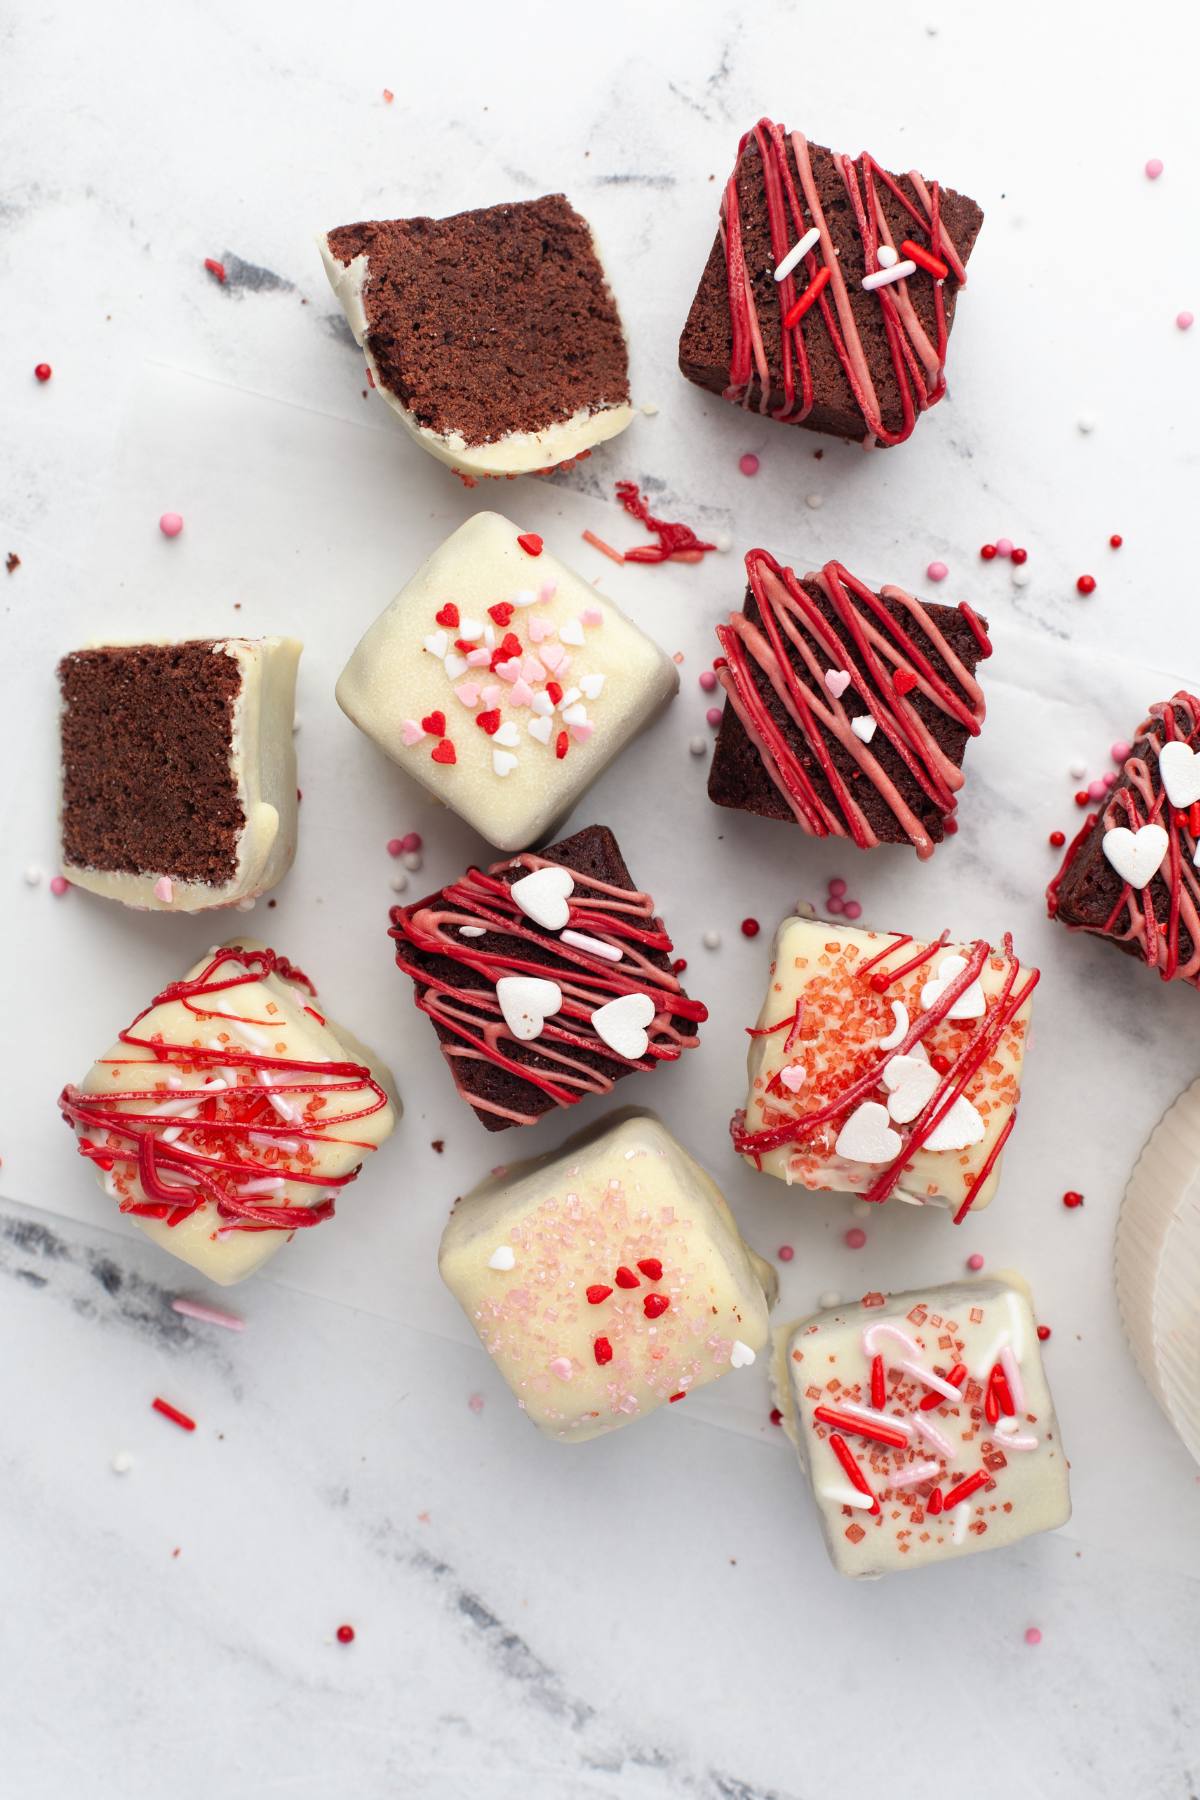
These Valentine’s Day mini brownie bites are bite-sized treats that are just as fun to make as they are to eat. Whether you drizzle, coat, or sprinkle them with love, they are guaranteed to add a sweet and fun touch to your celebration!
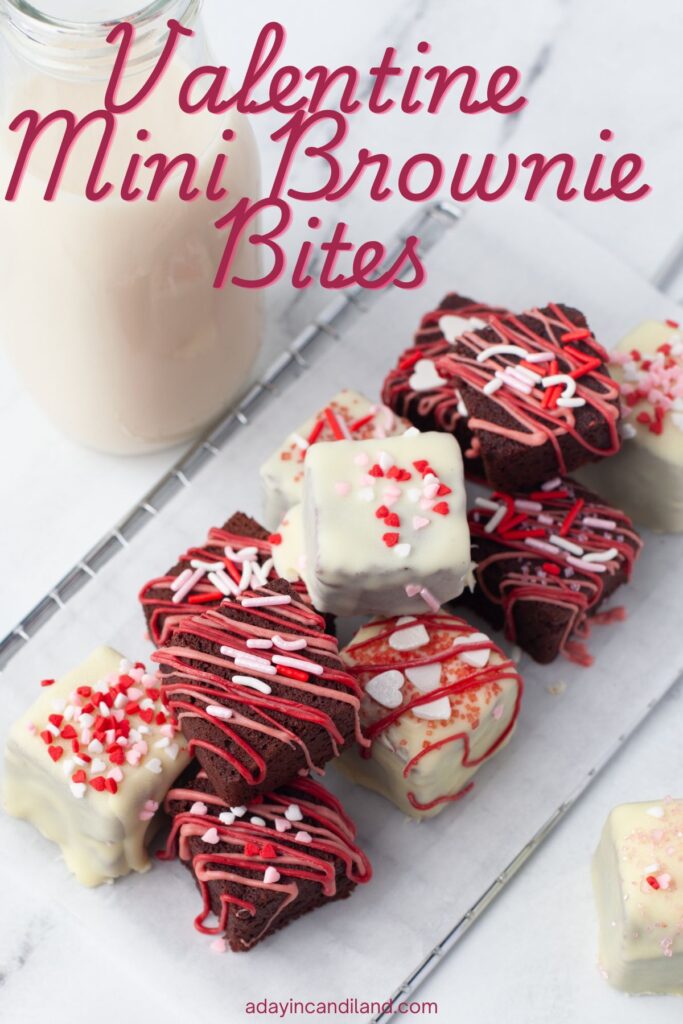
Surprise family and friends this Valentine’s Day with these adorable mini brownies! They are perfectly fudgy and topped with festive pink, red, and white chocolate sprinkles.
These beauties will be a great addition to your Galentine’s Day Tea Party, accompany some of these romantic Valentine’s Day ideas, Valentine Cake Cookies, or pair with a delicious cup of tea.
Jump to:
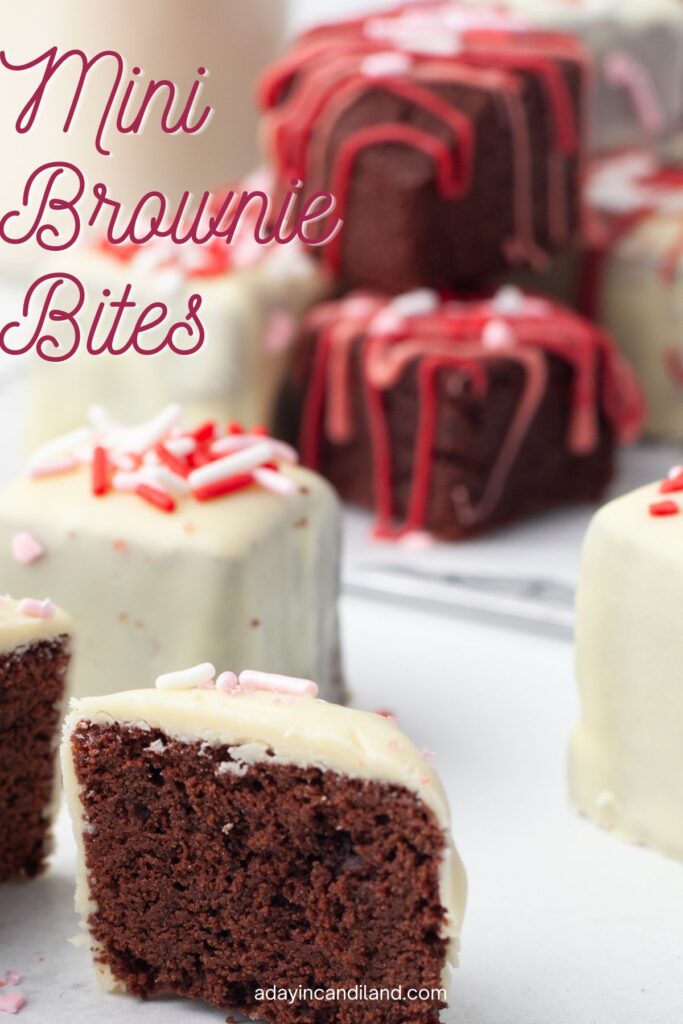
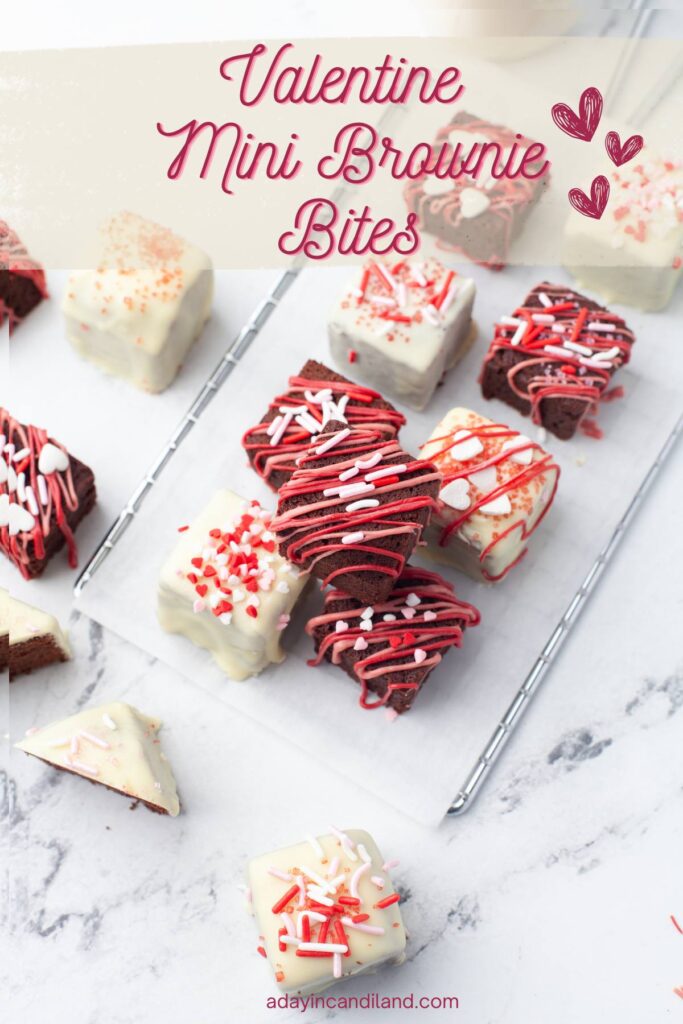
These mini brownie bites are just a bite-sized portion of chocolatey goodness to satisfy that craving. They will look fancy on your dessert table or at a birthday party event. Just change up the sprinkles, and you can use them year-round.
What is Special About These Brownie Bites
They are just a small, bite-sized treat. You can adapt this recipe to suit various occasions, such as Easter, Thanksgiving, the 4th of July, Mother’s Day, and Christmas, by using different food colors and sprinkles.
My kids love it when I make these brownie bites, especially for Valentine’s Day. They do take a little time to prepare them, but the decorating can be part of the fun. Adding the sprinkles and drizzles will take these brownie bites to the next level.
Mini Brownie Bites Ingredients
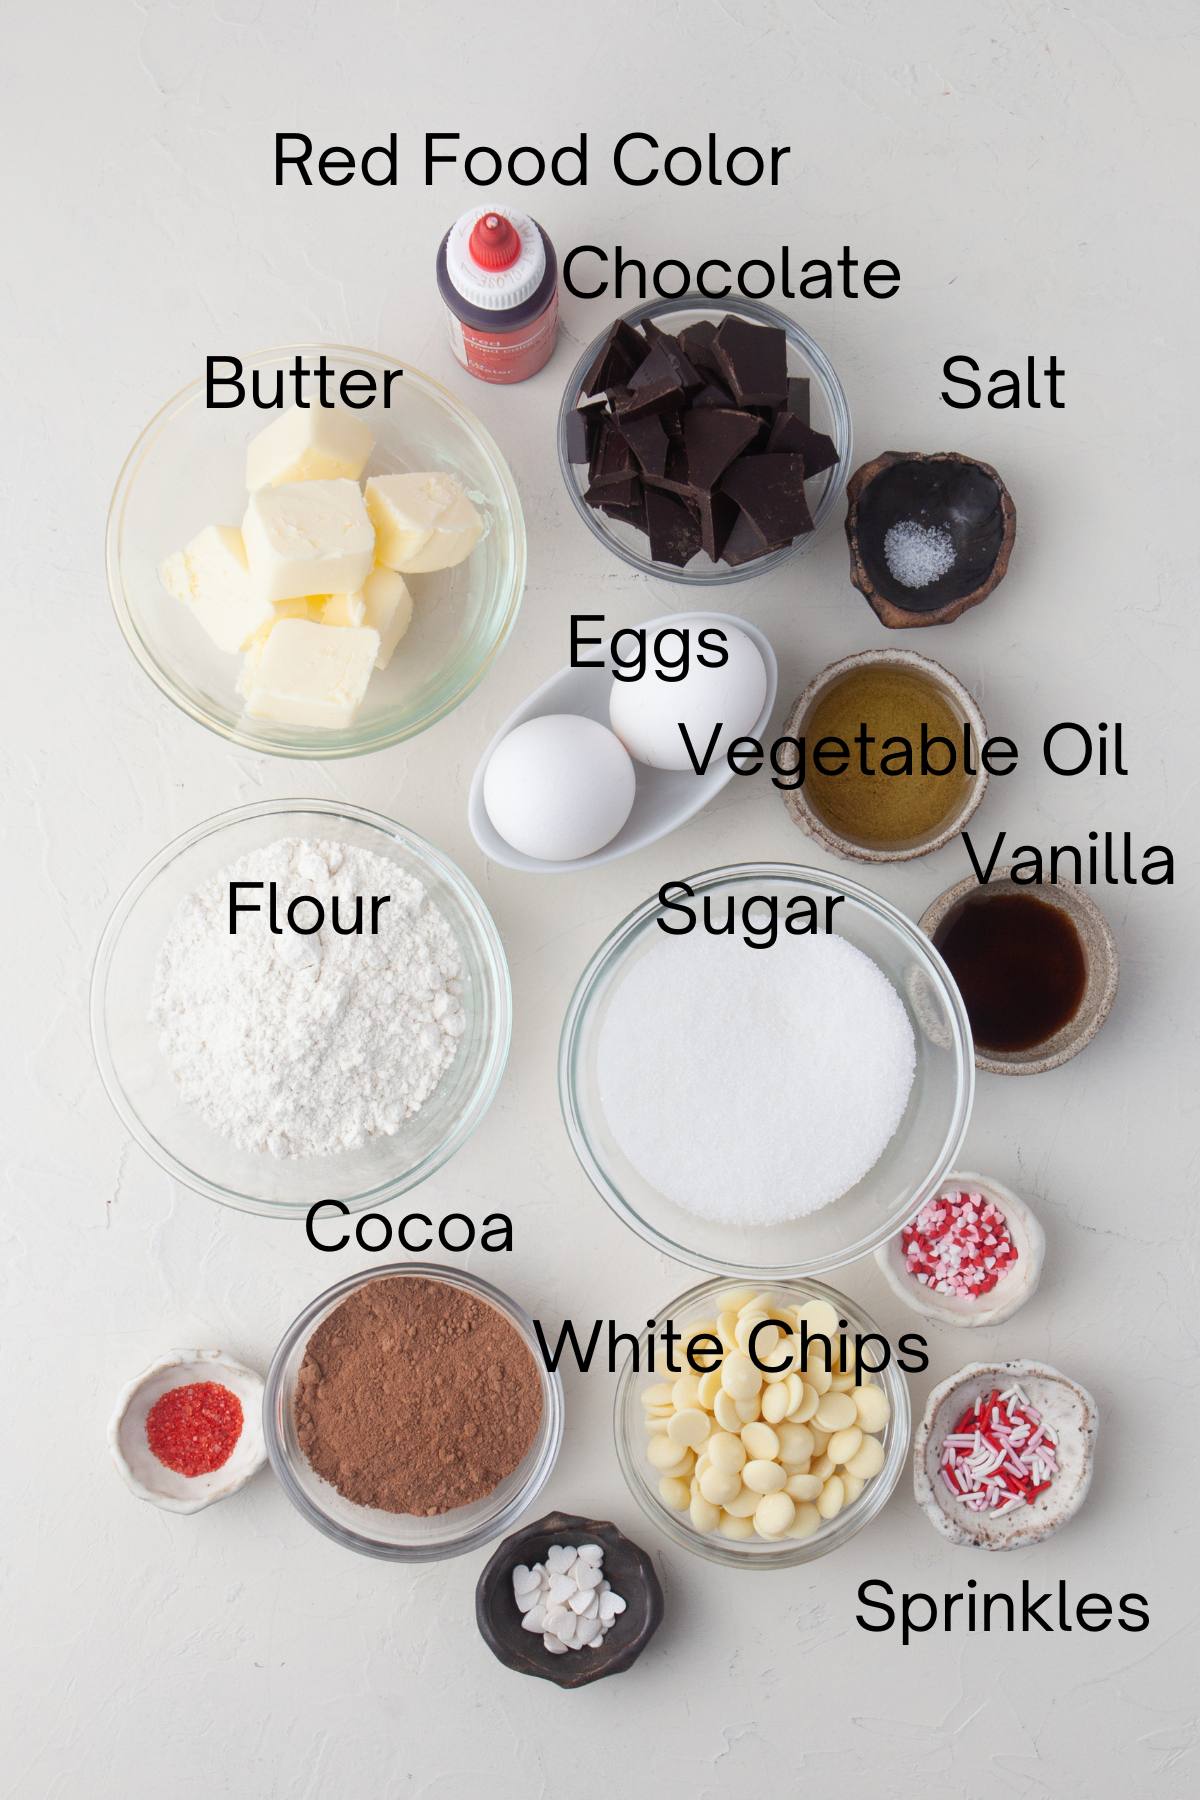
- Cocoa Powder – Use a good-quality unsweetened brand.
- Vanilla Extract – Use your favorite store brand or make your own.
- 70% Cacao Chocolate, bittersweet or 60% semi-sweet.
- Large Eggs Fresh and room temperature.
- White Chocolate Chips– or any flavor you choose.
- Sprinkles of your choice
Substitutions and Variations
- Vanilla Extract → Substitute almond extract or a splash of espresso for depth of flavor.
- Butter → Substitute coconut oil or margarine (for a dairy-free option)
- Chocolate → Substitute dark chocolate or milk chocolate, depending on preference.
- Sugar → Substitute coconut sugar, brown sugar, or a sugar substitute like monk fruit sweetener.
- Variations
- Salted Caramel – Drizzle with caramel sauce and sprinkle flaky sea salt on top.
- Strawberry Bliss – Add freeze-dried strawberry powder to the batter for a fruity twist.
- Cheesecake Brownie Bites – Swirl in a small amount of sweetened cream cheese for a marbled effect.
Step-by-Step Mini Brownie Bites Instructions
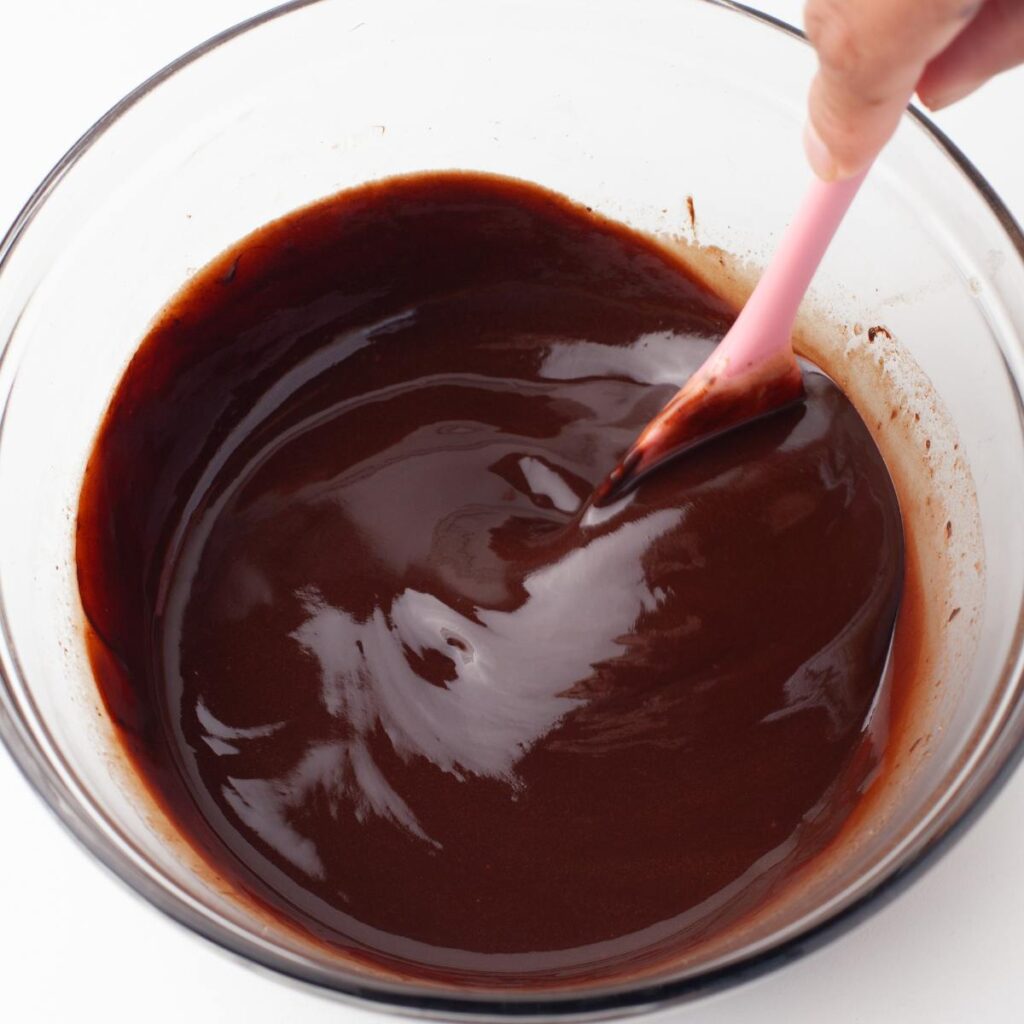
Step 1: Melt the butter and chocolate: In a heatproof bowl, melt the butter and 70% chocolate together using a double boiler or in the microwave in short 30-second intervals.
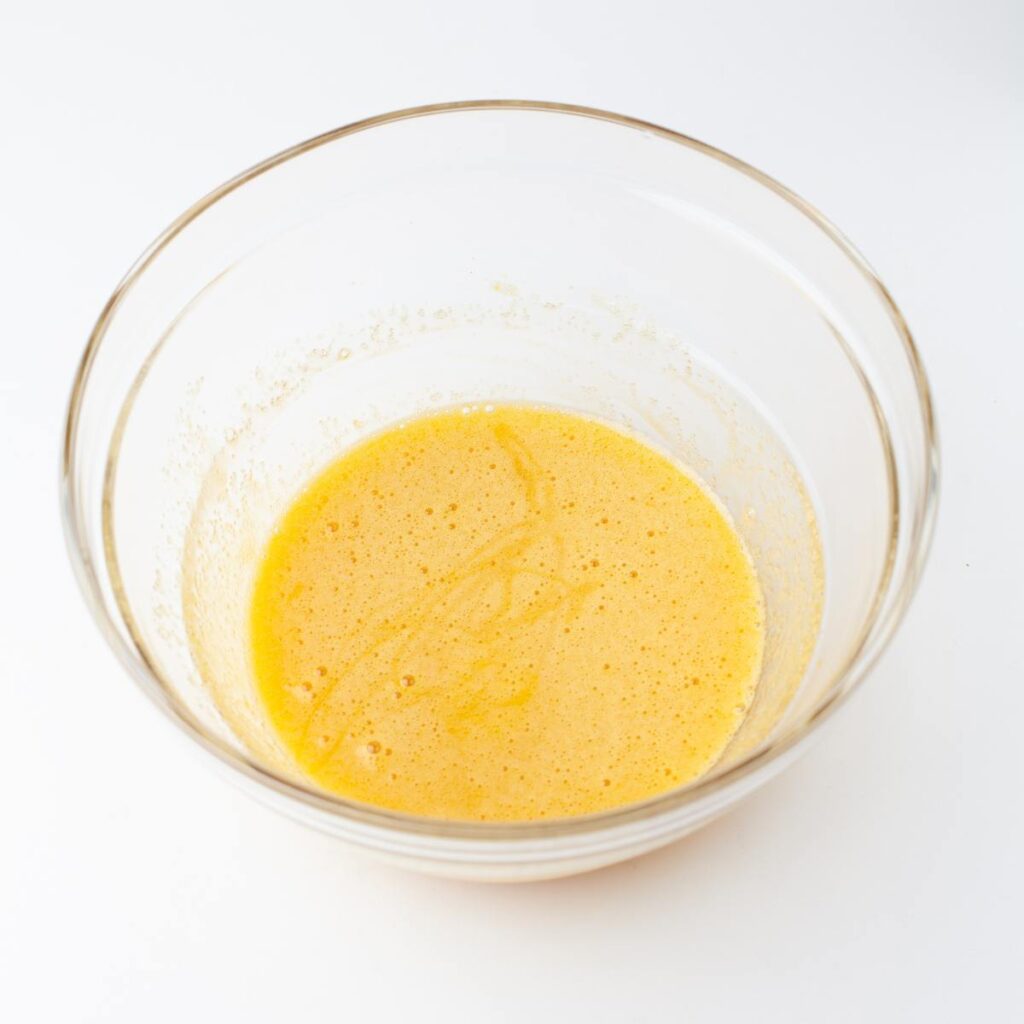
Step 2: Mix the sugar, vanilla, and eggs: In a mixing bowl, whisk the egg, yolk, and sugar until well combined, but avoid overmixing. This will help dissolve the sugar and prevent the formation of a sticky crust.
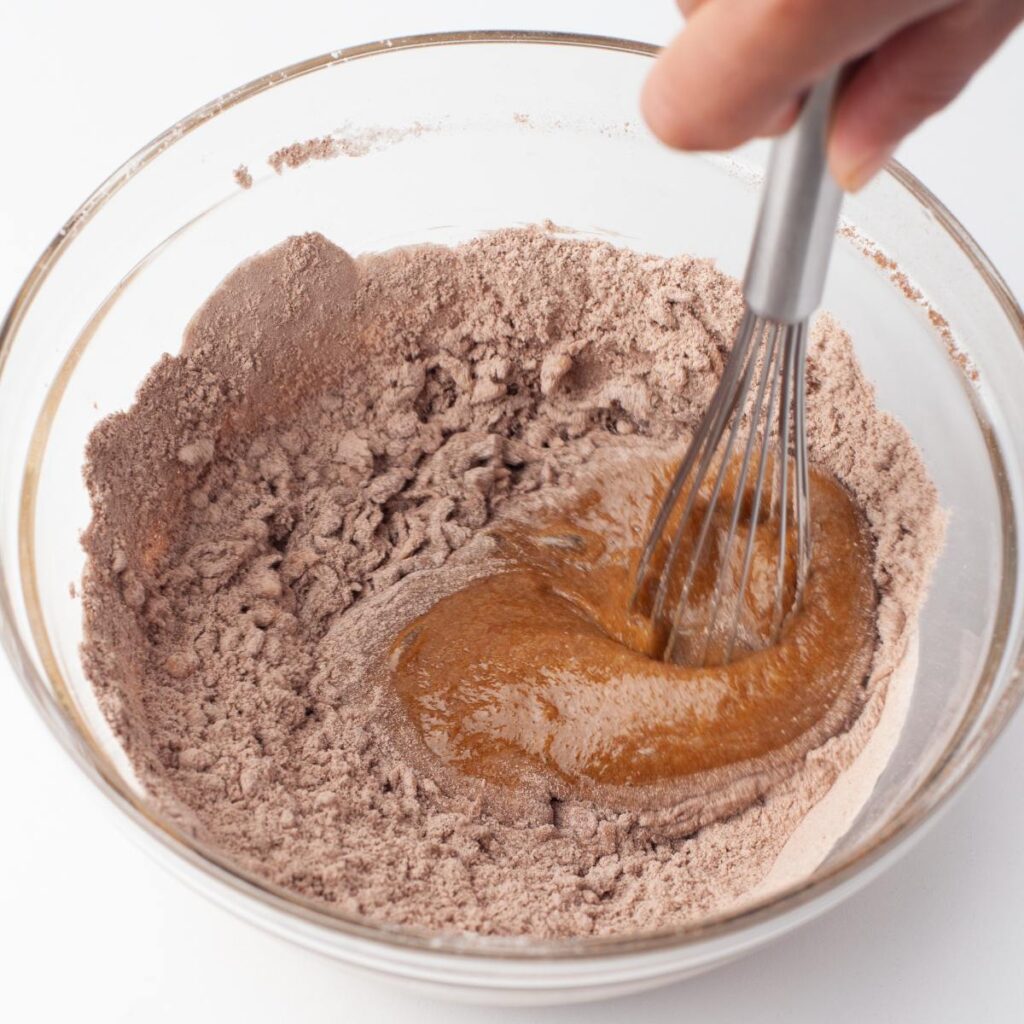
Step 3: Add the dry ingredients: Sift together the flour, cocoa powder, and salt. Gradually fold them into the wet mixture in two additions, using gentle folding motions.
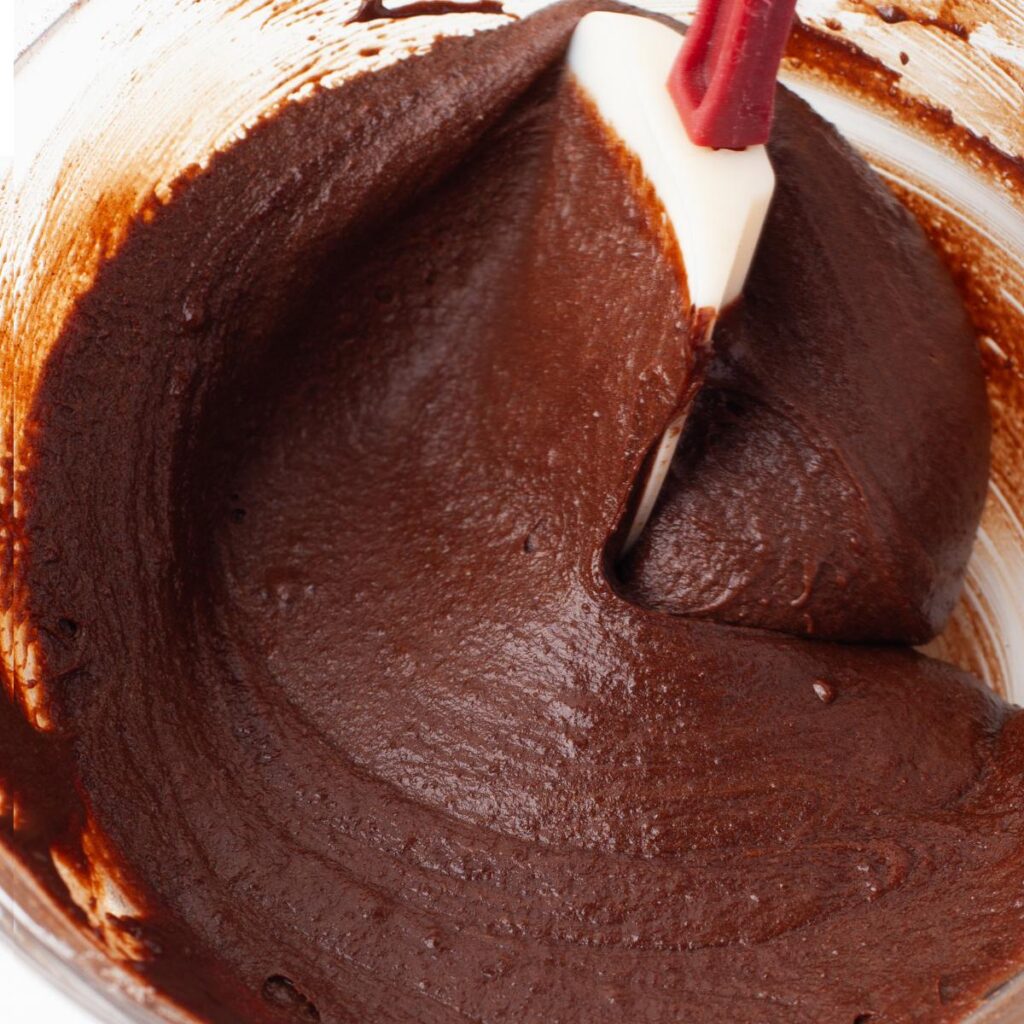
Step 4: Incorporate the chocolate mixture: Add the melted butter and chocolate mixture to the egg and sugar mixture. Stir until fully combined.
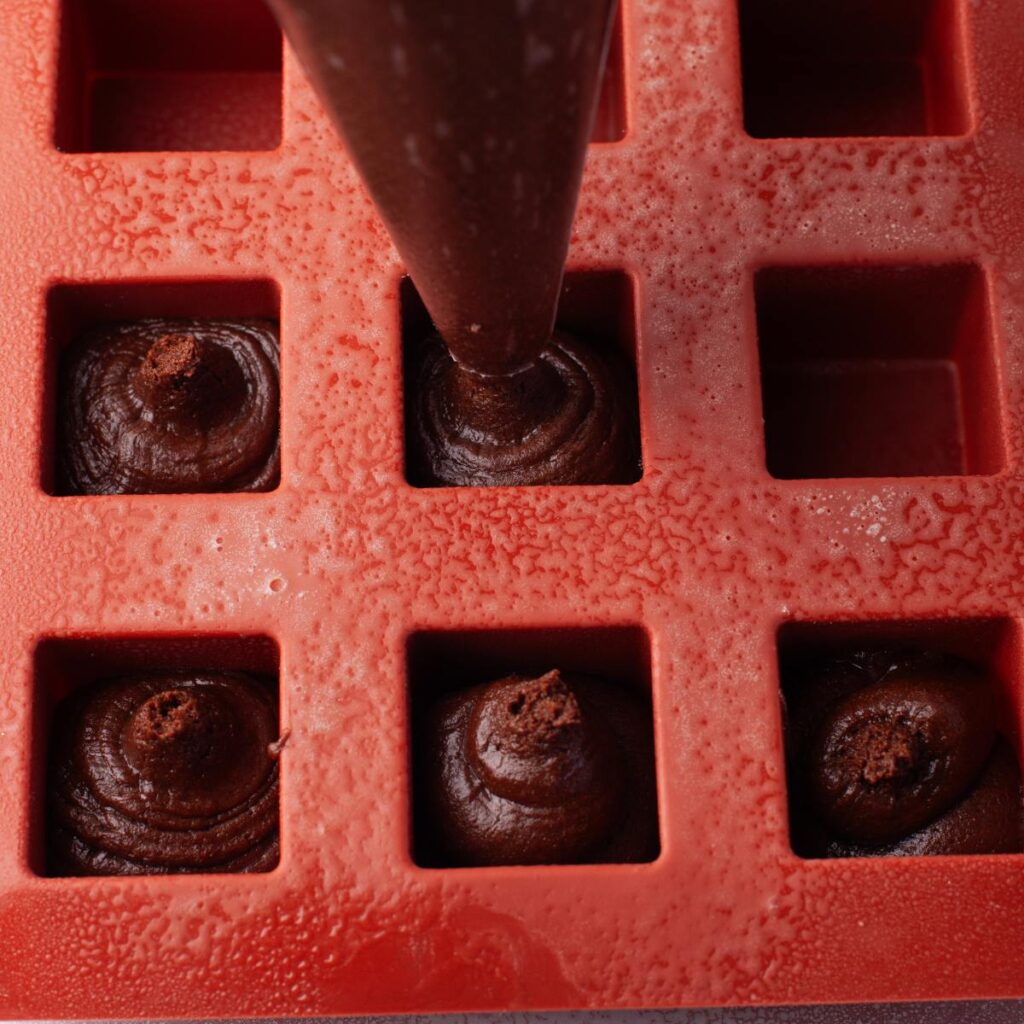
Step 5: Bake: Pour the batter into the prepared molds, using a piping bag, and smooth the surface. Fill about ⅔ full.
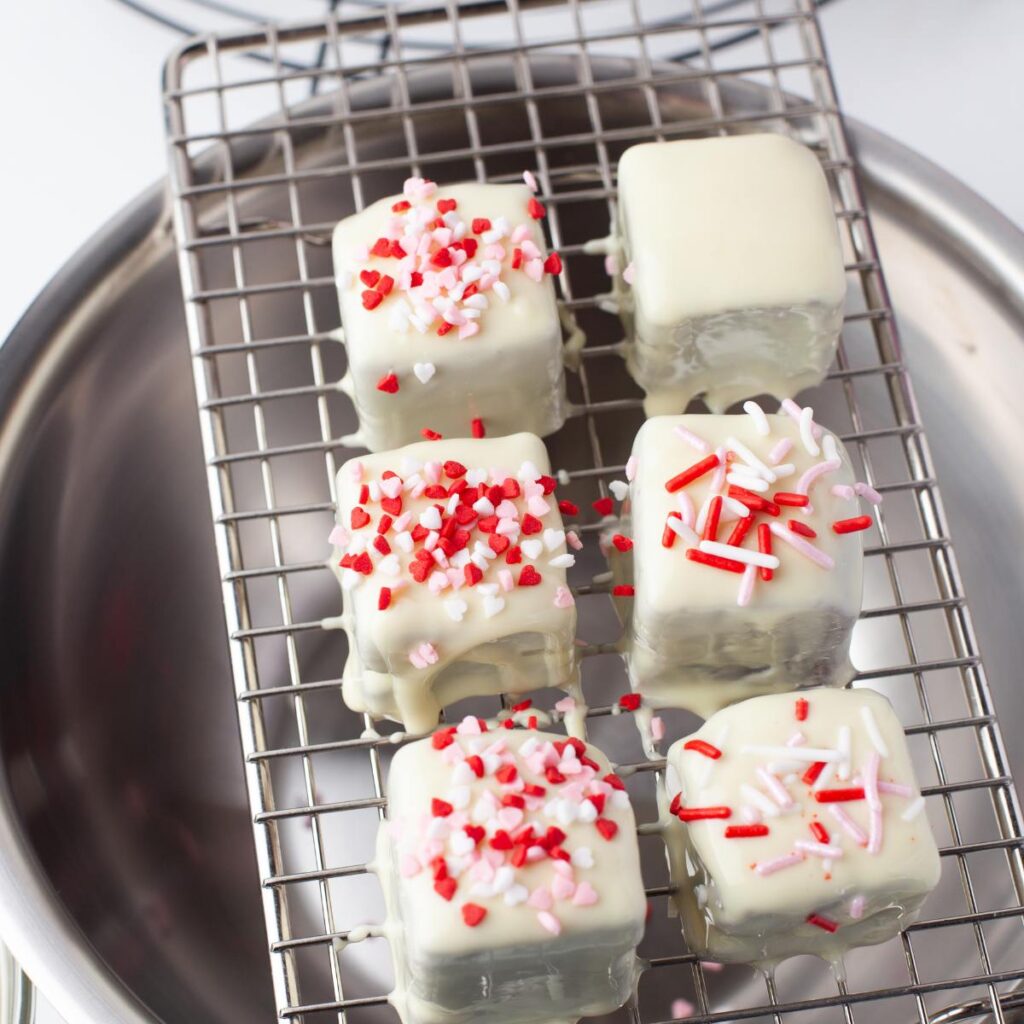
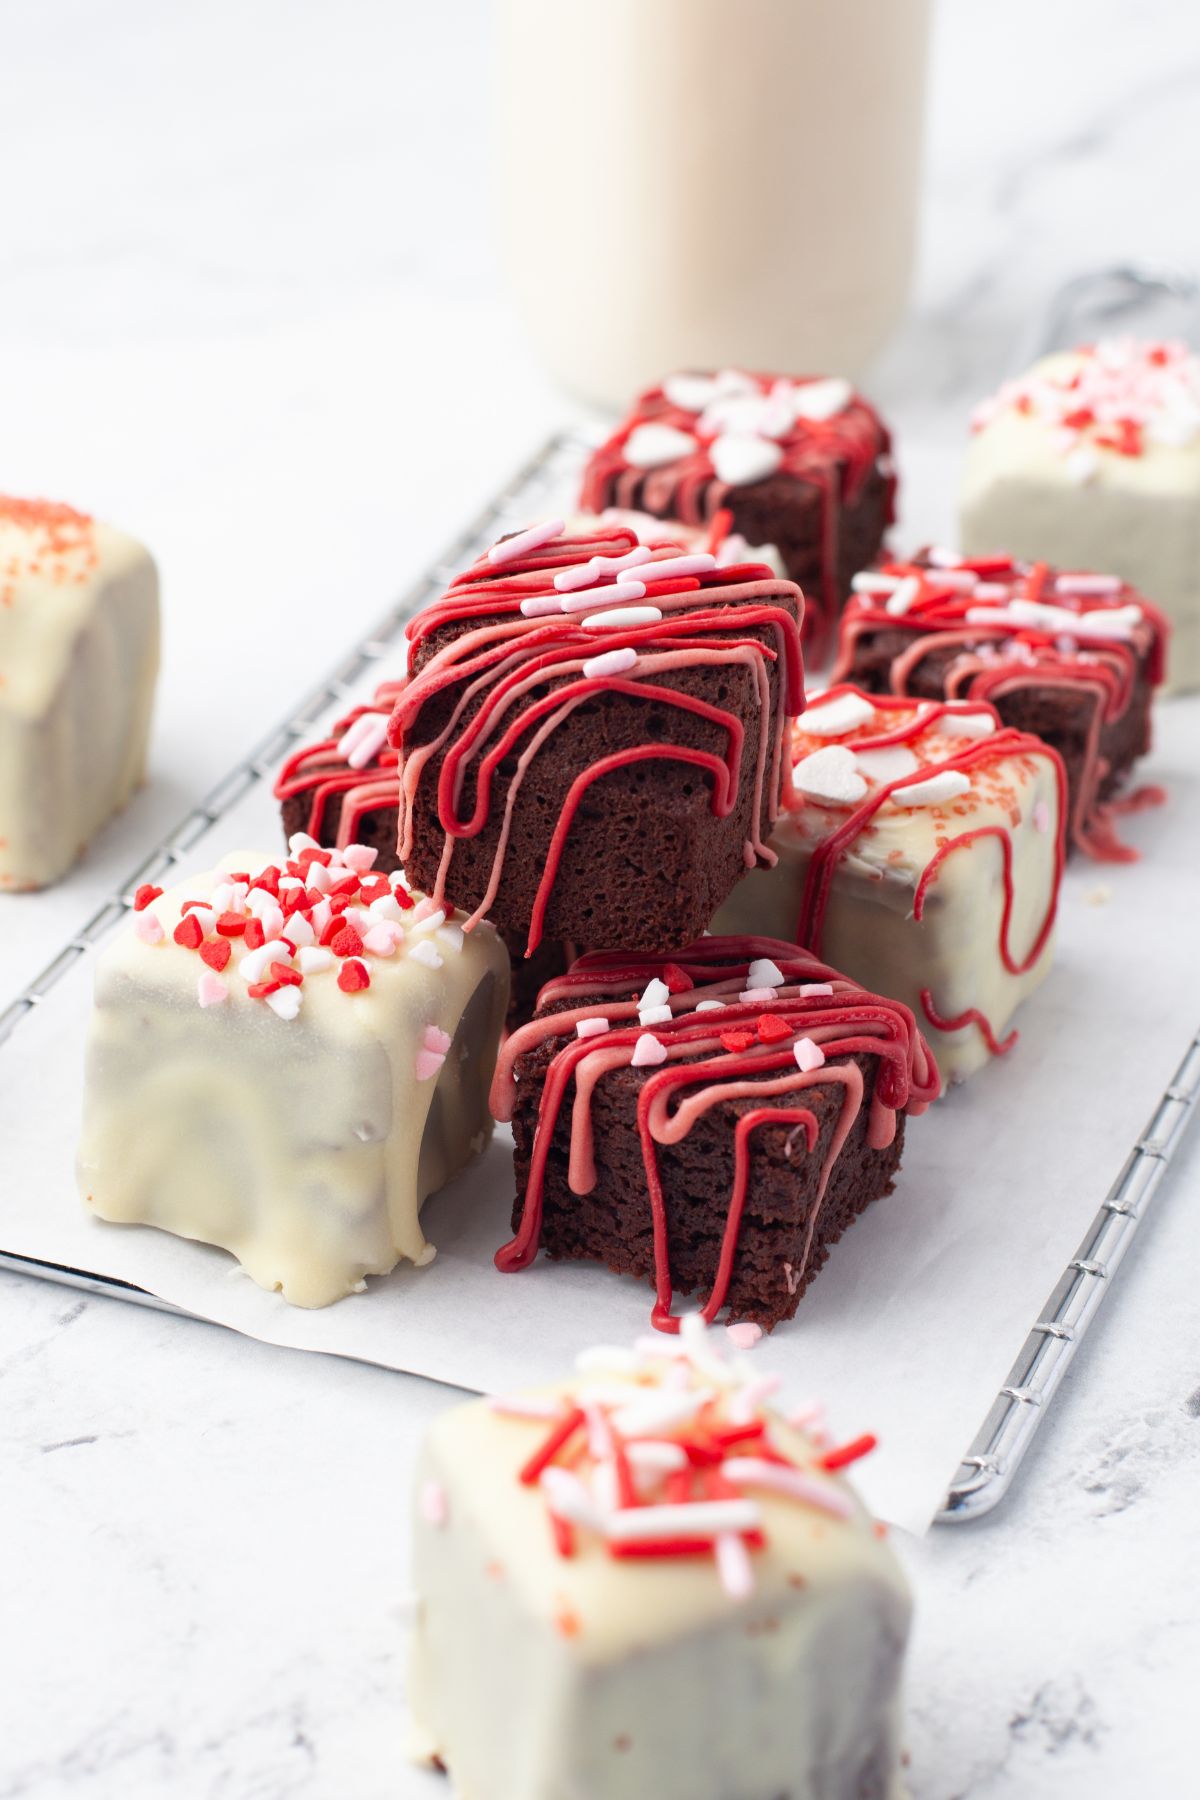
Step 6: Fully coat some brownies. Take a few brownies and completely coat them using a spoon or by dipping them in the glaze. Use whichever shade you prefer or stick to white chocolate for a classic look.
Step 8: Add Valentine’s Day sprinkles. Top all the brownies with festive sprinkles while the chocolate is still wet to ensure they stick.
Notes
- 1. Use High-Quality Chocolate & Cocoa The quality of chocolate significantly impacts the flavor. Use good-quality semi-sweet 60% or dark chocolate 70% and a rich, unsweetened Dutch-process cocoa powder for a deep, fudgy taste.
- 2. Melt Butter & Chocolate Gently When melting butter and chocolate together, use low heat or a double boiler to prevent scorching. If using a microwave, melt in 20-second intervals, stirring in between.
- 3. Don’t Overmix the Batter Once you add the flour, mix only until combined to avoid activating too much gluten, which can lead to dense or tough brownies instead of soft and fudgy ones.
Storage Tips
Keep mini brownie bites in an airtight container at room temperature for up to 3 days, or refrigerate for up to a week. You can also freeze them for up to 2 months and thaw them for an hour before serving.
More Valentine Ideas
Bake and Share More Valentine Treats
Valentine’s Day is one of my favorite times to bake and share. If you love having everything in one place, I created the Bake • Share • Love Valentine eBook, which includes 14 Valentine-inspired recipes you can save or print and bake anytime. It also comes with printable Valentine gift tags, making it easy to turn homemade treats into meaningful gifts.
If you loved this recipe and made it, please give it a ⭐⭐⭐⭐⭐ review! Leave a comment about your experience on the recipe comment section. That will help get more eyes on it. You can also pin it to Pinterest or share it on Facebook.
Mini Brownie Bites Recipe
Valentine’s Day Mini Brownie Bites
Equipment
Ingredients
- 1 Stick Unsalted butter
- ½ cup Chocolate 70% Cacao
- ⅔ cup Sugar
- 2 Eggs Large
- 1 teaspoon Vanilla extract
- 2 3/4 Tablespoon Unsweetened cocoa powder
- ¾ cup All purpose flour
- ½ teaspoon Salt
- Valentine’s Day Sprinkles of your choice
Glaze
- 1 ½ cups White chocolate
- Food Coloring GEL RED
- 3 tablespoons Vegetable Oil or substitute with another odorless oil
Instructions
- Preheat oven to 350 degrees. Prepare the pan: Grease a silicone brownie bites mold or square mold.
- Melt the butter and chocolate: In a heatproof bowl, melt the butter and 70% chocolate together using a double boiler or in the microwave in short 30-second intervals. Let it cool slightly and make sure it doesn’t burn.
- Mix the sugar, vanilla, and eggs: In a mixing bowl, whisk the egg, yolk, and sugar until well combined, but avoid overmixing. This will help dissolve the sugar and prevent the formation of a sticky crust.
- Add the dry ingredients: Sift together the flour, cocoa powder, and salt. Gradually fold them into the wet mixture in two additions, using gentle folding motions. Avoid overmixing.
- Incorporate the chocolate mixture: Add the melted butter and chocolate mixture to the egg and sugar mixture. Stir until fully combined.
- Bake: Pour the batter into the prepared molds, using a piping bag and smooth the surface. Fill about ⅔ full. Bake at (350°F) for 10-15 minutes. Check by inserting a toothpick into the center— it should come out with moist crumbs, not raw batter.
- DECORATE
- Let the brownies cool completely before decorating.
- Prepare the glaze. Melt the chocolate with the oil until smooth. Divide the melted chocolate into separate bowls and mix in different food coloring to create various shades of pink, red, and white.
- Fully coat some brownies. Take a few brownies and completely coat them using a spoon or by dipping them in the glaze. Use whichever shade you prefer or stick to white chocolate for a classic look.
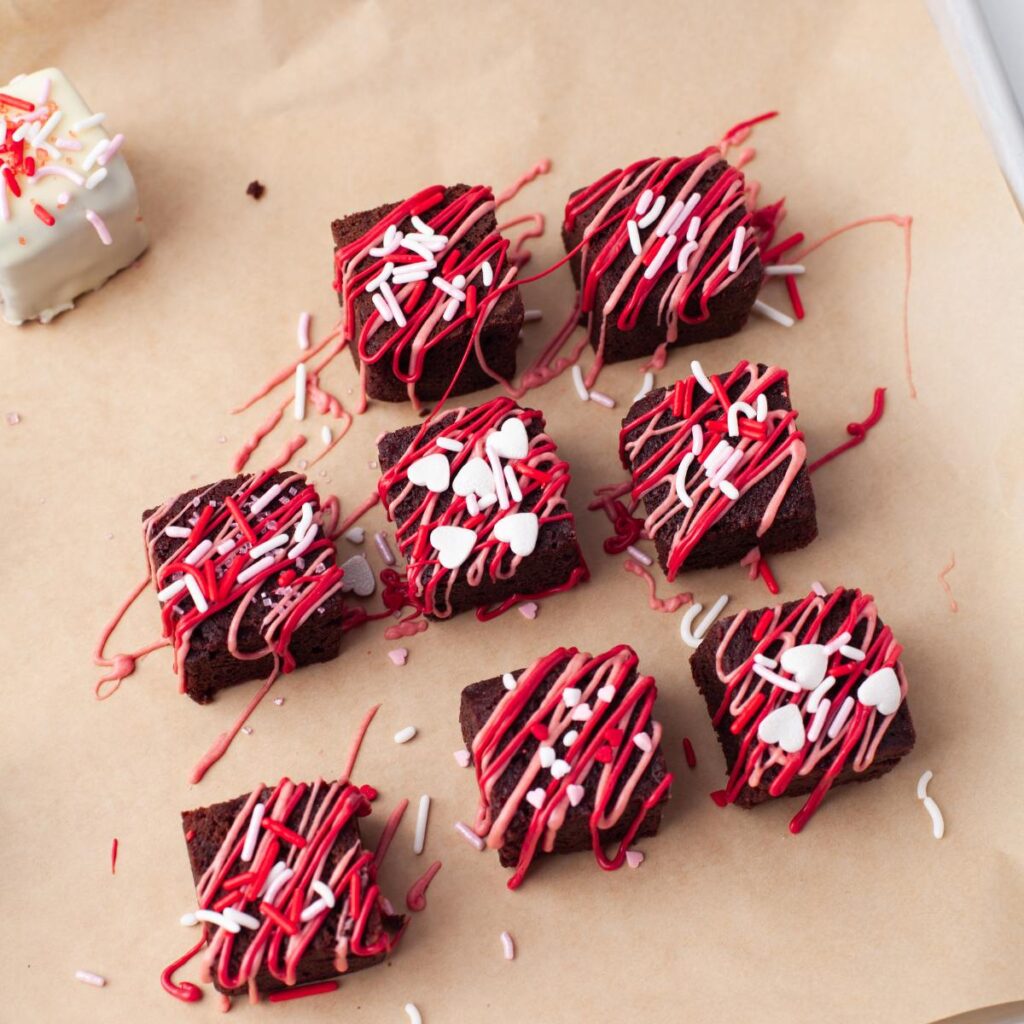
- Add drizzles. Once the coating sets slightly, drizzle another shade (or multiple shades) of chocolate over the fully coated brownies to create layered designs. (Easier if you use a piping bag to drizzle the chocolate.)
- Decorate the remaining brownies. Leave some brownies uncoated and drizzle different shades of chocolate over them.
- Add Valentine’s Day sprinkles. Top all the brownies with festive sprinkles while the chocolate is still wet to ensure they stick.
- Let the glaze set. Allow the decorated brownies to set at room temperature or freeze them briefly for faster results.
Notes
- 1. Use high-quality chocolate & cocoa: The quality of chocolate significantly impacts the flavor. Use good-quality semi-sweet 60% or dark chocolate 70% and a rich, unsweetened Dutch-process cocoa powder for a deep, fudgy taste.
- 2. Melt butter & chocolate gently when melting butter and chocolate together, use low heat or a double boiler to prevent scorching. If using a microwave, melt in 20-second intervals, stirring in between.
- 3. Don’t overmix the batter once you add the flour, mix only until combined to avoid activating too much gluten, which can lead to dense or tough brownies instead of soft and fudgy ones.