These Mint Cheesecake Brownies will be a new favorite around the house. It starts with a box brownie mix and just a few simple ingredients.
They are delicious even straight out of the refrigerator. I am a brownie junkie if you didn’t know you can get some of my other brownie recipes here.
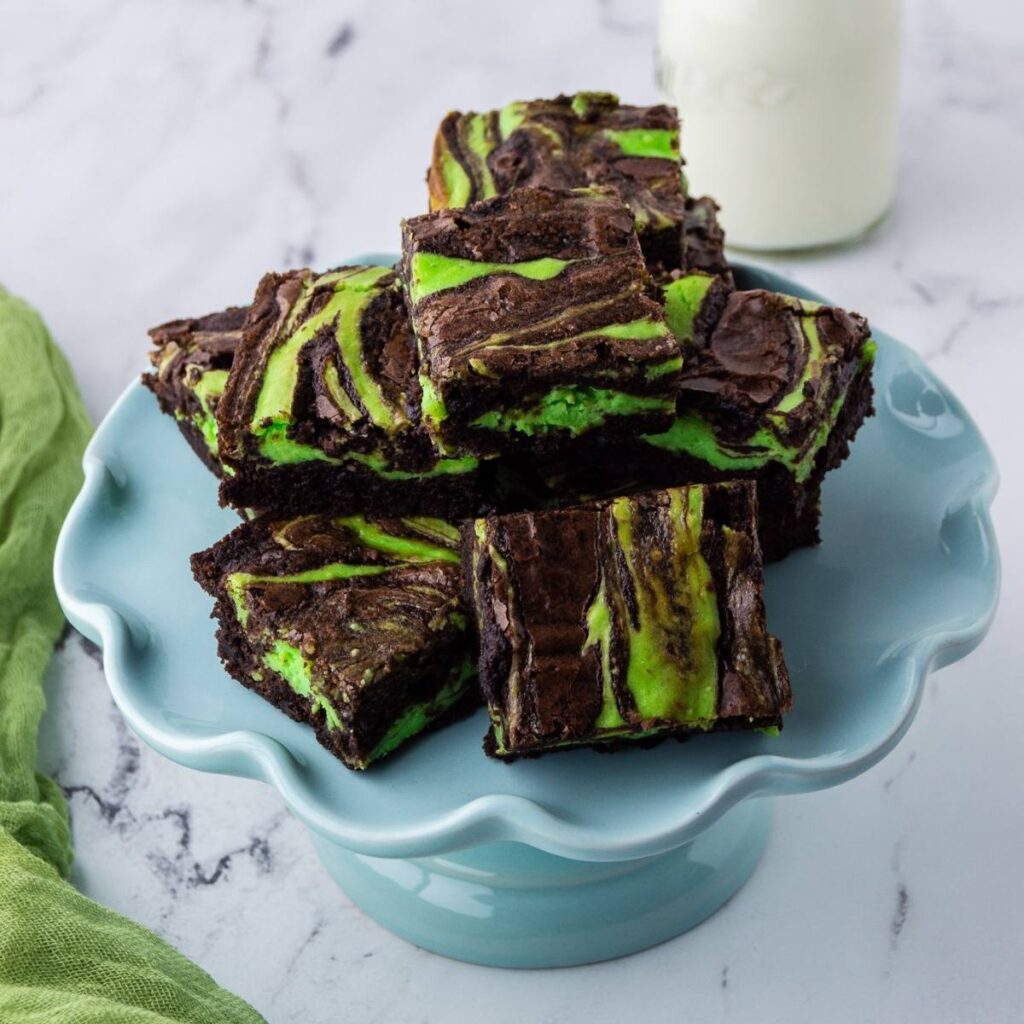
Why you will love this recipe
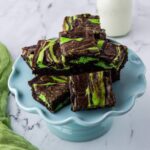
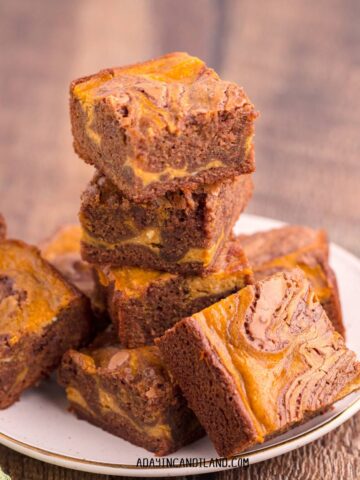
Are you short on time and need a dessert that is so moist and creamy? These mint cheesecake brownies can be made the day before and taste great cold or at room temperature. Plus you get the bonus of them being so pretty with the swirled mint and delicious cream cheese running through them.
When I need to bring a homemade dessert that is NOT completely 100% made from scratch, this is one of my go-to recipes. Adding a few extra ingredients along with the box mix gives it a whole new taste.
Plus, who can go wrong with cheesecake in the mix? After they are cooled, you can place them individually wrapped in the freezer and take them out AS NEEDED. They thaw quickly and are always fresh.
Ingredients
- 1 Box Brownie Mix
- eggs, oil, and water as listed on the box mix
- 1 block of cream cheese
- 1 Additional Large Egg
- 1/2 teaspoon mint extract (optional)
- 1/4 cup of granulated sugar
- Green food coloring

Directions
- In a large bowl, mix brownie mix, water, oil, and egg with a wooden spoon until combined. Spread about 3/4 mix in the prepared pan.
- Preheat Oven to 350 degrees. Line a 9 X 9 pan with foil and spray the bottom with nonstick spray.
- In the bowl of your mixer or separate bowl, beat the cream cheese with your whisk attachment until smooth. Add egg, sugar, extract, and food coloring and continue beating until well mixed.
- Spoon the cream cheese mixture over the brownies in dollops. Spoon the remaining brownie batter randomly over the cream cheese.
- With a small knife, swirl the batter so the cream cheese and brownie batter become marbled.
- Bake for about 30 – 35 minutes, until edges are brown and a toothpick inserted in the center comes out clean. Do not overbake. Cool completely, then refrigerate until chilled. Peel off foil, cut, wrap, and store or consume.
- Tip, Be careful with the extract not to overuse it. The extract can be a fire hazard, if too close to the oven flame.


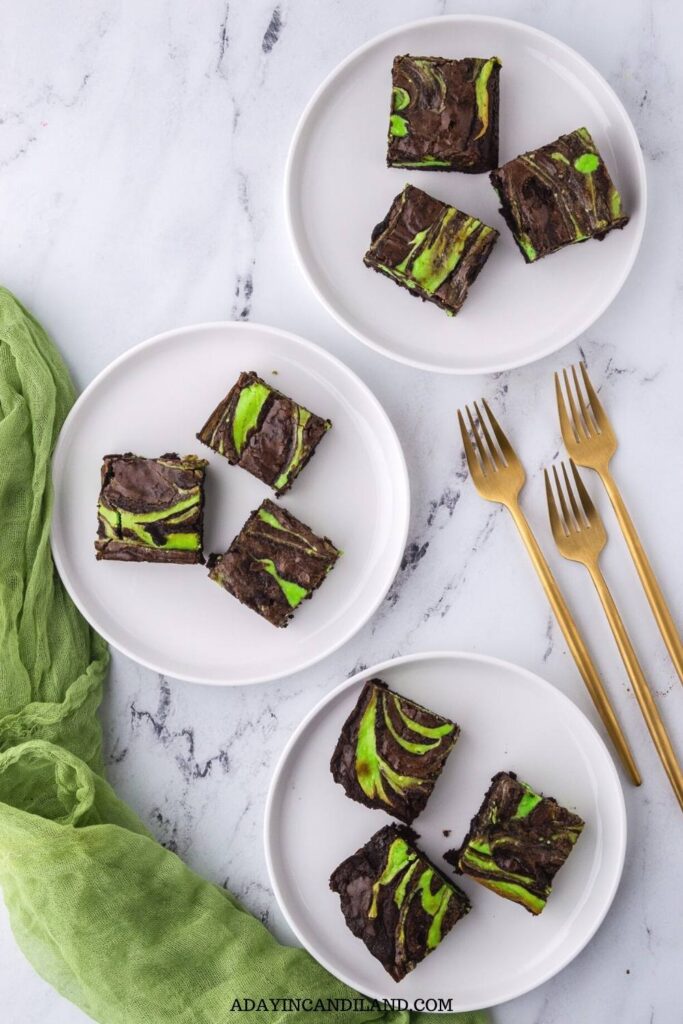
Expert Tips
- Chilling Time: After baking, allow the Mint Cheesecake Brownies to cool at room temperature for a bit and then refrigerate them for a few hours or overnight. Chilling helps the cheesecake layer set and enhances the flavors. It also makes the brownies easier to slice into clean, neat squares.
- Marbling Effect: To achieve a marbled effect in your brownies, use a toothpick or a knife to gently swirl the cheesecake mixture into the brownie batter. Be careful not to overmix, as you want to create a beautiful marbling pattern without fully blending the layers together.
How to display these mint cheesecake brownies
Get a pretty pedestal cake plate out and put a few out with some teacups and saucers along with a pot of tea. When your friends come over, they think you have slaved for hours.
You don’t have to tell them you just took them out of the freezer. Another great trick is to add some homemade whipped cream on top. Or some chocolate or mint chips. The possibilities are endless.
These brownies will be welcome at any St. Patrick’s Day Party, Spring, or Easter event. You can leave out the mint extract if you choose.
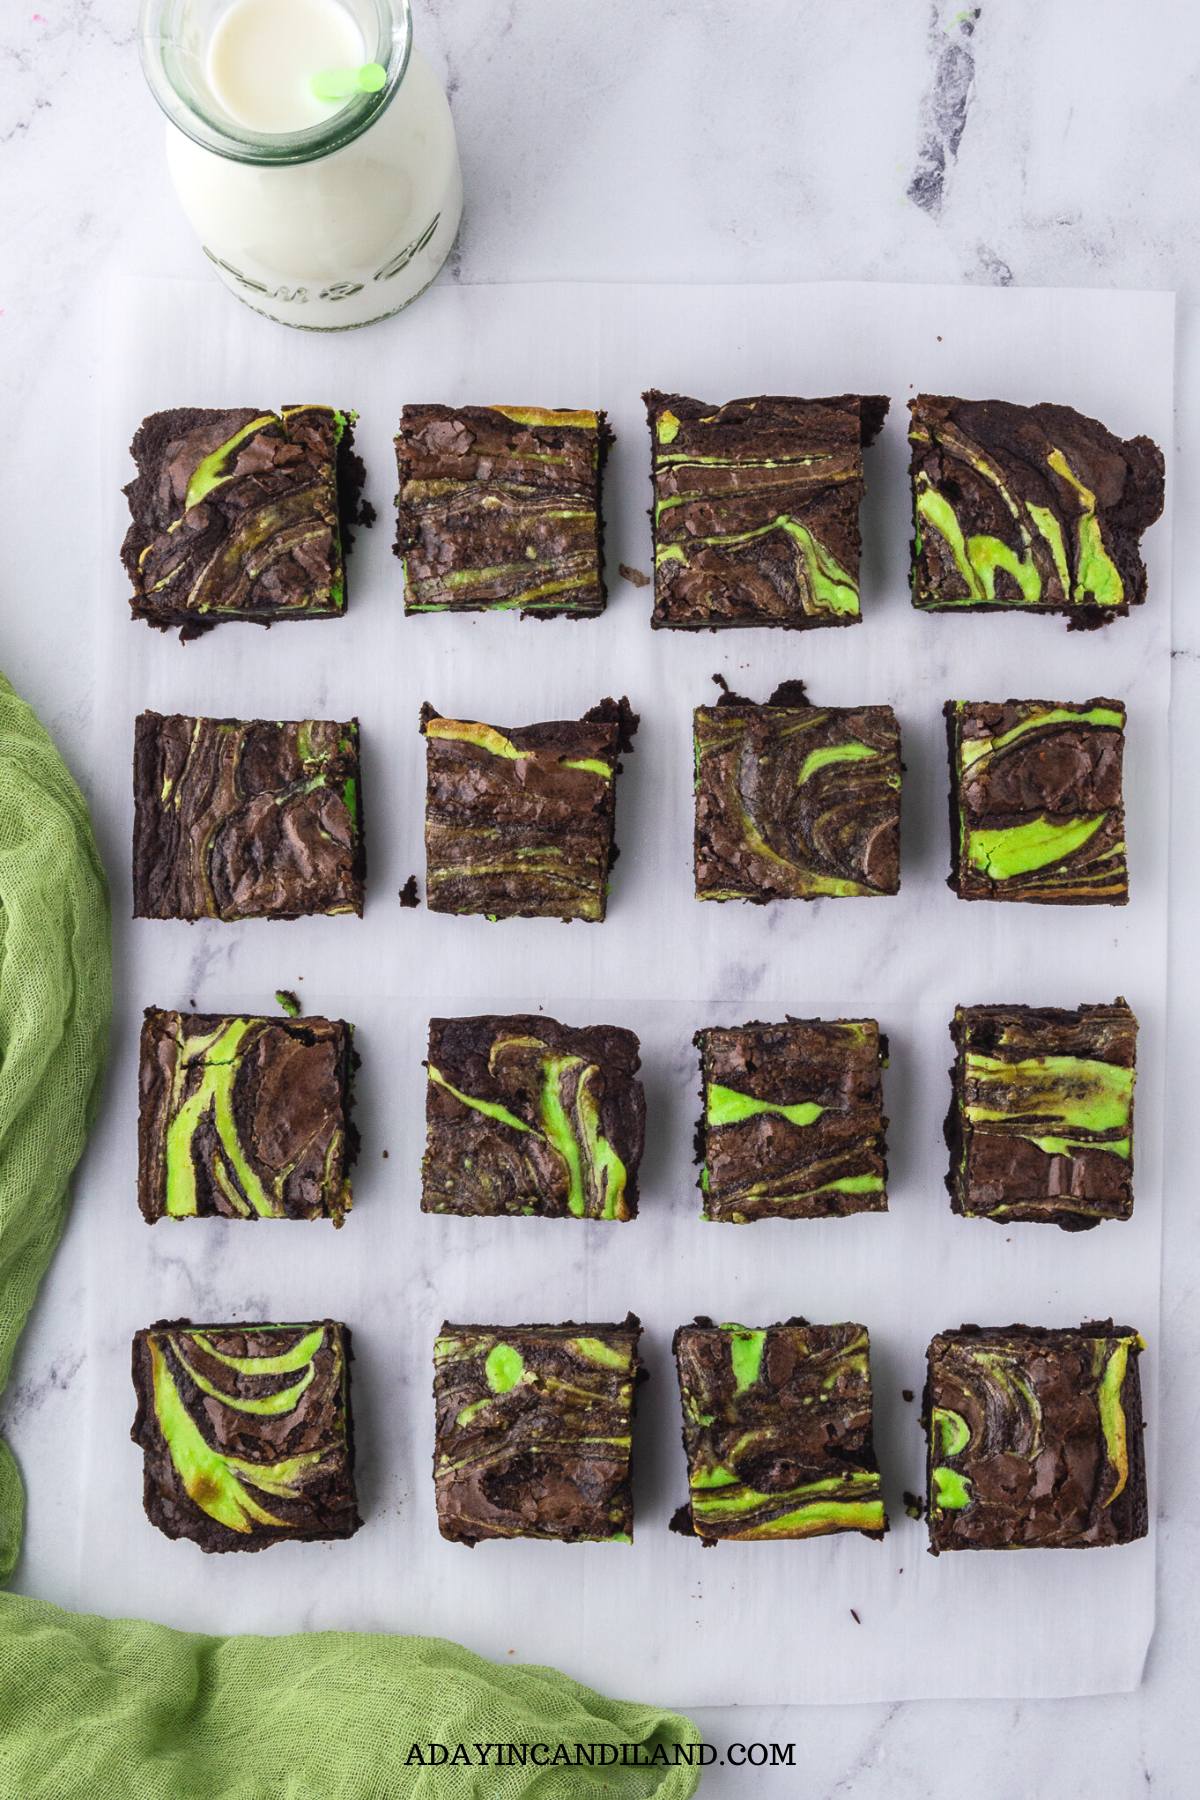
Related Recipes
If you loved this Mint Cheesecake Brownie recipe and made it please give it a 5-star review! That will help it be seen more. You can also pin it to Pinterest or share it on Facebook.
Brownie Recipe
Mint Cheesecake Brownies
Ingredients
- 1 box Brownie Mix
- Egg, oil and water as listed on box directions
- 8 oz cream cheese Softened
- 1 large egg For Cheesecake Filling
- 1 teaspoon peppermint or mint extract
- 1/4 cup granulated sugar
- Few drops green food coloring
Instructions
- Preheat oven to 350. Line a 9X9 pan with foil and spray the bottom with nonstick spray.
- In a large bowl, mix brownie mix, water, oil, and egg with a wooden spoon until combined. Spread about 3/4 mix in prepared pan.
- In the bowl of your mixer, or separate bowl, beat the cream cheese with your whisk attachment until smooth. Add egg, sugar, extract and food coloring and continue beating until well mixed.
- Spoon cream cheese mixture over the brownies in dollops
- Spoon remaining brownie batter randomly over the cream cheese.
- With a small knife, swirl the batter so the cream cheese and brownie batter become marbled.
- Bake for about 30 – 35 minutes, until edges are brown and a toothpick inserted in the center comes out clean. Do not overbake. Cool completely, then refrigerate until chilled. Peel off foil, cut, wrap, and store or consume.
- Tip, Be careful with the extract not to over use. Extract can be a fire hazard, if too close to oven flame.


dishofdailylife says
Those look delicious! I absolutely love brownies. I'll definitely have to try these!
Alexis Grace says
I love love love love brownies so I would definitely try this… although, something tells me I would end up eating them out of the freezer myself!
My recent post Healthy Models: Why Normal Shouldn’t Be The Goal
Candi says
I am pretty sure they have no calories. lol. They are so good right out of the freezer.
My recent post Recipe Red Velvet Pancakes
@sayitrahshay says
I'm not a huge peppermint fan but this sounds light enough for me to be able to deal. I do want to try this.
Candi says
I think they are pretty subtle, especially right out of the freeze. Easy to do.
My recent post Recipe Red Velvet Pancakes
Chrystal @YUMeating says
Boxed brownie mixes are one of the few prepackaged things I buy because no matter what recipe I use, my brownies never turn out right. Since we don't make them often, a treat once in a while works out for me just fine. So, cheesecake and brownies together? My 2 faves…oh, yes plase.
My recent post Skinny Tofu Vegetable Scramble
Candi says
This is an easy go to recipe and great when you can buy the mixes on sale. I stock up.
thatstoocute says
Candi, these sound really good! I can't really eat this right now (diet) but my son would love to make and devour these!
My recent post Radiant Orchid: Rings & Things