How to Declutter a room in one day in 3 easy steps. When you are overwhelmed with clutter, sometimes not knowing where or even how to start can be the biggest roadblock.
Continue reading for Step by Step Directions.
The junk drawer.
A drawer of randomness that pretty much everyone in the world has one of. That magical spot in your home where you can toss any item in your hand when you just don’t know where else to keep it.
A drawer of things that are so unrelated the only name you can give them is junk. Even the most organized people have a junk drawer. Sure, it might have containers to help keep things a bit tidier, but let’s face it.
It’s still a junk drawer.
But, what if a drawer isn’t your problem. What if, instead, you have a junk closet or an entire junk room?
A spot in your home where the door is always kept closed. It might contain holiday decorations, boxes of summer clothes, or household tax papers from over a decade ago.
And maybe that one room as been driving you nuts. Something that has been on your to-do list for what seems like forever but the size of the stuff crammed inside is keeping you away.
Far, far away.
When you are overwhelmed with clutter sometimes knowing where or even how to start can be the biggest roadblock. One big enough to keep us from getting started in the first place. And finding an easy way to declutter an entire room in one day might be the answer you are looking for.
Let’s break it down and make this daunting job a simpler one.
*This post may contain affiliate links. If you make a purchase, I get a small commission. Please see my disclosure policy for details
Get The 12 Month Declutter Calendar Today! 12 Months of Different Tasks
Gather Your Supplies
Before starting any project it is always a good idea to have the tools you need ready to go. This will keep you in the job rather than constantly stopping to grab this or that. Something that can quickly deflate your motivation.
I like to have a decluttering kit (HOW TO SET UP A DECLUTTERING KIT) ready to go at all times. A simple basket of clutter supplies that I can just grab and go whenever the decluttering bug hits me.
- A good supply of trash bags.
- Boxes and bins that you can use for sorting.
- Small containers that can be used for organizing.
- Black magic markers to label your boxes or signs to help make sorting easier.
- Pad of paper and a pen.
- Post It notes.
Uncover the Clutter
Not everything is in this space is going to be clutter and that is the good news. When you look at all the things in your room you might be looking at more than you realize. For that reason, before you can really get down and dirty with the excess, we first need to see just how much you are dealing with.
More often than not the items we believe are clutter are actually something else. And your very first job on this one-room decluttering mission is to uncover the clutter. Something you can do quite easily in a few simple steps.
Step #1. Remove all the trash.
This is a super simple way to juice up that decluttering motivation with a quick win and you might be surprised at how much trash is in our clutter pile. To do this arm yourself with a trash bag and simply take a walk around the room. Gather up anything you find that is trash.
- Shopping bags
- Napkins/paper towels
- Empty food containers
- Junk mail
- Broken items
Don’t think, just grab it. This is the easy part so get your head on autopilot and remove as much trash as you can find.
Step #2. Remove anything that is recyclable.
Using the same approach arm yourself with another fresh bag and gather up those things you can recycle.
- Newspapers
- Pop cans
- Water bottles
- Glass bottles
Be sure to sort and bundle up items according to your local rules so you do not have to go back and redo later. Once and done is our rule, another trick that will help you stay focused and motivated.
Step #3. Put away anything that belongs somewhere else.
Finally, let’s focus on the items that are not clutter but instead things that simply need to be put away. It only stands to reason that not all things in this space will be clutter. Some items may have ended up here completely on accident. I find a clothes or laundry basket works great for this type of sorting. Armed with your basket gather up any items that belong somewhere else.
- Dirty dishes in the dishwasher
- Food in the kitchen
- Clothes in the hamper
- Toys in the playroom
- Tools in the garage
- Pens, pencils, and other office supplies in the office
Once you have done each of these three steps you may be surprised, shocked even, at how much your original clutter piles have shrunk in size. This is your focus now. The actual clutter you will need to deal with in your space.
Decide the Specific Purpose of the Room
This step may seem silly but the reason for it will better explain why it should not be skipped over. Before you can decide which items can stay in this space and which items need to be donated or put away, you first need to determine what activities will happen in the room you are working on.
Ask yourself what the end purpose of this room is going to be.
- If it’s a bedroom then only items for dressing and sleeping should be kept here.
- If it’s a craft room then only items for crafting belong in this space.
- If it’s an office then only books, office supplies, and financial files will stay.
- If it’s a playroom then toys, a table, a large floor rug and maybe a few games will be kept here.
By deciding the room’s specific activity this will allow you to more easily remove any items that do not belong.
Set up a Sorting Area
This is another step that most folks skip over but if you are looking to get the clutter dealt with quickly it can be a key component to making this all work.
A sorting area is simply a spot in the room where you have containers ready for your things. Clear labeled containers that will allow you to toss and go. It is best to have each box labeled clearly again to make things flow more smoothly as you sort.
Toss – Anything that is beyond repair. If you did the trash/recycle run already then this container should be for items that you find are not fit to donate.
Donate – Any items that you can give to another so they can find a useful purpose for them. Please do not donate things that are torn, broken, or stained. Be sure to only donate things that still have plenty of use left in them.
Sell – Any items that you feel you will be able to get fast money for. By that, I mean only things that will be worth the effort of selling. This would include one high ticket item like a power tool or kitchen appliance. You can also do this with a bundle of lower-cost pieces such as baby clothes. Do not be tempted to sell everything you find. This will only move your clutter from this room to another. Instead, do your best to keep this area for high ticket items only.
Put Away – Any items you uncover that belong in another room. Don’t be surprised if you find quite a few items as you are going through a room’s clutter. More often than not what we think is clutter is really items that simply need to be put away.
Once you have your sorting bins set up you are now ready to get started.
Yes, I know this seems like quite a bit of pre-work, but trust me by having all these steps completed before you get down and dirty with the clutter you will remove all the overwhelm that likes to tag along to a job like this. Hopefully, we have removed all the common distractions and now you can get serious and clean this space out.
Where should you start when want to declutter a room in one day?
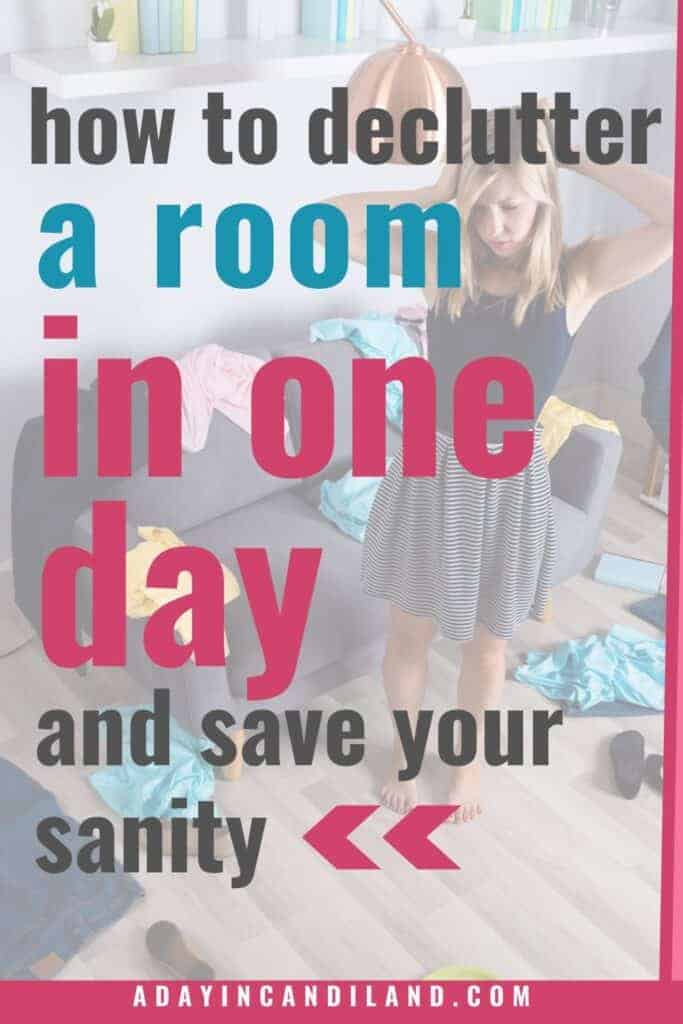
I like to start with the traffic clutter. Those things that are on the floor and can hinder traffic flow. You can either gather up all the floor clutter and put it in an area that is easier to work in such as a table or a bed. If you do not have that option then simply work your way clockwise around the room.
For each item, you see you will need to ask yourself a simple question. This will better help you to determined what is clutter and what is simply something that needs to be given a home so it can then be put away.
Do I need it, use it, or love it?
If you answer no to all three of these questions, you can then take it to your sorting area and choose the bin or box that best fits the condition of the item.
If you answer yes to one or even all three, then you will either want to find it a home (a place where it is kept) in the room you are working in, put it into the container in your sorting area labeled “Put Away”.
Not sure how this all flows? Let’s see this system in action.
You are looking to declutter a junk room in your home so you can make this space into an extra bedroom for guests.
The problem is this room is a complete mess and resembles a storage unit and not an inviting bedroom. There is stuff everywhere and just looking at it knocks the motivation right out of you.
You decide at the very least you are going to do the first few steps listed above. Just to see if you really have as much clutter as you suspect.
With a trash bag in hand, you take a walk around the room. You are somewhat surprised at the items you are seeing that are simply trash and in just a few minutes you have completely filled your bag. Next, you take another turn around the room this time with a bag meant for recyclables. The amount of water bottles you find is sort of freaking you out, but you keep plugging along grabbing all the paper and plastic you see.
Finally, this time you are armed with an empty tote as you make the rounds looking for things you can put away. Again, you are surprised at just how many dishes, clothes, toys, and tools you have in this room.
You stop to admire your work and just like I promised you have cut your so-called clutter problem in half. You are surprisingly energized at just how much you whittled down your stuff and in less than an hour too.
Next, you get busy setting up a sorting area off to the side of the room. You found several large boxes giving each one a big bold label.
Now things get fun!
You gather up all the floor clutter putting it all onto a sheet you have spread out on top of the bed. Once the floor is all cleaned off you dive in.
At first, things go a bit slowly as you recite the three sorting questions.
Do I need it? No! Into the Donation box, it goes.
Do I use it? Yes! Into the Put-Away box it goes.
Do I love it? Yes! Off to the side you set this treasured item to be given a spot in your home where you can see and enjoy it as it was meant to be.
You finish off the items on your bed and just like that you have tackled all the traffic clutter that was once covering the entire floor.
Using this system you can now confidently work your way through the rest of this room. The trick is to have a plan and stick to it each and every time. Not only will this take away any of the overwhelm of facing a room decluttering project but it will also give you the encouragement to work your way through your entire home. ‘
And the best part? Now you have a set of valuable decluttering tools. Ones you can use each time you are faced with a decluttering project. Simply follow along to find out How to declutter a room in one day until your entire home is neat, tidy, and organized.
Decluttering Tools for Your Home
- 12 Month Decluttering Calendar – You will get 12 months of prefilled clutter-busting tasks that may only take just minutes but pack a powerful punch. Each month focuses on a different area so that by the end of the year you will have made progress in your entire home.
For More Organizing Articles Try These:
- Spring Clean Your Purse
- Spring Home Cleaning Tips and Tricks
- Organize Your Home
- How to Organize your backyard this Fall
Tracy Lynn is the founder of Declutter in Minutes where she teaches readers how to remove the clutter without overwhelm so they can create a home they love. Not all clutter is created equal and if armed with the right tools you too can clean out the excess one minute at a time. You can find her hanging out in her Declutter and Simplify Facebook group.




Leave a Reply