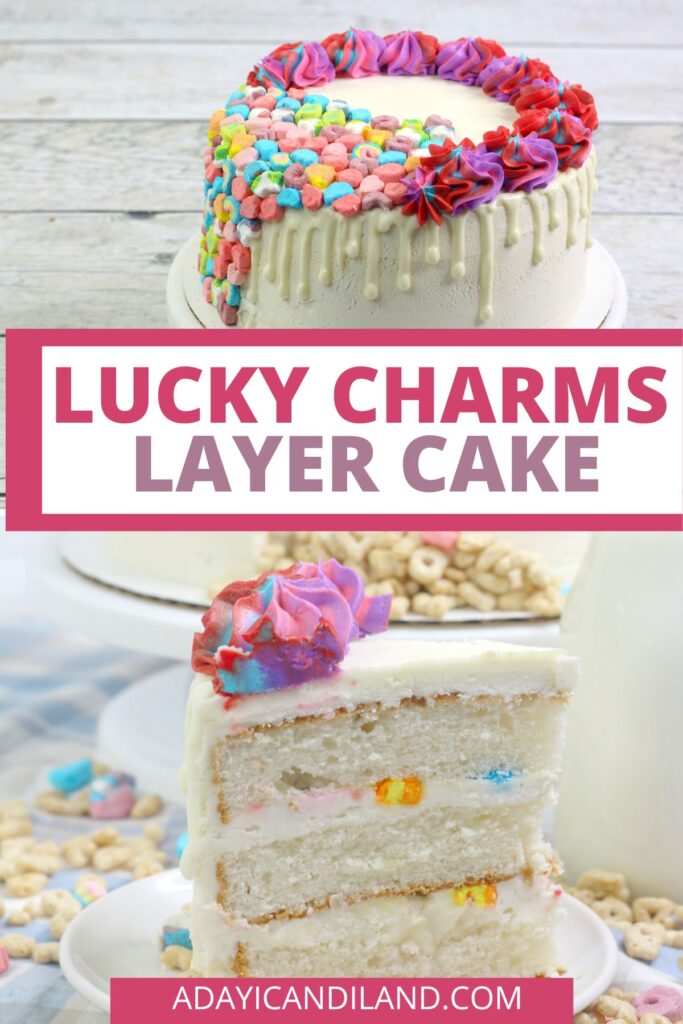
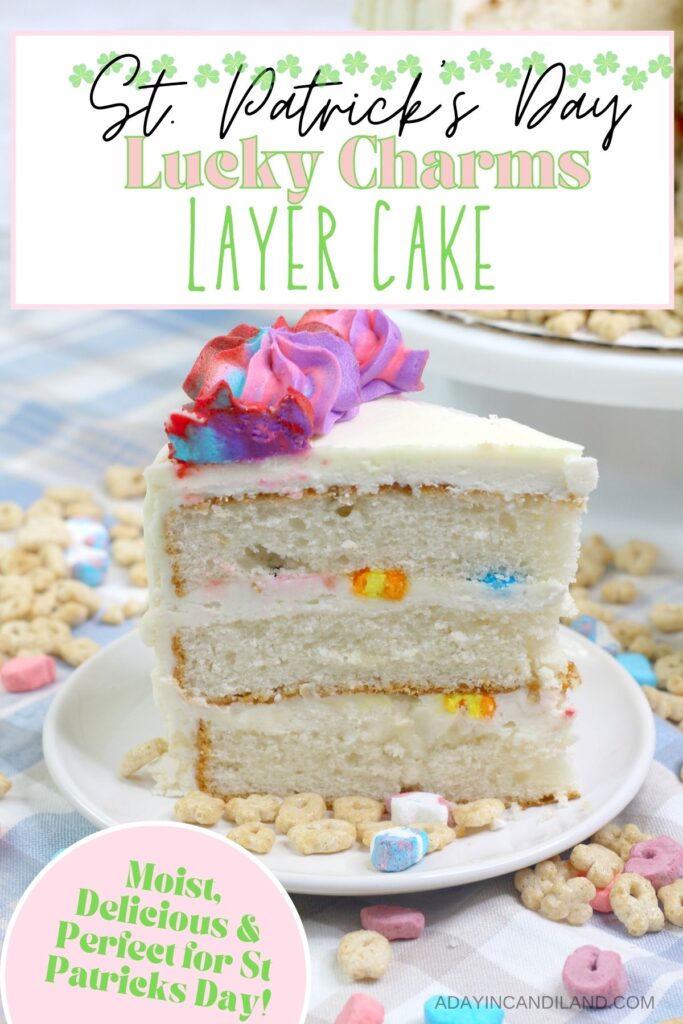
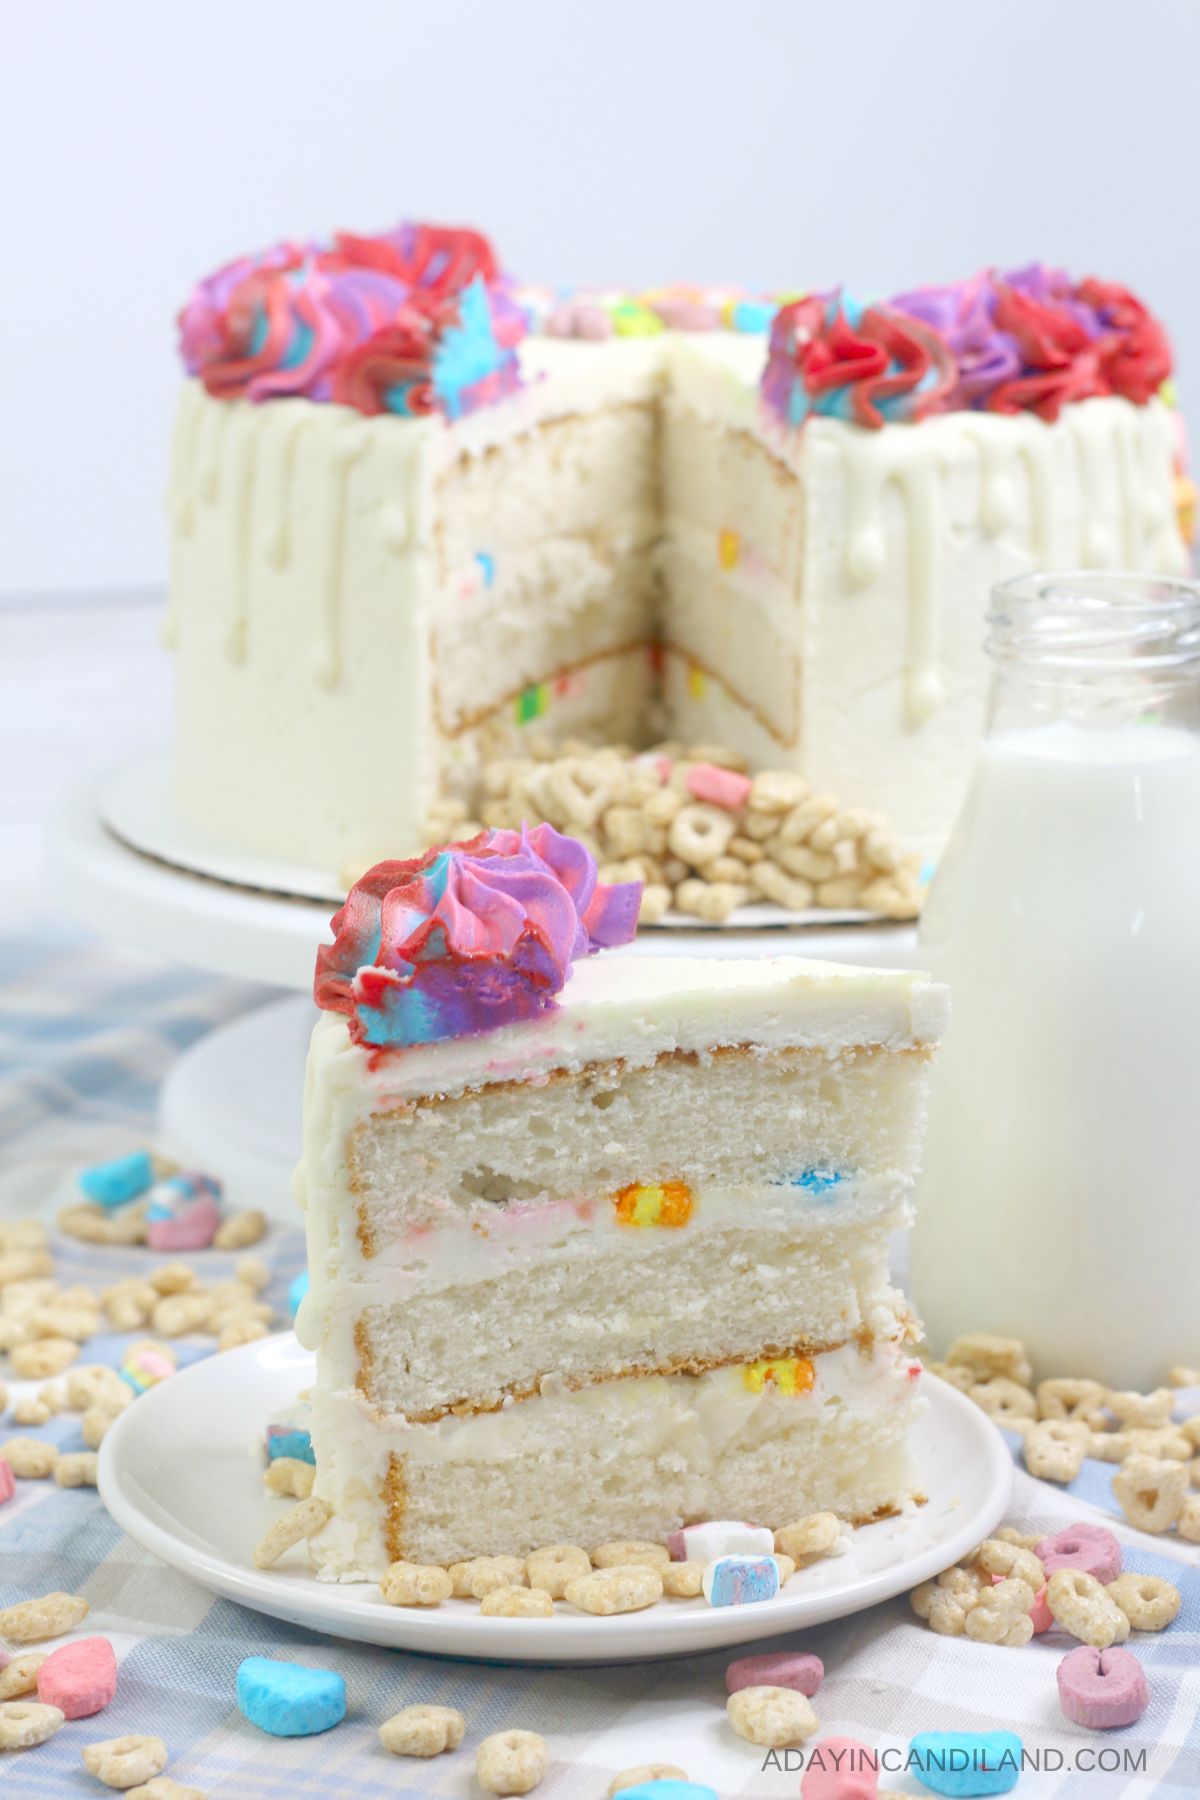
Create this stunning Lucky Charms Layer Cake just in time for St. Patricks Day or any special occasion. It’s gorgeous inside and out.
This fun dessert will be the talk of the party. Your family and friends will be delighted with this 3 layer cake filled with lucky charms cereal. The perfect kid’s birthday cake or festive holiday dessert.
Jump to:
What I love about this cake
This Lucky Charms 3-layer cake is made with a Vanilla Box Mix and Homemade Vanilla Frosting. All the real work is done in the decorating. You can always choose to use different colors in the piping work. The fun white chocolate drip around the edge adds a special creative touch to this unique dessert.
Directions
- Preheat the oven to 350 degrees and spray 3 8″ cake pans with baking spray. Optionally I like to use parchment paper at the bottom of each pan.
- Combine all cake ingredients in a stand mixer or large mixing bowl and beat until combined.
- Divide the batter between the 3 pans and bake in the oven for 28-32 minutes or until a toothpick comes out clean.
- Allow cooling completely before moving onto the cake board.
- Using a cake leveler or cake knife, remove the dome from the cakes to make the top even.
- Place the cake layers into the refrigerator or freezer to make frosting them easier.
- Using a standing mixer, beat together the butter, powdered sugar, vanilla, and heavy whipping cream until combined, smooth, and stiff with peaks.
- Scoop 1/2 Cup of frosting into 4 bowls. Mix in a few drops of color into 1 bowl. Repeat steps for remaining colors.
- Using 1 cake layer on the cake board, scoop 1 Cup of frosting onto the top of the cake and spread evenly.
- Sprinkle ¾ Cup of lucky charms cereal all over the frosting layer
- Place the second layer of cake on top of the first layer of cereal frosting. Scoop another 1 Cup of frosting onto the second layer of cake and spread evenly.
- Sprinkle another ¾ Cup of lucky charms. Place the last layer of cake on top
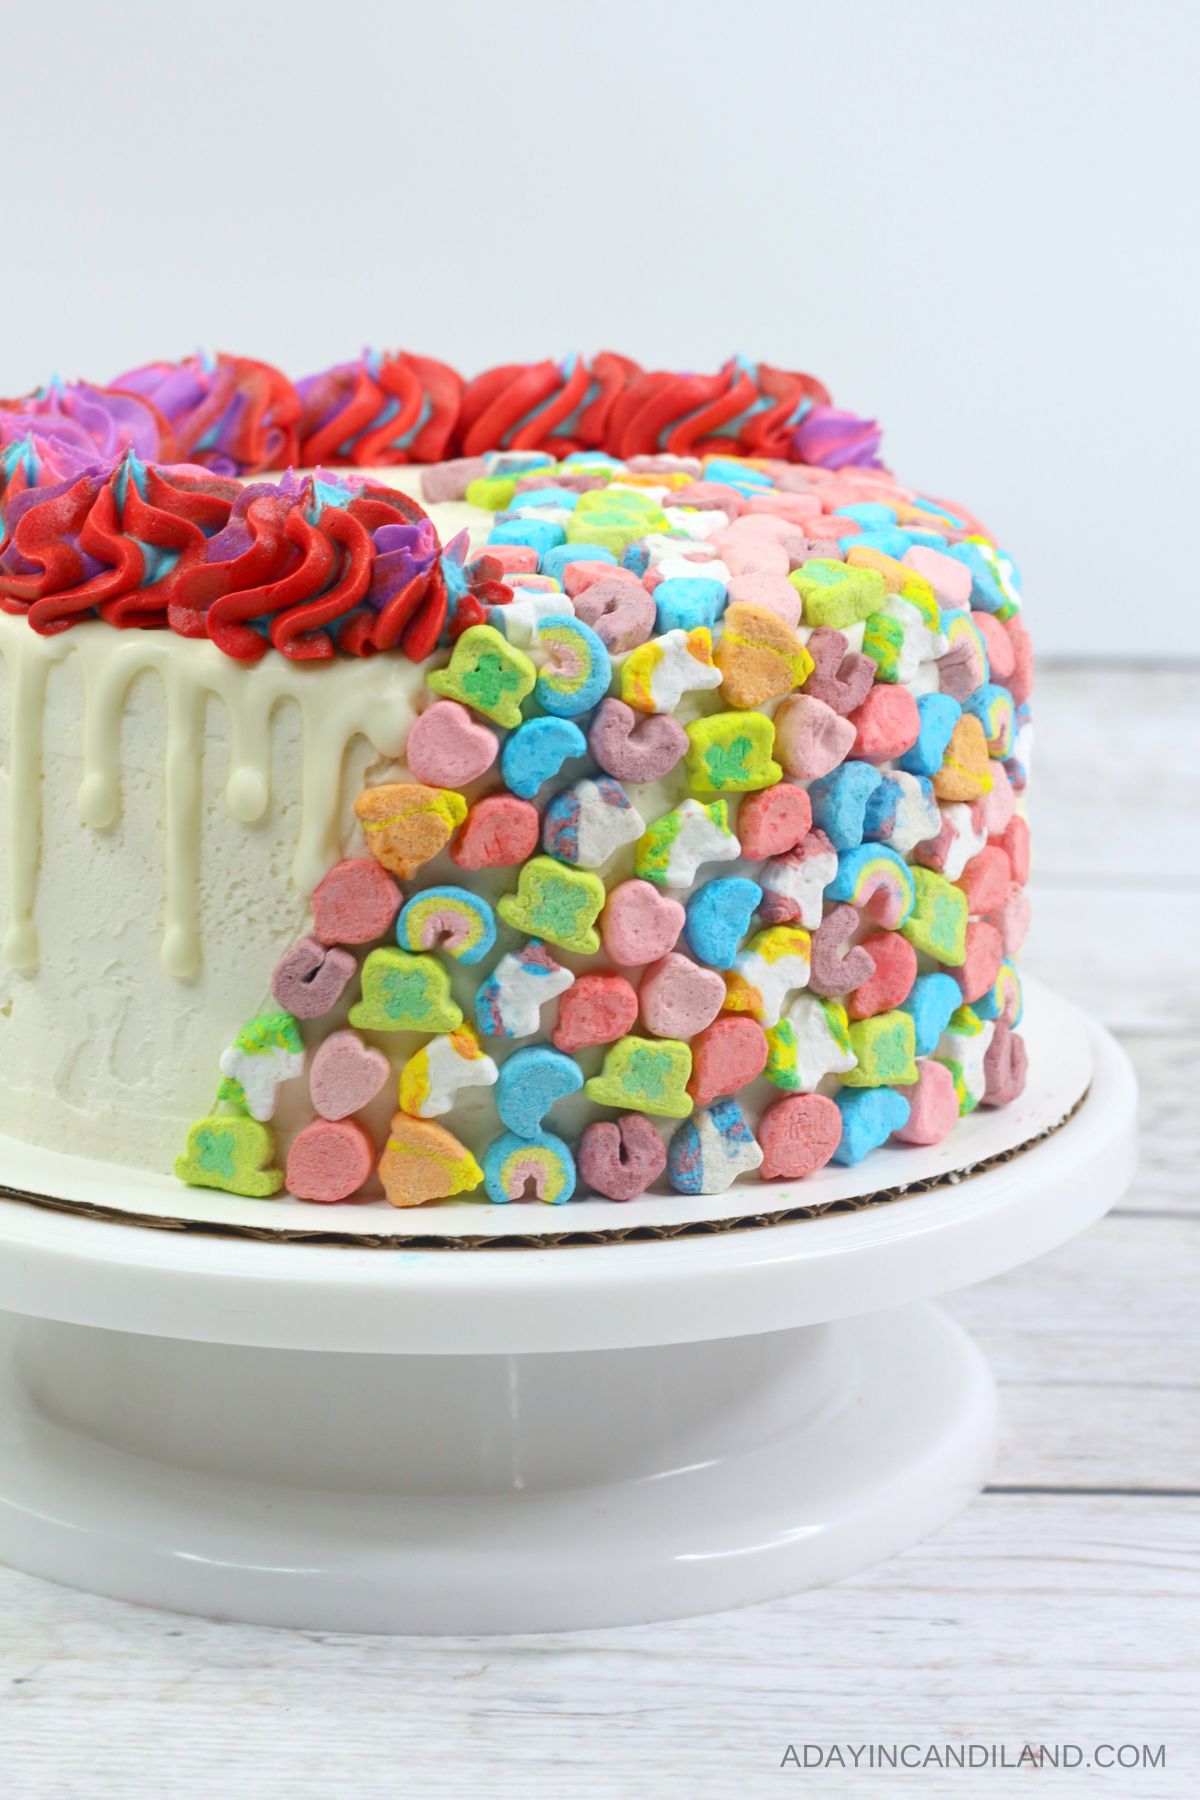
- Frost the entire cake with the remaining white frosting. Take a knife and outline a wide area where you’re going to stick marshmallows. You can also use a toothpick.
- Remove all marshmallows from the remaining cereal. Carefully place the marshmallows in the area you created on the side of the cake and to the middle of the top of the cake.
- Place the white chocolate chips into a medium heat-safe bowl. Place the bowl in the microwave in 45-second increments or until melted
- Scoop into the squeeze bottle. Pipe drips along the top edge of the cake. This is actually my favorite part of the cake. Pipe frosting around the top edge of the cake.

Notes:
- Using Parchment Paper in the bottom of pans makes it easier for cake removal.
- While making frosting, place cake rounds in the refrigerator or freezer for easier decorating.
- Using a cake turntable makes decorating easier. Change up the colors of gel for a different look. Add color to the white chips for a different drip effect.
*This post may contain affiliate links. If you make a purchase, I get a small commission. Please see my disclosure policy for details
Equipment For Cake
- 1 Squeeze Bottle
- 1 Angled Spatula
- Gel Color, Red, Pink Purple, and Sky Blue
- Piping Bag
- 4 Pack 1 M Tip
- 3 9″ Round Cake Pans
- 3 10″ Cake Boards
- Cake Spray
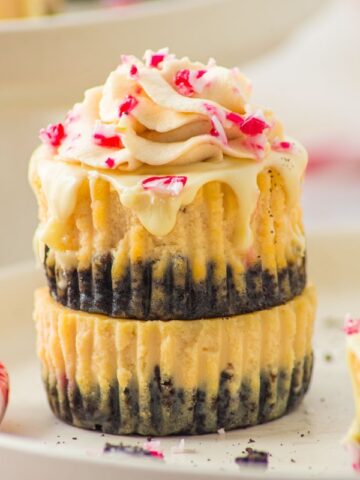
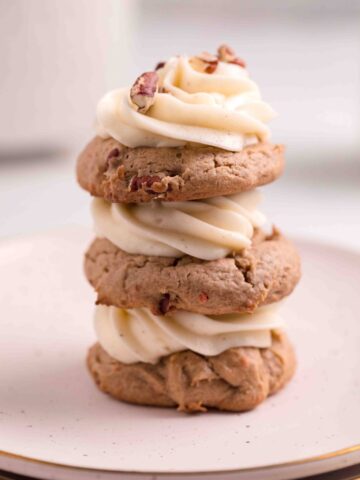
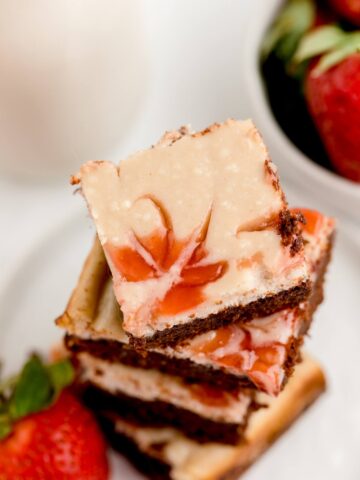
Related Recipes

If you loved this recipe and made it can you give it a 5-star review? That will help it be seen more. You can also pin it to Pinterest or share it on Facebook.
Cake Recipe

Lucky Charms Layer Cake
Equipment
- Squeeze Bottle
- Angled Spatula
- Gel Colors: Red, Pink, Purple and Sky Blue
- Piping Bag and 1 M Tip
- 3 8" Round Cake Pans
- 3 10" Cake Boards
- Pam Cooking Spray
Ingredients
- 2 Boxes White Cake Mix
- 6 Large Egg Whites
- 2 Cups Water
- 1 Cup Vegetable Oil
Frosting
- 2 Cups Butter Unsalted
- 5 Cups Powdered Sugar
- 2 teaspoon Vanilla Extract
- 3 Tablespoon Heavy Whipping Cream
- 1 Box Lucky Charm Cereal
- 1 Cup White Chocolate Melting Chips
Instructions
- Preheat the oven to 350 degrees and spray the 3 cake pans with baking spray. I add a round parchment piece of paper to each pan for extra easy removal.
- Combine all cake ingredients into a standing mixer or large mixing bowl and beat until combined.
- Divide the batter between the 3 pans and bake in the oven for 28-32 minutes or until a toothpick comes out clean. If you have a scale, weigh each pan to make sure they have the same amount of batter.
- Allow to cool completely before moving onto the cake board.
- Using a cake leveler, remove the dome from the cakes to make even.
- Using a standing mixer, beat together the butter, powdered sugar, vanilla, and heavy whipping cream until combined, smooth and stiff with peaks.
- Scoop 1/2 Cup of frosting into 4 bowls. Mix in a few drops of a color into 1 bowl. Repeat steps for remaining colors.
Building the cake directions
- Using 1 cake layer on the cake board, scoop 1 Cup of frosting onto the top of the cake and spread evenly.
- Sprinkle ¾ Cup of lucky charms cereal all over the frosting layer.
- Place the second layer of cake on top of the first layer of cereal frosting. Scoop another 1 Cup of frosting onto the second layer of cake and spread evenly.
- Sprinkle another ¾ Cups of lucky charms. Place the last layer of cake on top
- Frost entire cake with the remaining white frosting. Take a knife and outline a wide area where you’re going to stick marshmallows.
- Remove all marshmallows from the remaining cereal. Carefully place the marshmallows in the area youve created on the side of the cake and to the middle of the top of the cake.
- Place the white chocolate chips into a medium heat safe bowl. Place the bowl in the microwave on 45 second increments or until melted
- Scoop into the squeeze bottle. Pipe drips alone the top edge of the cake. Pipe frosting around the top edge of the cake.
Leave a Reply