


If you’ve ever wondered how to make scones that are tall, tender, and flaky instead of flat, dry, or dense, a few simple baking techniques make all the difference.
The most important tips for making great scones are to keep your butter and other ingredients cold, measure your flour carefully, avoid overworking the dough, and chill the shaped scones before baking. Those small steps help create tender centers, flaky layers, and beautifully golden tops.
I’ve made quite a few scones over the years, and one thing I’ve learned is that they really don’t need to be complicated. Once you understand what the dough should look and feel like, homemade scones become one of those things you can confidently make for breakfast, brunch, or afternoon tea.
If you’re ready to practice these tips, browse my scone recipes for plenty of sweet and savory flavors to try.

Quick Answer: What Is the Secret to Making Good Scones?
The secret to making good scones is cold ingredients and a light hand. Keep the butter cold, mix the dough only until it comes together, and don’t knead it like bread dough. Visible pieces of butter in the dough are a good thing—they help create those tender, flaky layers as the scones bake.
Chilling your shaped scones for about 15–20 minutes before putting them in the oven can also help them hold their shape and rise instead of spreading.
Jump to:
- Quick Answer: What Is the Secret to Making Good Scones?
- What Should a Good Scone Be Like?
- Basic Ingredients for Making Scones
- Top Tips for Making Better Scones
- Why Did My Scones Go Wrong?
- Do You Need Special Equipment to Make Scones?
- Can You Make Scones Ahead of Time?
- How to Store Baked Scones
- What to Serve With Scones
- Scone Recipes to Try Next
- FAQs About Baking Scones
- One Last Scone Tip
What Should a Good Scone Be Like?
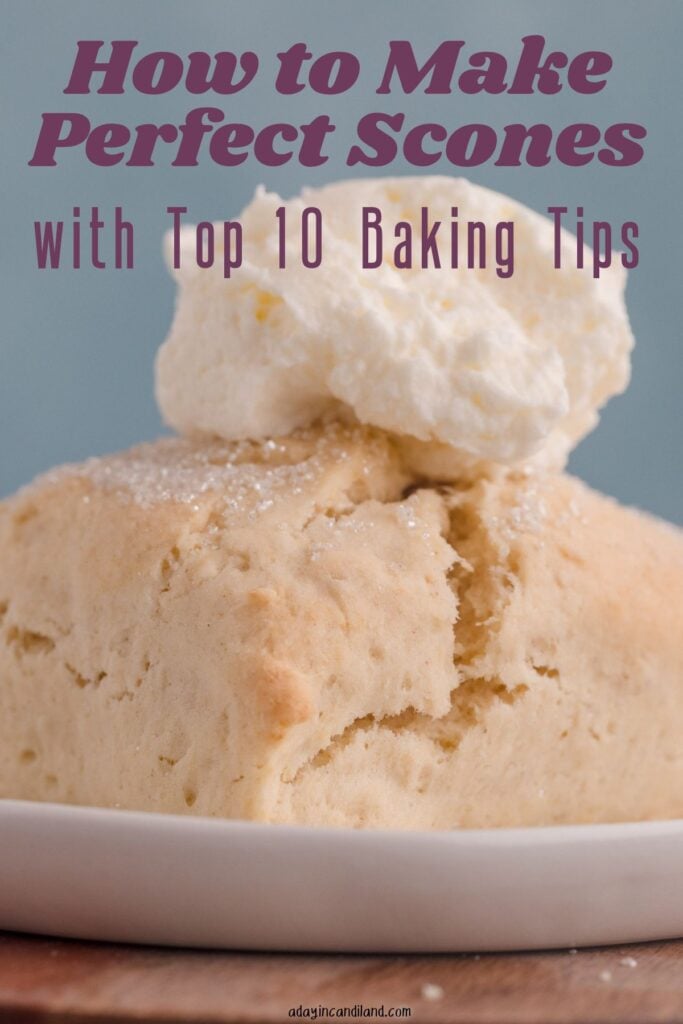
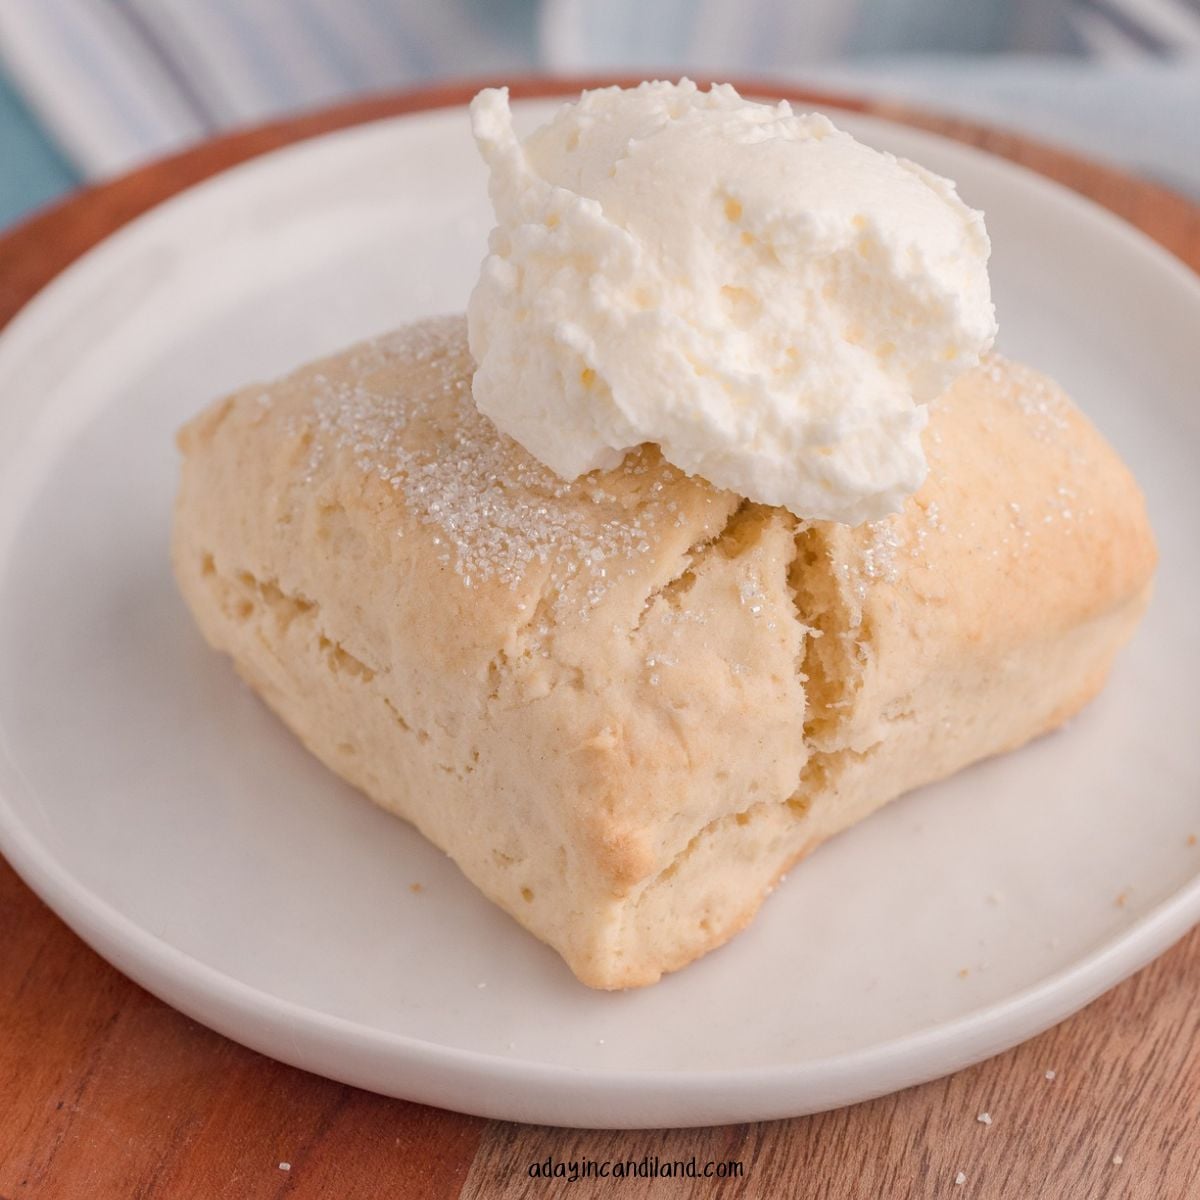
A good American-style scone should have a lightly crisp, golden exterior with a soft, tender center. Depending on the recipe, it may be crumbly or have more defined flaky layers.
Scones are a quick bread, which means they rely on baking powder or baking soda rather than yeast for their rise. They can be sweet or savory and are especially lovely served warm with butter, jam, lemon curd, or clotted cream.
Have you ever wondered where scones came from? Discover the origin of scones and how they became a favorite part of British afternoon tea.
And, of course, I think a homemade scone and a pot of tea belong together.
Basic Ingredients for Making Scones
Scone recipes can vary quite a bit, but most begin with a few basic ingredients.
Flour
All-purpose flour works well for most scone recipes. The most important thing is to measure it accurately. Too much flour is one of the easiest ways to end up with dry scones.
If you aren’t weighing your flour, spoon it gently into the measuring cup and level it rather than scooping directly from the flour container.
Baking Powder or Baking Soda
These provide the lift in your scones. Always check the recipe carefully because baking powder and baking soda aren’t interchangeable.
And if that container of baking powder has been sitting in the pantry for years, it may be time for a fresh one.
Sugar
Sweet scones usually contain granulated sugar, although the amount varies depending on the recipe. Coarse sugar can also be sprinkled over the top before baking for a little extra texture.
Savory scones generally use much less sugar.
Butter
Cold butter is one of the keys to tender, flaky scones. I prefer unsalted butter because it allows you to control the amount of salt in the recipe.
You can cut cold butter into small cubes or grate frozen butter using the large holes of a box grater.
Cream or Buttermilk
Many scone recipes use heavy cream, while others use buttermilk. Use what your particular recipe calls for rather than automatically substituting one for the other.
Keeping your liquid ingredients cold also helps keep the butter from melting before the scones reach the oven.
Eggs
Some scone recipes include eggs and others don’t. You’ll see eggs more often in American-style scones. Follow the recipe you’re using rather than assuming every scone dough needs one.
Top Tips for Making Better Scones
1. Keep Your Butter Very Cold
If you remember only one thing from this guide, remember this: keep your butter cold.
Those little pieces of cold butter melt in the hot oven and help create pockets and layers in your scones.
I sometimes put my butter in the freezer before I start baking. You can grate frozen butter with a box grater or cut very cold butter into small cubes.
Don’t worry if you can still see pieces of butter in the dough. You want them there.
2. Measure Your Flour Carefully
Too much flour can leave scones dry and crumbly.
For the most accurate results, use a kitchen scale when a recipe provides weights. Otherwise, spoon flour into your measuring cup and level it with a straight edge.
Avoid packing the flour into the cup.
3. Don’t Overmix the Dough
This is probably the second most important scone tip.
Once you add the wet ingredients, gently mix just until the dough begins to come together. It may look a little rough or shaggy, and that’s okay.
You’re not trying to create a perfectly smooth dough.
Overmixing can develop too much gluten and warm the butter, which can lead to tougher, denser scones.
4. Use Cold Liquid Ingredients
Don’t take your cream, buttermilk, or eggs out of the refrigerator until you need them.
Keeping everything cold helps prevent the butter from melting into the flour before baking.
If your kitchen is warm or your dough starts feeling soft or sticky while you’re shaping it, put it in the refrigerator for a few minutes.
5. Don’t Knead Scone Dough Like Bread
Scone dough only needs enough handling to bring it together.
Turn it onto a lightly floured surface and gently press or fold it into shape. Avoid repeatedly kneading it the way you would yeast bread.
A slightly imperfect-looking dough can turn into a very good scone.
6. Don’t Make the Scones Too Thin
If you want taller scones, start with thicker dough.
For wedge-shaped scones, I generally like the dough to be around 1 to 1¼ inches thick before cutting. Pressing the dough too thin before baking will naturally result in shorter scones.
7. Chill the Shaped Scones Before Baking
Once you’ve shaped your scones, place them in the refrigerator or freezer for about 15–20 minutes before baking.
This gives the butter another chance to firm up and can help the scones hold their shape in the oven.
I use this technique in my White Chocolate Raspberry Scones, and it works especially well when the kitchen is warm.
8. Use an Egg Wash or Cream for Golden Tops
For beautifully golden scones, lightly brush the tops with egg wash or heavy cream before baking.
Try to keep the wash mostly on top rather than letting it run heavily down the cut sides.
You can also sprinkle coarse sugar over sweet scones before baking for a little crunch.
9. Be Careful With Fruit and Other Add-Ins
Chocolate chips, dried fruit, nuts, spices, and other add-ins are usually easy to incorporate into scone dough.
Fresh fruit needs a little more care because it adds moisture. Fold berries in gently so they don’t break down and turn your dough wet and sticky.
If you’re using frozen berries, you can generally add them frozen rather than thawing them first.
10. Watch the Scones, Not Just the Timer
Every oven is a little different.
Use the baking time in your recipe as a guide, but also look at your scones. They should be risen and lightly golden, and the centers should look baked rather than wet or doughy.
Let them cool briefly before adding glaze or icing.

Why Did My Scones Go Wrong?
Even experienced bakers occasionally pull a batch out of the oven and wonder what happened. Here are a few of the most common scone problems.
Why Are My Scones Flat?
Flat scones can happen when the butter becomes too warm, the dough is overworked, the dough is shaped too thin, or the baking powder has lost some of its effectiveness.
Try starting with very cold ingredients and chilling the shaped scones before baking.
Why Are My Scones Dry?
Too much flour, too little liquid, overmixing, or overbaking can all contribute to dry scones.
Measure your flour carefully and stop mixing as soon as the dough comes together.
Why Are My Scones Dense?
Dense scones are often the result of overworking the dough.
Remember: scone dough doesn’t need to look perfectly smooth. Handle it gently and as little as possible.
Why Did My Scones Spread?
Warm butter or overly wet dough can cause scones to spread.
Chilling the shaped scones before baking is especially helpful if your kitchen is warm.
Why Didn’t My Scones Rise?
Check the date and freshness of your baking powder first. Also make sure you haven’t rolled or pressed your dough too thin.
The oven should be fully preheated before the scones go in.
If you’re new to making scones, start with my Classic Cream Scones so you can get comfortable with the basic technique before adding fruit or other mix-ins.
Do You Need Special Equipment to Make Scones?
Not really, and that’s one of the things I like about making them.
A mixing bowl, baking sheet, parchment paper, and something to cut in the butter are enough to get started.
A few tools can make the process easier:
Pastry blender: Makes it easy to cut cold butter into flour without warming it with your hands.
Box grater: One of my favorite tricks for quickly grating very cold or frozen butter.
Bench scraper or pizza cutter: Helpful for dividing dough into even wedges.
Kitchen scale: The easiest way to measure flour accurately.
Scone pan: Nice to have if you want very uniform scones, but definitely not necessary.
I wouldn’t wait to buy special equipment before trying your first batch.
Can You Make Scones Ahead of Time?
Yes. In fact, scones are one of my favorite things to prepare ahead.
Shape the unbaked scones and refrigerate them if you’re planning to bake them soon. For longer storage, freeze the individual shaped scones until firm and transfer them to a freezer-safe container.
This is especially helpful when you’re planning an afternoon tea or brunch because you can do some of the work ahead of time.
Always follow the baking and freezing directions for the specific recipe you’re using, since ingredients and baking times vary.
How to Store Baked Scones
Scones are best when they’re freshly baked.
Once completely cool, store them in an airtight container at room temperature for about 2 days. For longer storage, freeze them in a well-sealed freezer container.
To bring some of that fresh-baked texture back, warm them gently in the oven before serving.
What to Serve With Scones
This might be my favorite part.
Serve warm scones with:
- Butter
- Jam or preserves
- Lemon or other citrus curd
- Clotted cream
- Fresh berries
- Hot tea or coffee
Scones are also an important part of a traditional afternoon tea menu. If you’re planning one at home, you can serve them with finger sandwiches, small desserts, and your favorite tea.
Scone Recipes to Try Next
Once you’re comfortable with the basic technique, this is where it gets fun.
Try a few different flavors:
White Chocolate Raspberry Scones – Tart raspberries, white chocolate, and a sweet drizzle make these a beautiful choice for brunch or afternoon tea.
Blueberry Scones – A Starbucks-inspired scone filled with blueberries.
Strawberry Scones – A fruity scone finished with a vanilla drizzle.
Cinnamon Chip Scones – A lovely choice when you want something warm and lightly spiced.
Lemon Poppy Seed Scones – Bright lemon flavor with poppy seeds.
Cranberry Orange Scones – Cranberries and orange are especially nice during the holidays.
Savory Scone Recipes – Scones don’t have to be sweet. Try one of these when you’re planning breakfast, brunch, or something to serve alongside soup.
Can’t decide? Browse all of my scone recipes for even more flavors and ideas.

FAQs About Baking Scones
Scone dough can be slightly sticky or tacky, but it shouldn’t be so wet that you can’t shape it. Resist adding a lot of extra flour unless the dough is truly too wet to handle.
A short chill after shaping can help keep the butter cold and help the scones hold their shape. I often chill shaped scones for about 15–20 minutes before baking.
Use the liquid specified in your recipe. Heavy cream adds richness, while buttermilk and other liquids produce different results. Substituting one for another can change the texture and moisture of the dough.
Yes. Shape the scones first, freeze them on a baking sheet until firm, and then transfer them to a freezer-safe container. Check your particular recipe for baking directions because frozen scones may require additional baking time.
Overworking the dough and allowing the butter to become too warm are two of the most common mistakes. Keep your ingredients cold and stop mixing as soon as the dough comes together.
One Last Scone Tip
Don’t let scones intimidate you.
They may look like something you’d order at a tea room, but they’re actually one of the simpler baked goods you can make at home. Keep everything cold, measure carefully, don’t overwork the dough, and you’ll already have most of the technique mastered.
Then put the kettle on.
Until next time, keep life sweet—one bite at a time.
